Simple. Tasty. From Our Home to Yours. Browse all recipes

Simple. Tasty. From Our Home to Yours. Browse all recipes
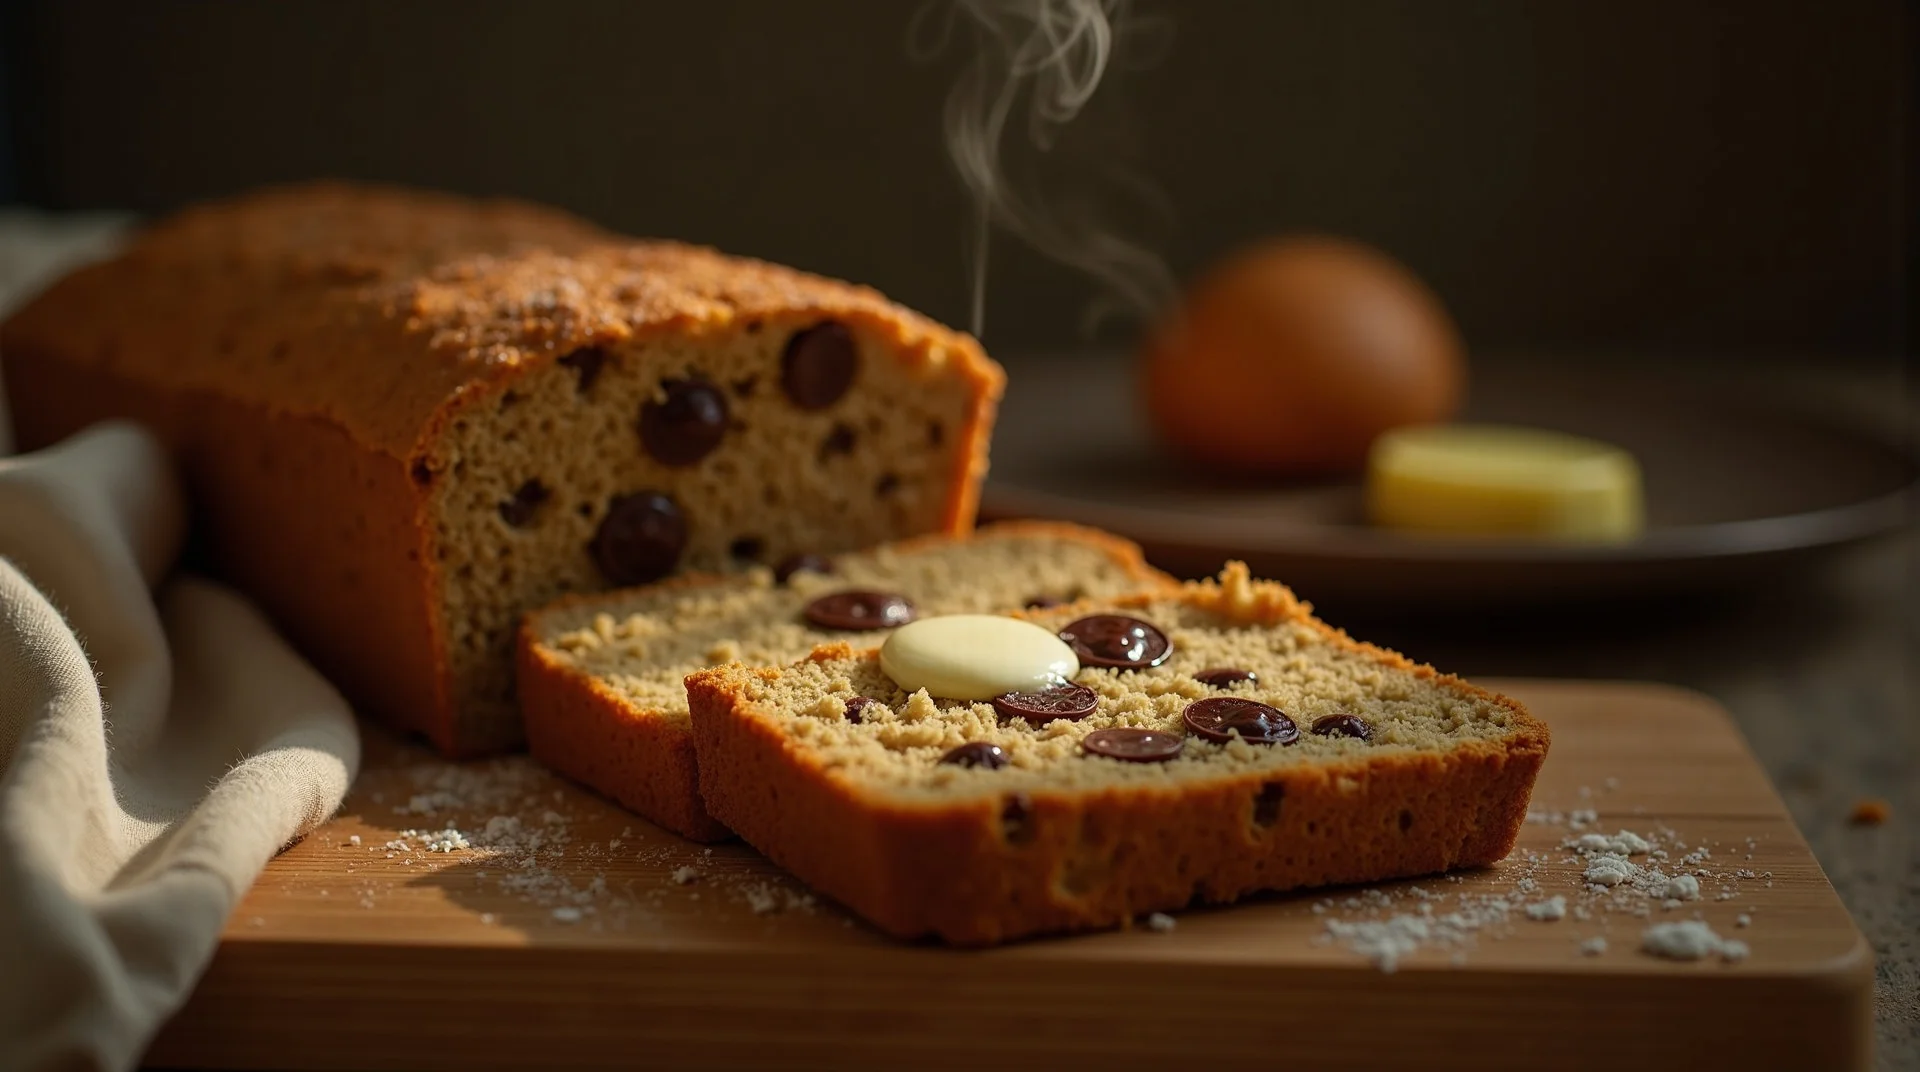
These are not your average cookies; they are the marriage of a dense, fudgy brownie and a perfect drop cookie. Leveraging the convenience of a quality mix, we elevate the texture through precise baking times and a secret flour addition. The result is an intensely satisfying, chewy, and deeply chocolatey dessert that rivals any bakery version. These Brownie Cookies are the ultimate crowd-pleaser for any American gathering.
Oven thermometer
Large glass mixing bowl
Rubber spatula
Cookie scoop (1.5 tablespoon size)
Baking sheet (light colored)
Parchment paper
Wire cooling rack
Verify your oven is accurately preheated to 350°F (175°C) and line your baking sheets with parchment paper for foolproof release.
In your mixing bowl, combine the entire contents of the brownie mix box, the room temperature eggs, the vegetable oil, and the two measured tablespoons of flour.
Using a spatula, mix gently until *just* combined; stop immediately when no dry streaks remain visible in the thick batter.
Gently fold in any desired mix-ins, such as nuts or chocolate chips, ensuring not to overwork the dough, which compromises the fudgy texture of these Brownie Cookies.
Drop rounded scoops of the dough onto the prepared sheets, spacing them generously at least 2 inches apart to allow for slight spreading.
Bake for 9 to 11 minutes; the key indicator is set edges and a visibly soft, shiny center—do not wait until the center looks dry.
Remove the sheets from the oven and allow the Brownie Cookies to rest undisturbed on the hot metal for exactly 5 minutes to finish setting the structure.
For a sophisticated, warm profile, incorporate 1 teaspoon of ground cinnamon and a bold 1/4 teaspoon of cayenne pepper into the dry mix before combining. The cinnamon deepens the chocolate notes while the cayenne adds a lovely, lingering warmth on the finish that plays beautifully against the sweetness. Fold in 1/2 cup of chopped dark chocolate (70% cacao or higher) for an adult complexity. These spice-infused Brownie Cookies are phenomenal with a glass of cold milk. Remember, mastering flavor profiles is what separates home baking from culinary artistry.
This variation adds a beautiful marbling effect and a salty-sweet complexity. Prepare 1/2 cup of creamy peanut butter mixed with 1 tablespoon of powdered sugar and 1/2 teaspoon of vanilla extract until smooth. Scoop the cookie dough onto the baking sheet as directed. Then, place a small teaspoon of the peanut butter mixture on top of each dough ball. Use a toothpick to gently swirl the peanut butter into the dough, creating ribbons just below the surface. Bake as directed; the peanut butter will melt slightly and create pockets of salty, creamy goodness within the fudgy Brownie Cookies.
A classic pairing that never fails. Reduce the vegetable oil slightly to 3 tablespoons. Add 1/2 teaspoon of pure peppermint extract directly into the wet ingredients. Fold in 3/4 cup of Andes Mint pieces or high-quality mint chocolate chips. The peppermint oil cuts through the richness of the brownie base beautifully. Be careful not to add too much extract, as peppermint can quickly become overpowering. This variation transforms your simple Brownie Cookies into a festive treat, reminiscent of holiday flavors.
For a fruit element, gently fold in 1/2 cup of dried tart cherries (ensure they are plumped slightly by soaking in hot water for 5 minutes, then thoroughly dried). Pair these with 1/2 cup of milk chocolate chips. The tartness of the cherry is crucial to balance the intense sweetness of the brownie base, creating a richer, more complex flavor profile than standard chocolate chip cookies.
Elevate the cocoa intensity by dissolving 1 teaspoon of instant espresso powder into the 1/4 cup of vegetable oil before adding it to the dry ingredients. The espresso doesn’t make the cookie taste like coffee; instead, it dramatically deepens and intensifies the inherent chocolate flavor, resulting in the darkest, most profoundly chocolatey Brownie Cookies possible.
Always use eggs that have been sitting on the counter for at least 30 minutes before starting. Cold eggs hit the fats (the oil) and cause them to seize or solidify slightly, preventing a proper emulsion from forming. A proper emulsion traps air evenly, which is necessary for that delicate rise that creates the crackly top on your Brownie Cookies. If the batter looks slightly curdled or doesn’t mix smoothly, cold eggs are usually the culprit.
If you own a digital kitchen scale, weigh the contents of the brownie mix box once you open it. If it’s significantly heavier than the stated 18.3 oz, reduce the added flour slightly, or increase the egg count by one extra egg white. This level of precision ensures the chemical balance remains exactly where it needs to be for perfect Brownie Cookies every single time.
If you find your cookies spreading too much, even when baking at 350°F, try chilling the scooped dough balls for 15 minutes before they go into the oven. Chilling solidifies the fats slightly, forcing the cookie to maintain its height longer during the initial heat exposure. This results in a thicker cookie with a more intense fudgy center, which is the ultimate goal when making these wonderful Brownie Cookies.
just before putting the tray in the oven, gently brush the tops of the dough mounds with a tiny bit of neutral oil using a pastry brush. This thin layer of fat on the surface allows the sugar to melt and set into a smoother, more reflective sheen, enhancing the crackle effect on your finished Brownie Cookies.
For the best immediate texture, use a wide, shallow, opaque plastic container with a gasket seal. Place a sheet of parchment paper on the very bottom, arrange the cookies in a single layer if possible, or stack them no more than two deep, separating layers with more parchment. The opacity of the container is key, as light exposure can degrade the fats and flavor profiles over several days. Shelf life here is 3-4 days maximum before noticeable drying begins in these Brownie Cookies.
If your kitchen runs warm (above 75°F), move the sealed container to the refrigerator. First, ensure the cookies are fully cooled—warm cookies release steam, which condenses inside the container, leading to soggy bottoms. Once sealed and chilled, they will last up to 10 days. However, because the cold tightens the starches, you must allow them to sit on the counter for at least 30 minutes before eating to restore the fudgy texture.
The ideal method for long-term storage of your Brownie Cookies is flash freezing. Place the cooled cookies on a tray, spaced apart, and freeze them uncovered for one hour until solid. Once frozen solid, transfer them into heavy-duty freezer bags, using a straw to suck out as much air as possible before sealing hermetically. This process prevents freezer burn and ice crystal formation on the surface. Thaw overnight in the refrigerator, then bring to room temperature before serving for a texture nearly identical to freshly baked.
The single most destructive error for any fudgy dessert is overbaking. A traditional cake is done when the toothpick is clean; a brownie or a fudgy Brownie Cookie is done when the toothpick has moist, sticky crumbs clinging to it, or sometimes even wet batter. If you wait for a clean toothpick, the residual heat during the 5-minute cooling phase will dry out the center completely, leaving you with a dry, dense chocolate puck instead of a soft, chewy delight. Pull them when they look slightly underdone in the middle!
Thin, dark metal baking sheets absorb and transfer heat far more aggressively than light-colored, heavy-gauge aluminum sheets. This leads to the bottoms of your Brownie Cookies scorching before the tops have even begun to set, resulting in a burnt flavor and a hard, brittle base. Always use a light-colored, heavy-duty sheet pan, and if you only have dark pans, line the pan with a layer of aluminum foil first to slightly diffuse the direct heat transfer.
When mixing the brownie mix, flour, and liquids, it is easy for pockets of dry mix to stick to the bottom and sides of the bowl, untouched by the whisk. If these dry pockets remain, they bake into hard, gritty spots in your otherwise smooth cookie. Always stop mixing at least twice to use a rubber spatula to scrape down the sides and bottom of the bowl, ensuring every grain of the mix is incorporated into the batter before you portion them out.
Many home bakers rush to move the cookies immediately to a cooling rack, but this causes the delicate structure of the Brownie Cookies to collapse under their own weight while they are still too hot and soft. The initial 5-minute rest on the hot pan is non-negotiable; it allows the starches and fats to stabilize before the final cooling phase begins.
Per serving: 1 cookie
Nutritional information is an estimate based on using the standard brownie mix and excluding optional mix-ins.
There you have it—a shortcut recipe that yields results far superior to its humble beginnings. These Brownie Cookies are proof that world-class texture and flavor don’t always require hours of complex work. They are chewy, intensely chocolatey, and possess that magical crinkle top that separates the amateurs from the masters. I urge you to try them this week, perhaps swapping in some salted caramel chips for an extra layer of indulgence. Bake them with confidence, trust the visual cues, and enjoy the pride of serving something universally loved, made perfectly in your own kitchen. Head over to HomeRecipes.com for more ways to elevate your everyday baking!
This is the most common disappointment when attempting fudgy textures! Cakey results usually stem from two primary issues: overbaking or too much flour. If you bake them until a toothpick comes out clean, you have overbaked them; they should look slightly damp inside when pulled from the oven at the 9-minute mark. Also, ensure you are measuring the added flour precisely—too much flour develops gluten, leading to a bread-like structure instead of the dense, moist chew characteristic of true Brownie Cookies.
You absolutely can, but you must understand the structural change. Butter contains about 15-20% water and milk solids, whereas oil is 100% fat. Using melted butter will result in a cookie that spreads more and has a slightly cakier texture, closer to a traditional chocolate cookie than a true brownie hybrid. If you proceed, use 1/4 cup of melted, slightly cooled butter. For the absolute fudgiest Brownie Cookies, stick to the oil, as it keeps the crumb denser and richer.
As a professional chef, I recognize that commercial brownie mixes are designed to be baked in a deep pan, creating vertical structure. When spread thinly as a cookie, that structure collapses too easily. The two tablespoons of flour provide just enough extra starch and gluten development to give the dough integrity, preventing the cookie from spreading into a thin, brittle wafer. It’s the scaffolding that supports the fudgy center of the Brownie Cookies.
The beautiful, shiny, crackled top is achieved through a high sugar concentration on the surface that sets rapidly. This happens when the batter is mixed just enough to dissolve the sugar into the liquid components (eggs and oil) but not so much that the structure becomes too firm before baking. You must ensure your eggs are at room temperature, as cold eggs inhibit proper sugar dissolution. Also, make sure you are baking at the correct temperature of 350°F; if the oven is too cool, the surface dries out slowly instead of setting quickly with that characteristic sheen.
You can certainly try, but expect significant textural differences. Gluten-free mixes rely on starches (like potato or tapioca) that behave differently than wheat flour. They often absorb moisture differently and may yield a crumbly or overly soft cookie. If you use a GF mix, I strongly recommend increasing the added flour to 3 tablespoons and perhaps adding an extra yolk to compensate for the lack of binding structure. The resulting Brownie Cookies will be less chewy but still intensely chocolatey.
No items yet. Click "Add All" or use + buttons!
Community Kitchen