Simple. Tasty. From Our Home to Yours. Browse all recipes

Simple. Tasty. From Our Home to Yours. Browse all recipes
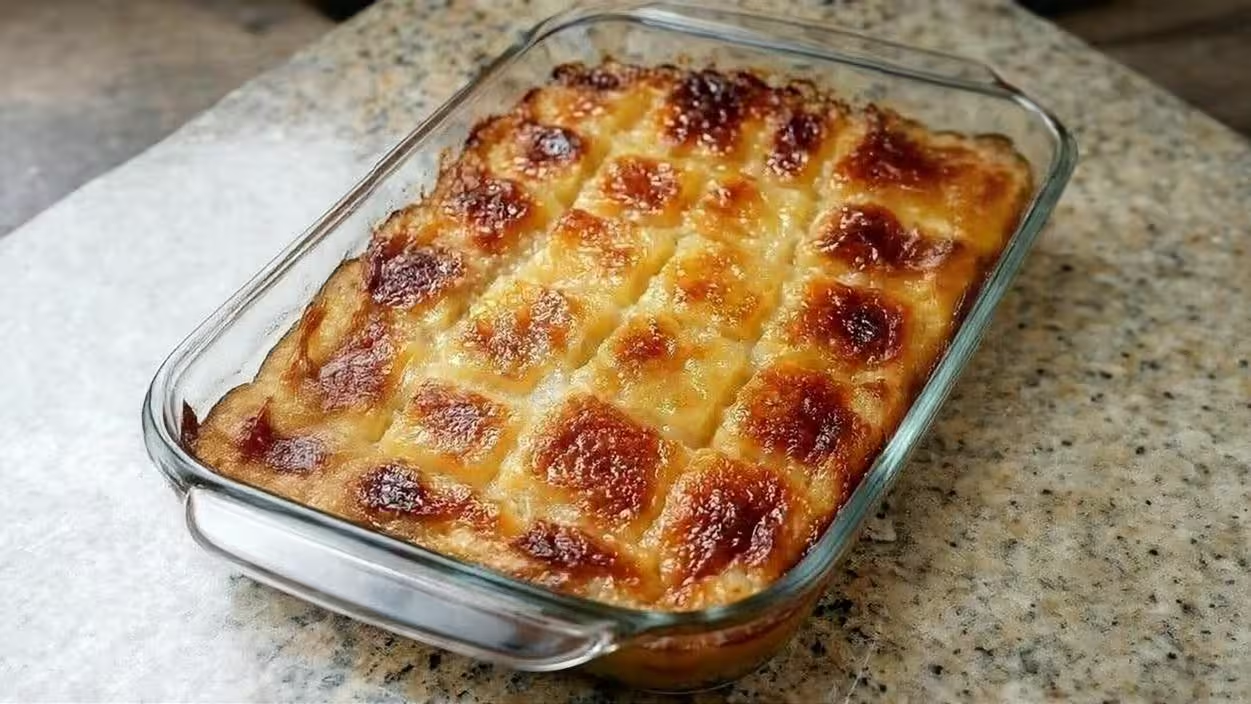
This is the definitive recipe for achieving a truly spectacular Pineapple Cake, A Moist Flavorful Dessert Bursting With Sunshine. It combines the bright tang of tropical fruit with an incredibly tender, fine crumb structure that stays moist for days, thanks to careful ingredient balance and technique. The accompanying pineapple-infused buttercream frosting is the perfect, silky sweet counterpoint, making this dessert a guaranteed showstopper for any American celebration or Sunday dinner. It truly earns the title of A Slice Of Heaven Cake.
Two 8-inch round cake pans OR one 9x13-inch baking pan
Large mixing bowl
Medium mixing bowl
Electric mixer (stand or hand)
Rubber spatula
Wire cooling rack
Sifter or fine-mesh sieve
Preheat your oven to 350°F (175°C) and ensure your oven rack is centered; prepare your pans by greasing and flouring them thoroughly to prevent sticking. In the medium bowl, use a whisk to combine the flour, baking powder, baking soda, and salt until uniformly mixed; this ensures even distribution of the leaveners. In the large bowl, cream the softened butter and granulated sugar on medium-high speed until the mixture is visibly pale, light, and fluffy—this aeration step is non-negotiable for a light crumb. Scrape the bowl down well before adding the eggs one at a time, mixing completely after each addition, followed by the vanilla extract.
Reduce the mixer speed to low and begin alternating the dry ingredient mixture with the reserved pineapple juice (or milk, if necessary), beginning and ending with the dry ingredients; mix only until just combined to avoid gluten development. Gently fold in the thoroughly drained crushed pineapple using a rubber spatula until no large streaks of dry flour remain visible. Divide the batter evenly between your prepared pans and smooth the tops lightly. Bake for 25 to 30 minutes, testing doneness by inserting a wooden skewer near the center—it should emerge clean or with only a few moist crumbs attached. Let the layers cool in their pans on a wire rack for exactly 10 minutes before inverting them onto the rack to cool completely.
While the cake cools, prepare the frosting by beating the softened butter in a clean bowl until it is light and smooth. Gradually beat in the powdered sugar, alternating with the reserved 2 tablespoons of concentrated pineapple juice and vanilla extract until the frosting is smooth, fluffy, and easily spreadable; add sugar if too thin, or a drop of juice if too stiff. Once the cake layers are completely cool to the touch, use an offset spatula to frost the first layer, top with the second, and cover the entire cake with the remaining silky frosting, perfecting your Pineapple Cake, A Moist Flavorful Dessert Bursting With Sunshine.
For a richer, nuttier experience akin to a Cake Mix Italian Cream Cake, substitute 1/2 cup of the all-purpose flour with finely ground pecans or walnuts, and fold in 1/2 cup of toasted, sweetened coconut flakes along with the crushed pineapple. This adds fantastic texture and depth to the Pineapple Cake, A Moist Flavorful Dessert Bursting With Sunshine. To introduce a warming spice element perfect for cooler months, incorporate 1 teaspoon of ground ginger and 1/4 teaspoon of freshly grated nutmeg into the dry ingredients; this shifts the flavor profile beautifully away from pure tropical sweetness. If you desire a quick, simplified version closer to a Cuppa Cuppa Cake style, you can use a high-quality boxed yellow cake mix, omitting the baking powder and soda, and substituting all required liquid with pineapple juice and the crushed fruit, although the resulting texture will be less tender than this scratch method.
To achieve perfectly flat cake layers, which is essential if you plan to stack them high, generously soak thick cotton baking strips (or strips cut from an old, clean kitchen towel) in cold water, wring them out slightly, and wrap them around the outside of your metal cake pans before baking. These strips insulate the pan’s edges, slowing down the setting process so the center rises evenly, preventing dome formation.
When incorporating the vanilla extract into the batter, always add it right before the eggs or immediately after; adding it too early with the fat can cause the volatile aromatic compounds to evaporate or become muted during the long creaming process, resulting in a duller final flavor profile for your Pineapple Cake, A Moist Flavorful Dessert Bursting With Sunshine.
For the absolute creamiest, smoothest frosting, ensure your butter is truly room temperature—around 68°F (20°C)—and use a sieve or sifter for your powdered sugar. Sifting removes the tiny, hard clumps of sugar that do not dissolve easily, leading to a superior, velvety mouthfeel in the final glaze that elevates this dessert far beyond average.
When draining the pineapple, use a fine-mesh sieve set over a bowl, and press firmly on the fruit with the back of a spoon to extract every last drop; the separated juice is incredibly concentrated and should be used sparingly in the frosting to avoid a runny glaze, serving as the key acidic counterpoint.
For optimal, day-after freshness, store the fully cooled and frosted cake in an airtight container at standard room temperature (ideally 68°F/20°C or slightly cooler) for up to 48 hours. The moisture from the pineapple helps keep the crumb tender, but high heat or humidity can cause the frosting to weep; use a cake dome or carrier to protect it from air circulation.
If storing for longer than two days, or if your kitchen runs warm, refrigeration is necessary. Wrap the entire cake tightly in two layers: first with plastic wrap pressed gently against the frosting surface to prevent moisture loss and odor absorption, followed by a layer of aluminum foil. Store in the main body of the refrigerator (not the door) for up to 5 days; allow it to sit on the counter for at least one hour before serving to let the butter soften slightly.
Freezing this Pineapple Cake, A Moist Flavorful Dessert Bursting With Sunshine is highly effective for make-ahead baking. Wrap individual slices or halves tightly using the double-wrap method (plastic, then foil), place them in a heavy-duty freezer bag, squeezing out all excess air, and freeze for up to two months. Thaw overnight in the refrigerator before unwrapping and allowing to come to room temperature for two hours before serving.
Per serving: One slice (1/8th cake)
Nutritional information is an estimate based on ingredient averages and serving size.
There you have it—the definitive guide to crafting the most delightful, tender, and flavor-packed Pineapple Cake, A Moist Flavorful Dessert Bursting With Sunshine. This recipe is a testament to how simple, quality ingredients, treated with respect and precision, can yield results that rival any bakery’s finest creation. It’s bright, it’s comforting, and it carries the warmth of a perfect summer day. Go ahead, make this cake for your family tonight, and watch the smiles spread across their faces. We at HomeRecipes believe baking should bring pride, and this recipe delivers it in spades. Happy baking!
In nearly every case where a fruit cake turns out dense, the culprit is overmixing after the flour was added, which developed too much gluten, or using under-softened butter during the creaming stage. If the butter is too cold, it cannot trap enough air with the sugar. Furthermore, if you skipped whisking your dry ingredients, the baking soda might have clumped, leading to uneven lift. Remember, for this Pineapple Cake, A Moist Flavorful Dessert Bursting With Sunshine, the goal is minimal gluten development once the flour is introduced—mix only until the last streak of white disappears.
You absolutely can, but you must adjust the liquid content carefully. Fresh pineapple is significantly wetter and often more acidic than canned. If using fresh, you must chop it very finely and then sauté it briefly over medium heat, stirring constantly, until much of the excess moisture evaporates—about 10 to 15 minutes. You will likely need to add an extra tablespoon of flour to the dry mix to compensate for the added liquid, and you will certainly not be able to reserve juice for the frosting, so you’ll need to substitute that with 2 tablespoons of milk or cream.
Frosting consistency is entirely dependent on the humidity and the exact amount of juice you used. If your frosting is too thin, it means you introduced too much liquid or your butter was too warm. Do not panic! The fix is simple: add powdered sugar one tablespoon at a time, beating well after each addition, until you reach a firm but spreadable consistency. If it gets too stiff, add a tiny splash—literally 1/4 teaspoon—of milk or cream to bring it back. This is the flexibility you gain when baking at home versus a commercial setting!
Domes form when the edges of the cake bake and set faster than the center, causing the center batter to push upward. To combat this, I employ two professional tricks. First, use the classic 'baking strips'—you can buy them or make them by soaking old towels in water and wrapping them around the outside of your cake pans before baking. These strips insulate the edges, ensuring even heating. Second, reduce the oven temperature slightly, perhaps to 325°F (160°C), and increase the baking time by 5-10 minutes. This slower bake promotes even rising for a flat top, which is essential for stacking a beautiful layer cake.
While this Pineapple Cake, A Moist Flavorful Dessert Bursting With Sunshine is structurally different from Southern Hoe Cakes (which are historically cornmeal-based griddle cakes), they share the spirit of using simple, accessible ingredients to create deep comfort. The connection to something like Texas Toast With Cheese is purely one of American culinary evolution—taking a simple base (bread/cake) and enriching it with dairy and sweetness/fat. This cake embodies the richness often sought in Southern baking, making it a distant, sweeter cousin to those rustic concepts. It’s about maximizing flavor from pantry staples.
No items yet. Click "Add All" or use + buttons!
Community Kitchen