Simple. Tasty. From Our Home to Yours. Browse all recipes

Simple. Tasty. From Our Home to Yours. Browse all recipes
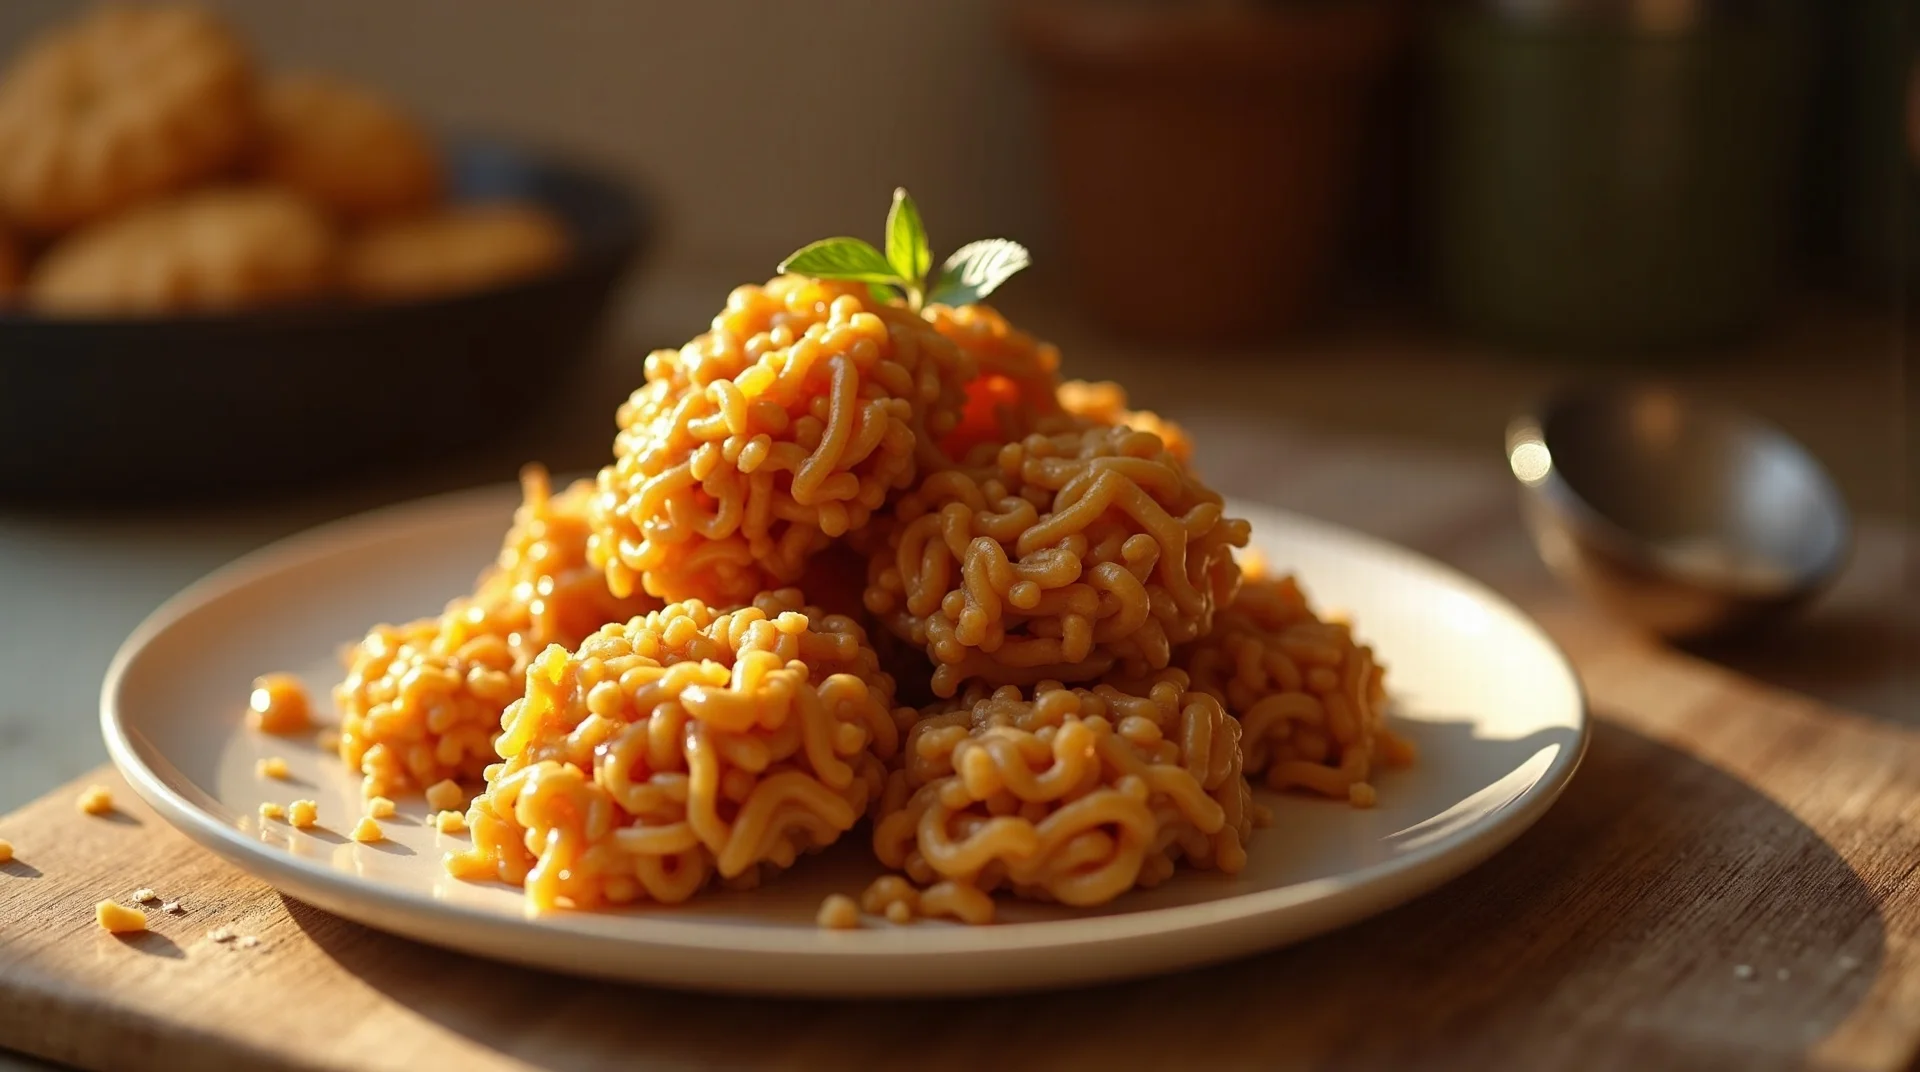
These baked Peanut Butter Balls redefine the classic confection, offering a superior texture that is both wonderfully chewy inside and perfectly tender outside. Forget the unbaked versions; this recipe leverages simple oven heat to develop deep, toasted peanut notes and a satisfying structural integrity. They are the quintessential American treat—quick to assemble, requiring only pantry staples, and guaranteed to disappear instantly from any dessert table. They are rich, nutty, and possess that addictive balance of sweet and salty that keeps you coming back for just one more of these delightful Peanut Butter Balls.
Oven
Baking sheet
Parchment paper
Large mixing bowl
Medium mixing bowl
Electric hand mixer or stand mixer
Rubber spatula
Wire cooling rack
Small cookie scoop (optional)
Preheat your oven to 350°F (175°C) and line a baking sheet with parchment paper to ensure easy release and even browning on the base of your Peanut Butter Balls.
In a medium bowl, gently warm or stir the butter until it is soft enough to mix easily, then combine it thoroughly with the peanut butter until the fats are fully emulsified into a smooth, uniform paste. Set aside.
In a separate, larger bowl, beat the room-temperature egg and caster sugar together vigorously for a full two minutes until the mixture is pale yellow and slightly thickened, incorporating necessary air for a tender crumb structure.
Gently fold the peanut butter mixture into the aerated egg-sugar mixture, taking care not to deflate the air you whipped in.
Gradually incorporate the flour and salt, stirring only until the last streaks of dry flour disappear; stop mixing immediately to prevent toughness, resulting in a soft, slightly tacky dough.
Scoop the dough into uniform 1-inch balls, place them 2 inches apart on the prepared baking sheet, and press the top of each ball lightly with a fork twice, rotating 90 degrees to create the classic crosshatch pattern.
Bake the Peanut Butter Balls for 15 to 18 minutes. They are done when the edges appear lightly golden brown but the centers still look slightly soft—this intentional underbaking ensures maximum chewiness.
Allow the balls to rest undisturbed on the hot baking sheet for 5 minutes to firm up their structure before carefully transferring them to a wire rack to cool completely before attempting any glaze or storage.
This classic presentation requires patience. Once the Peanut Butter Balls are completely cool (room temperature is crucial), melt 6 ounces of high-quality dark or semi-sweet chocolate chips with 1 teaspoon of coconut oil until perfectly smooth. Use a dipping fork to coat each ball, allowing the excess chocolate to drip back into the bowl before placing them on wax paper to set in the refrigerator for 30 minutes. This adds a wonderful snap and balances the sweetness perfectly, transforming them into a high-end confectionary item reminiscent of fine candy shop offerings.
For a richer, more complex flavor profile that leans toward traditional American molasses cookies, substitute 1/4 cup of the caster sugar with 1/4 cup of dark brown sugar, packed firmly. Additionally, add 1 teaspoon of unsulfured molasses to the wet ingredients when combining the egg mixture. The molasses not only deepens the color to a beautiful mahogany but its invert sugar content also naturally enhances the chewiness, creating Peanut Butter Balls with a more complex, almost spiced flavor undertone.
To cut through the richness of the peanut butter, incorporate vibrant citrus notes. Add the finely grated zest of one large orange or two lemons directly into the dry ingredients (flour and salt) before mixing. The essential oils released from the zest will infuse the entire dough, providing a bright, aromatic lift that prevents the richness from becoming overwhelming. This variation pairs exceptionally well with a simple dusting of powdered sugar instead of a chocolate coating.
Always use an egg at room temperature—this is non-negotiable for smooth incorporation. A cold egg will rapidly chill the melted butter and peanut butter mixture, causing the fats to seize and leading to a grainy, poorly emulsified initial dough. A stable emulsion ensures that the fat is evenly distributed, which directly translates to a superior, uniform texture in your final baked Peanut Butter Balls.
To guarantee perfect uniformity, which is essential for even baking, utilize a small, spring-loaded cookie scoop (about 1.5 tablespoons). When you scoop portions of the dough, every ball starts at the same mass, meaning they will all finish baking simultaneously. This prevents the common issue where some balls are perfectly golden while others are undercooked or burnt at the edges.
The subtle beauty of the crosshatch pattern is functional, not just aesthetic. It creates small fissures on the surface that act as vents, allowing steam generated within the dough to escape predictably. Without these vents, steam pressure builds up unevenly, leading to large, unsightly cracks across the surface as the structure sets, rather than the delicate, controlled fissures we aim for in perfect Peanut Butter Balls.
For the best immediate texture, store the fully cooled Peanut Butter Balls in a rigid, airtight container at a cool room temperature (ideally below 70°F). Layering them with parchment paper between tiers prevents sticking, but avoid flimsy plastic bags, as they allow moisture exchange that can quickly lead to staleness or a gummy exterior, compromising the slightly crisp edges.
If your kitchen environment is warm or humid, the refrigerator is the safest bet to prevent stickiness or potential spoilage, though cold dulls flavor and hardens texture. Place the cooled balls in a tightly sealed glass container, ensuring minimal air exposure. However, cold temperatures stiffen the butter content significantly, so always remove them 45 minutes before serving and let them temper on the counter to regain their perfect, yielding chewiness.
If you plan to keep these longer than a week, freezing is the superior method. After cooling completely, place the Peanut Butter Balls on a parchment-lined tray and flash-freeze them for two hours. Once solid, transfer them to a high-quality, heavy-duty zip-top freezer bag, pressing out every bit of air before sealing securely. This prevents freezer burn and ice crystal formation. Thaw them overnight in the refrigerator, then finish with a quick 5-minute warm-up in a 300°F oven just before serving to revive the subtle exterior crispness.
Many bakers, trying to be healthier, reach for natural, oil-separated peanut butter. This is a structural disaster for baked Peanut Butter Balls. The high liquid oil content separates during mixing and then leaks out during baking, resulting in a cracked, greasy mess coating your baking sheet. If you must use it, drain off the excess oil first, or add an extra tablespoon of flour to compensate for the lost dry binding agent, though I still prefer the stability of commercial peanut butter for this specific recipe.
People often associate deep brown color with ‘done-ness,’ especially if they are used to making standard peanut butter cookies. For these balls, a deep mahogany color means the sugars have caramelized past the point of perfection, leading to a dry, brittle texture. Pull them when the edges are just starting to firm up and turn pale gold. The residual heat will carry them to the perfect internal state without drying out the center.
Per serving: Approximately 16 balls
Nutritional estimates are based on using standard stabilized peanut butter and do not account for optional chocolate dipping.
There you have it—the definitive guide to creating truly exceptional Peanut Butter Balls right in your home kitchen. We’ve moved beyond the basic mix-and-roll method to understand the science behind the perfect chew, the ideal bake time, and the crucial role of ingredient temperature. These treats are a testament to the fact that the simplest recipes often yield the most profound satisfaction. Now, it is your turn to step up to the counter, embrace the aroma, and create a batch that becomes the new standard in your family. Don’t be afraid to make them your own, but always respect the foundation of this classic recipe. Happy baking, and welcome to the world of restaurant-quality home cooking, only here at HomeRecipes.com!
For the most structurally sound and consistently textured Peanut Butter Balls, I strongly advise using a commercial, stabilized peanut butter—the kind that doesn't require stirring before use. The added emulsifiers (like hydrogenated vegetable oils) prevent the natural oils from separating when mixed with the butter and egg, which is crucial when baking. Natural, runny peanut butter tends to leak fat during baking, resulting in a greasier, flatter cookie that often crumbles instead of holding that perfect ball shape. Stick to the classics for reliability here!
Excessive cracking usually stems from one of two issues: either the dough was too dry, or you skipped the classic fork press. If the dough is too dry (perhaps due to using a very stiff peanut butter or slightly over-measuring the flour), the surface tightens too quickly in the oven, forcing the interior to crack as it expands. Ensure your dough is soft and slightly tacky. Secondly, the crosshatch pattern made by the fork is functional; it provides weak points for the steam to escape, controlling the expansion. If you skip it, the pressure builds up unevenly, leading to large fissures.
While this recipe relies on the egg for binding and moisture, you can attempt an egg substitute, though the texture will shift away from the classic Peanut Butter Balls slightly. A good substitute in this context would be 2 tablespoons of unsweetened applesauce or 1 tablespoon of flaxseed meal mixed with 3 tablespoons of water (let it sit for 5 minutes to gel). Be aware that the applesauce will add extra moisture, potentially requiring a tablespoon more flour, and the flax egg will yield a slightly denser, nuttier result. For the best texture, however, use the egg as written.
That's an intriguing pivot! While the base is sweet, you can adapt the concept toward appetizers like the savory Cream Cheese Sausage Balls we mentioned. For a savory take on Peanut Butter Balls, omit the caster sugar entirely. Replace it with 2 teaspoons of smoked paprika, 1 teaspoon of garlic powder, 1/2 teaspoon of cayenne pepper, and increase the salt to 1/2 teaspoon. You would also need to swap the egg for about 4 ounces of softened cream cheese to provide the necessary binding moisture without adding liquid. These savory versions bake beautifully and pair wonderfully with robust flavors, though they are structurally different from the sweet baked version.
Spreading is primarily governed by the fat content and the initial temperature of the dough when it enters the oven. Ensure your butter and peanut butter are only slightly softened, not liquid. More importantly, if your dough feels warm or oily when you roll the balls, chill the entire tray of formed balls in the refrigerator for 15 minutes before placing them into the preheated 350°F oven. Cold dough hits the hot oven, solidifying the exterior fats quickly, which locks in the shape before the interior has a chance to melt and spread excessively.
No items yet. Click "Add All" or use + buttons!
Community Kitchen