Simple. Tasty. From Our Home to Yours. Browse all recipes

Simple. Tasty. From Our Home to Yours. Browse all recipes
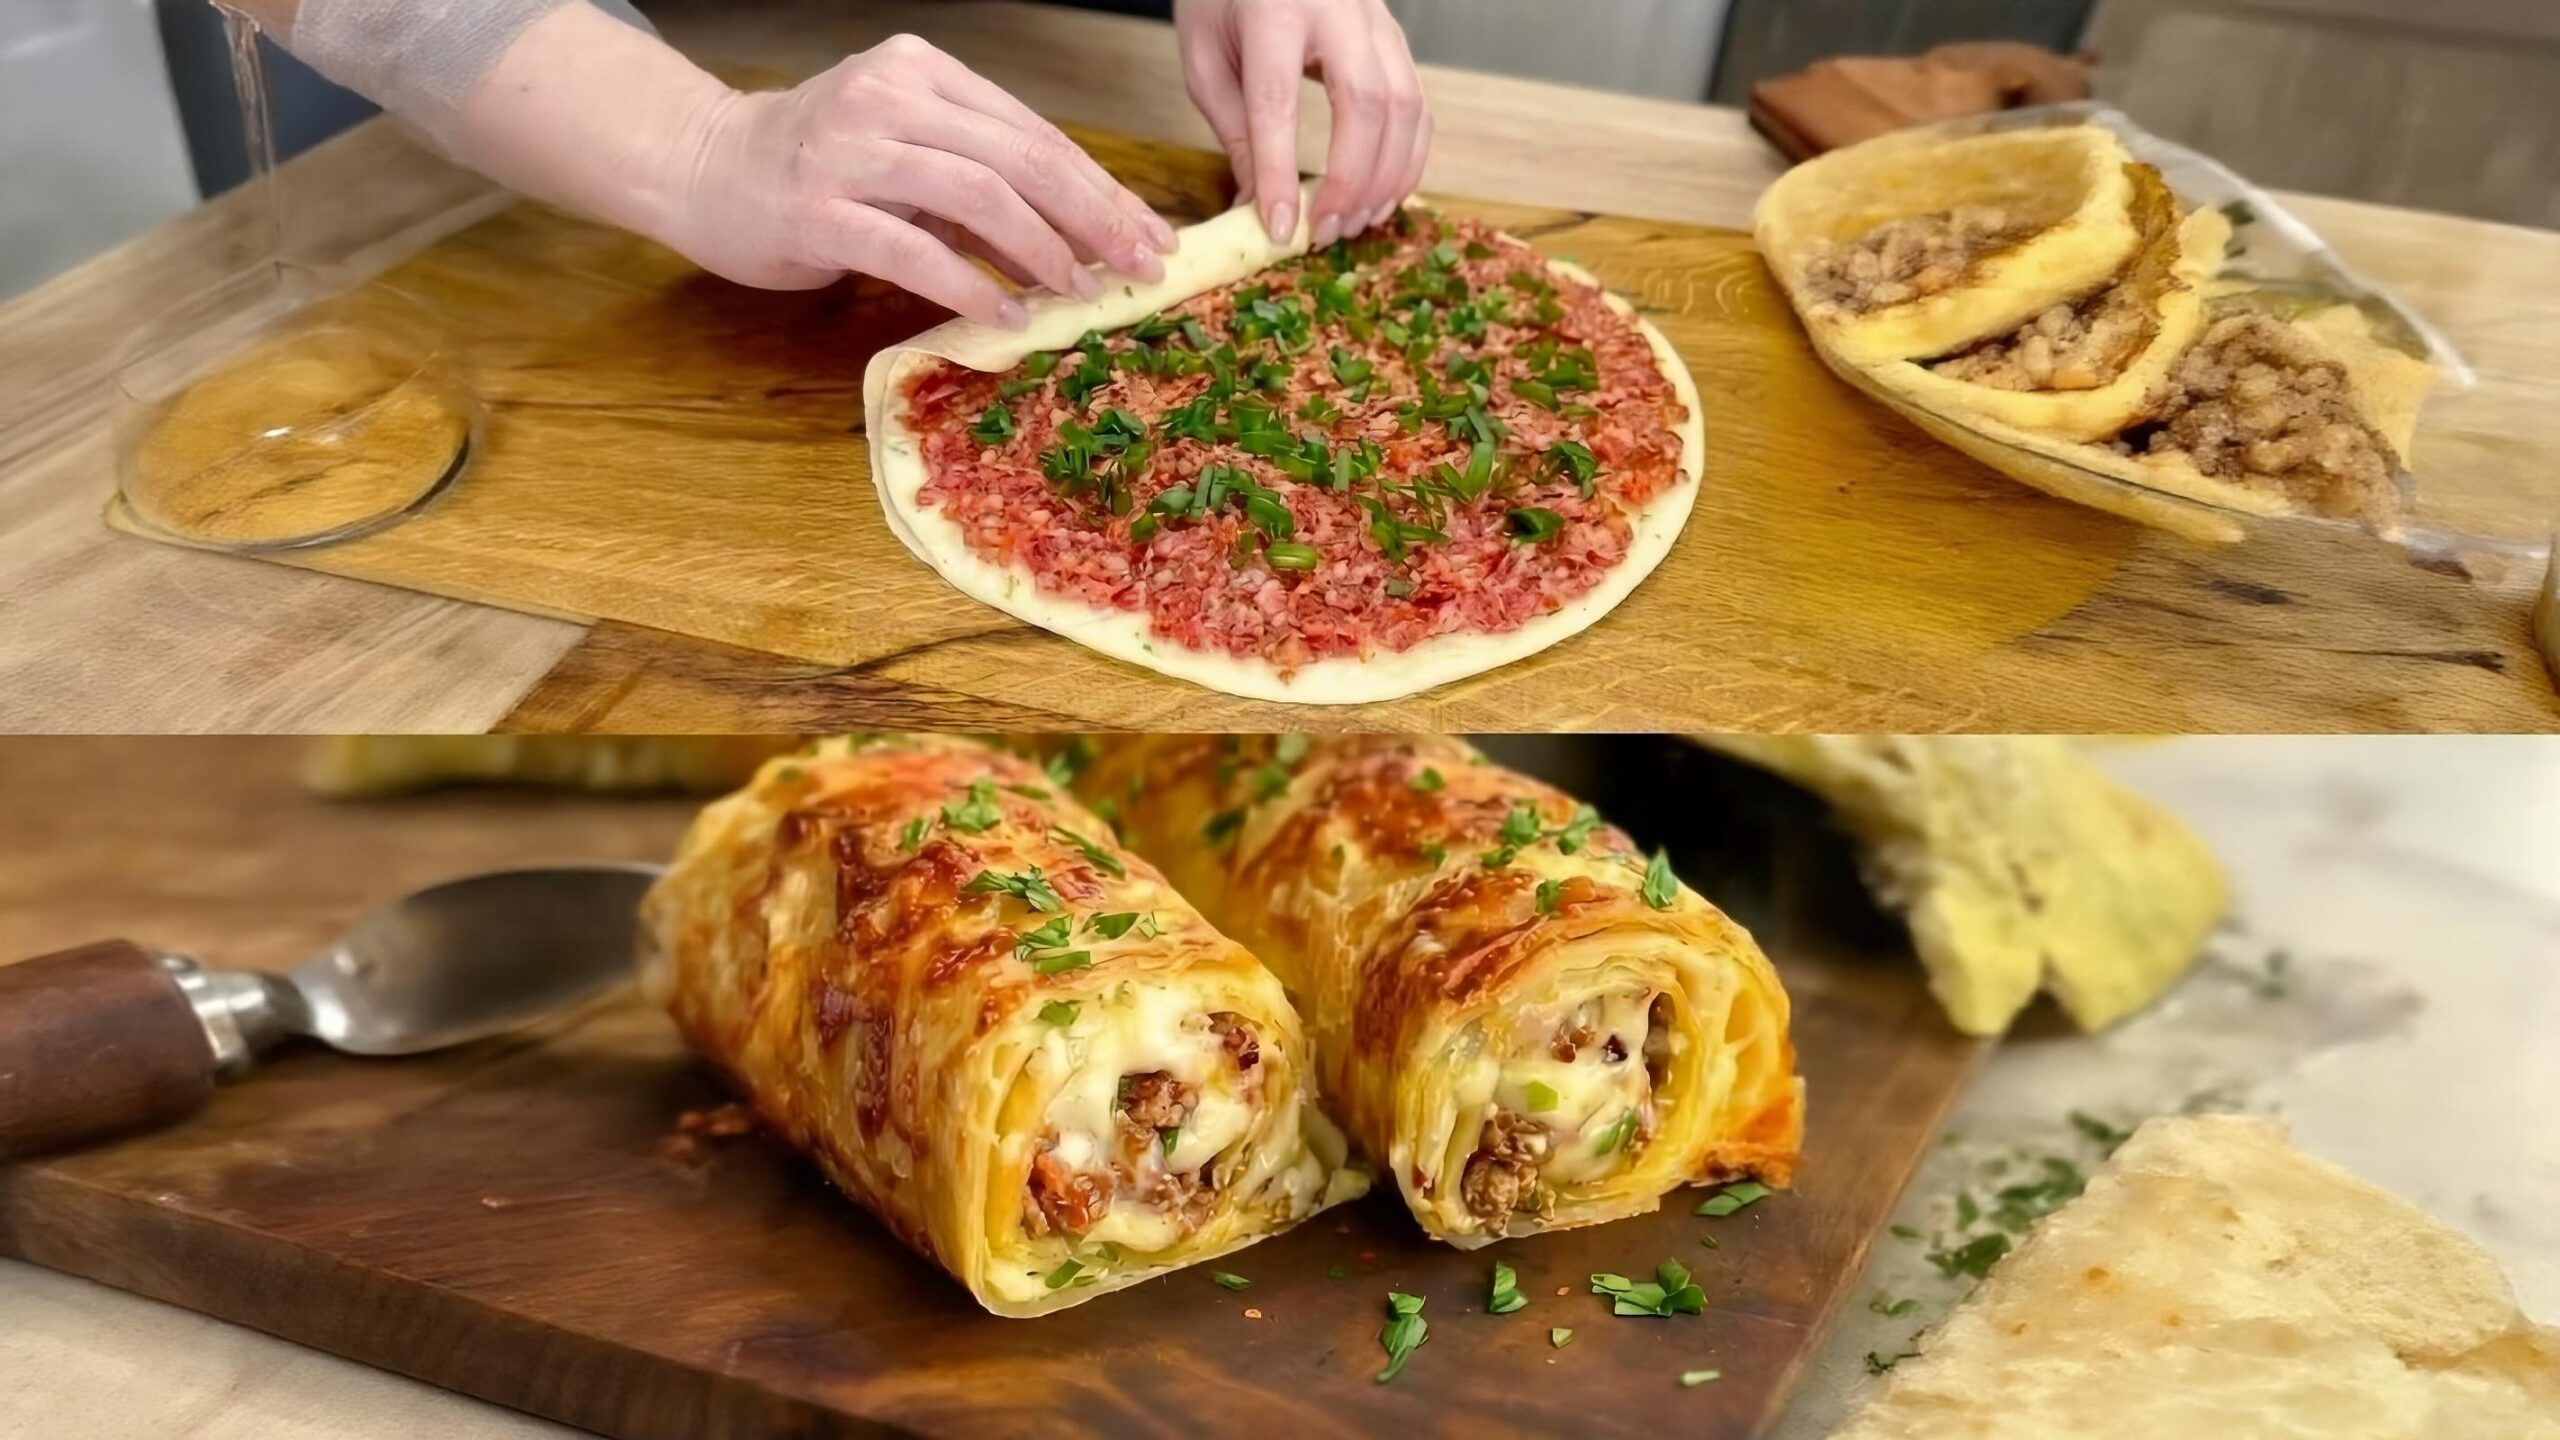
This Cheesy Ground Beef Rice Casserole is the definitive American weeknight hero, blending savory seasoned ground beef, tender long-grain rice, earthy cream of mushroom, and a generous, bubbly blanket of sharp cheddar cheese. It requires simple pantry ingredients but delivers a deep, slow-cooked flavor profile, making it an essential comfort food staple that feeds the whole family affordably and deliciously. Master this one-dish wonder tonight!
9x13 inch glass baking dish
Large, heavy-bottomed skillet (cast iron preferred)
Wooden spoon or spatula
Measuring cups and spoons
Aluminum foil
Wire cooling rack
Preheat your oven to 350°F (175°C) and thoroughly grease your 9x13-inch baking dish with spray or butter. Ensure your beef broth is warm or simmering before use to maintain batter temperature. In your skillet over medium-high heat, brown the ground beef until well-caramelized, then drain off all rendered fat completely. Return the beef to the skillet over medium heat, add the diced onion, and cook until translucent, about 5 minutes. Add the minced garlic and Italian seasoning, cooking only until fragrant, about 60 seconds, then season the mixture lightly with salt and pepper.
In the prepared casserole dish, combine the raw rice, the cooked beef mixture, the entire can of cream of mushroom soup, the undrained diced tomatoes, the warm beef broth, frozen corn, and the first cup of shredded cheddar cheese. Stir gently until every grain of rice is coated and submerged beneath the liquid. Cover the dish extremely tightly with aluminum foil, ensuring a good seal to trap all steam for cooking the rice. Bake on the center rack for 30 minutes.
Carefully remove the hot foil and give the mixture a quick, gentle stir to redistribute moisture. Sprinkle the remaining 1 cup of cheddar cheese evenly over the top surface. Return the casserole to the oven, uncovered, for an additional 15 to 20 minutes, or until the cheese is melted, bubbling, and nicely browned. Allow the finished Cheesy Ground Beef Rice Casserole to rest on the counter for a full 10 minutes before attempting to serve or scoop.
Introduce heat by substituting the Italian seasoning with 2 tablespoons of high-quality, Halal-certified taco seasoning and adding one 4 oz can of diced green chilies (undrained) with the tomatoes. For the cheese, use a Mexican blend featuring Monterey Jack instead of half the cheddar for a superior melt and slight pepperiness, transforming this into a robust Cheesy Beef Taco Casserole adjacent dish. This variation pairs wonderfully with freshly sliced avocado on the side.
To significantly boost the vegetable content, sauté 1 cup of finely diced zucchini and 1/2 cup of sliced white mushrooms until they have released and evaporated most of their moisture before adding the beef back to the pan. This pre-cooking step prevents excess water from diluting the broth needed to cook the rice perfectly. You can also swap the corn for a cup of frozen broccoli florets.
Elevate the savory profile by incorporating fresh herbs during the initial sauté process. Add 1/4 cup of chopped fresh parsley and 2 tablespoons of fresh oregano along with the onions. Furthermore, substitute 1/4 cup of the beef broth with a splash of high-quality, alcohol-free Worcestershire sauce to introduce a deeper, fermented umami note, mimicking the complexity found in Teriyaki Chicken Casserole flavor bases, but tailored for beef.
While this is a Cheesy Ground Beef Rice Casserole, you can successfully use ground turkey or ground chicken breast. However, because poultry is much leaner, you MUST add 2 extra tablespoons of butter to the skillet when sautéing the onions to compensate for the lost fat content that aids in flavor distribution and moisture retention throughout the bake.
Always heat your beef broth before adding it to the mixture. Adding cold liquid dramatically lowers the temperature of the entire casserole base, forcing the oven to waste time reheating before the actual process of starch gelatinization (cooking the rice) can begin, leading to inconsistent texture where the edges are soft but the center remains slightly underdone. Hot liquid promotes even, immediate cooking.
When shredding cheese, use the large holes on your box grater or a food processor attachment. Pre-shredded cheese is coated in cellulose or potato starch to prevent clumping in the bag, but these coatings interfere with the smooth, emulsified melt we need for a perfect top crust, often resulting in an oily separation on your Cheesy Ground Beef Rice Casserole.
For a truly luxurious texture, reserve 1/4 cup of the final shredded cheddar and mix it with 2 tablespoons of softened cream cheese before layering it on top for the final bake. The cream cheese melts into the cheddar, creating an incredibly rich, silky, and slightly tangy top layer that resists the oil separation that sometimes plagues pure cheddar toppings.
After the initial 30-minute covered bake, use a meat thermometer to check the internal temperature near the center; it should be around 180°F (82°C). This ensures the rice has absorbed enough moisture and softened sufficiently before you expose the top to direct heat for browning.
Allow the Cheesy Ground Beef Rice Casserole to cool on the counter for at least 60 minutes, ensuring the residual heat dissipates evenly before covering. Once lukewarm, cover the entire dish tightly with plastic wrap, followed by a layer of aluminum foil, to prevent surface drying and odor absorption. Store in the refrigerator for up to four days. For reheating, the best method is to scoop individual portions into an oven-safe dish, add one teaspoon of water or broth per serving, cover loosely with foil, and bake at 325°F (160°C) for 15-20 minutes until steaming hot.
This casserole freezes exceptionally well. Once cooled completely, portion it into heavy-duty freezer-safe containers or sturdy zip-top freezer bags, pressing the food down to remove excess air before sealing. For bags, lay them flat on a baking sheet in the freezer until solid, then stack them vertically for space saving. Label clearly with the date; it keeps well for up to three months. Thaw overnight in the refrigerator before reheating via the oven method described above, adding an extra 5-10 minutes to the covered baking time.
For serving immediately after baking, the dish can safely sit at room temperature, covered loosely with foil, for up to two hours. However, if you anticipate leftovers, do not leave it out longer than two hours due to food safety guidelines concerning dairy and meat products. If you must hold it longer, place it in a warming drawer set no higher than 200°F (93°C) to keep it safe without overcooking the top layer.
Per serving: 1 large square (approx. 1/6th of dish)
This is a hearty meal; please adjust accompanying sides to manage sodium intake, perhaps opting for fresh, unsalted vegetables.
There you have it—the definitive guide to crafting a truly superior Cheesy Ground Beef Rice Casserole. This dish proves that American comfort cooking is built on smart technique applied to accessible ingredients. By controlling your searing, managing your moisture, and timing your cheese application, you transform a simple bake into a memorable meal. I encourage you to try this recipe this week, perhaps even preparing a smaller version to test out some of the variations we discussed. Enjoy the process, and welcome this hearty classic into your rotation here at HomeRecipes.com!
While the cream of mushroom soup provides essential emulsifiers and flavor depth for this specific Cheesy Ground Beef Rice Casserole, you certainly can substitute it. For a homemade route, create a roux by whisking 3 tablespoons of butter and 3 tablespoons of flour in the skillet until smooth. Gradually whisk in 1 ½ cups of whole milk until thickened. Then, stir in 1 teaspoon of mushroom powder or a few sautéed, finely minced mushrooms for flavor. This homemade cream sauce will yield a slightly lighter, cleaner flavor profile than the canned version, but it requires careful whisking to avoid lumps.
If you wish to skip the draining step—though I highly recommend draining for texture—you must use 93/7 or 96/4 extra-lean ground beef. Any fat content above 7% will render out into a substantial pool in the bottom of your casserole dish, resulting in a greasy final product where the rice absorbs oil instead of the savory broth. Remember, the flavor we want comes from the browned meat particles, not excessive rendered fat, especially when using canned soup as a binder.
Yes, absolutely essential. The foil creates a sealed environment, essentially turning your baking dish into a steamer. This trapped steam is the mechanism by which the raw, hard rice grains absorb the liquid and become perfectly tender. Without the foil, the top layer of liquid would evaporate too quickly, leaving you with crunchy, undercooked rice surrounded by a dry meat mixture. The foil ensures even, moist heat transfer necessary for this style of Cheesy Ground Beef Rice Casserole.
You absolutely can assemble the entire Cheesy Ground Beef Rice Casserole up to 24 hours in advance. After mixing all ingredients (but before the first layer of cheese goes on), cover the dish tightly with plastic wrap followed by a layer of foil, and refrigerate. When ready to bake, remove the plastic wrap, replace the foil, and add the initial 1 cup of cheese. You must adjust the baking time; since it is going into the oven cold, add an additional 15 to 20 minutes to the covered baking time, checking for tenderness before proceeding to the uncovered, cheesy finish.
If mushroom isn't your preference, you can pivot the flavor profile entirely. Substitute the cream of mushroom soup with an equal amount (10.5 oz can) of Cream of Celery Soup for a slightly greener, earthier base, or use Cream of Chicken Soup if you desire a poultry-forward flavor that pairs wonderfully with beef broth. If you want a slightly tangier, Tex-Mex feel, substitute the soup with one 10.5 oz can of Cream of Cheddar Cheese Soup, but reduce the amount of shredded cheddar cheese added later by 1/2 cup to compensate for the extra salt and creaminess.

No items yet. Click "Add All" or use + buttons!
Community Kitchen