Incubate Chicken Eggs Recipe (Home Hatching Guide)
Unlock the fascinating world of home poultry with this expert guide on how to incubate chicken eggs. From selecting the right equipment and fertile eggs to meticulously managing temperature and humidity, Chef HomeRecipes provides professional insights for a successful hatch. Learn insider secrets to boost hatch rates, avoid common pitfalls, and witness the incredible journey from egg to chick. This comprehensive resource empowers you to nurture new life, fostering a deeper connection to your food source and creating a rewarding experience for the whole family.
restaurant_menu Ingredients
Essential Equipment & Supplies
Hatching Eggs
hardware Essential Tools
Incubator
Thermometer
Hygrometer
Candling light
Record book
Soft lead pencil
Egg carton
Brooder (for hatched chicks)
format_list_numbered Preparation
Initial Setup & Preparation (Days 1-3)
Set up your incubator in the chosen stable location, away from drafts and direct sunlight, on a sturdy, flat surface. Ensure the room temperature is consistently between 65-70°F (18-21°C).
Plug in the incubator and allow it to run for at least 24 hours, preferably 48 hours, with distilled water in the humidity trays. This 'dry run' allows you to calibrate the temperature and humidity, making any necessary adjustments before placing your precious eggs inside.
Verify your thermometer and hygrometer's accuracy. If your incubator has built-in sensors, use external, calibrated units to double-check their readings, ensuring precise environmental control.
Mark your fertile eggs with an 'X' on one side and an 'O' on the opposite side using a soft lead pencil. This helps you track manual turning if your incubator doesn't have an automatic turner, or simply serves as a visual confirmation of egg rotation.
Once the incubator's temperature has stabilized at 99.5-100.5°F (37.5-38.1°C) and humidity is around 45-55%, gently place your marked eggs into the incubator, preferably in an automatic turning tray if available. Record the 'set date' in your journal.
Incubation Phase (Days 1-18)
Maintain a consistent temperature of 99.5-100.5°F (37.5-38.1°C) and a humidity level of 45-55%. Check these readings multiple times daily and adjust water levels in the incubator's trays as needed, adding only distilled water.
If using an automatic turner, ensure it is functioning correctly and rotating the eggs regularly. If turning manually, gently rotate each egg at least three times a day, making sure to turn them an odd number of times (e.g., 3, 5) so they don't rest on the same side for too long.
Around day 7, perform your first candling. In a darkened room, hold a candling light or bright flashlight to the large end of each egg. Look for a small, dark embryo and a network of tiny blood vessels. Remove any clear eggs (infertile) or those with a dark ring (early embryonic death) to prevent contamination.
Conduct a second candling around day 14. The embryo should be much larger, filling most of the egg, and you might observe movement. The air cell should also have grown larger, indicating proper moisture loss. Continue to monitor temperature, humidity, and turning diligently.
Lockdown & Hatching (Days 18-21)
On day 18, gently remove the eggs from the automatic turner (if applicable) and lay them flat on a clean, soft shelf liner on the incubator floor. Stop all turning from this point forward.
Increase the incubator's humidity to 65-75% for the 'lockdown' phase. This higher humidity helps to soften the inner membrane of the egg, making it easier for the chicks to pip and hatch. Ensure there is ample distilled water in the trays.
Resist the strong urge to open the incubator during these critical last three days. Opening the incubator causes rapid fluctuations in temperature and humidity, which can fatally chill the developing chicks or make it harder for them to break free from the shell. Trust the process.
Listen for peeping sounds and watch for 'pipping' – tiny cracks in the shell where the chick begins to break through. Hatching can take anywhere from a few hours to a full day once pipping starts. Allow the chicks to hatch naturally.
Once a chick has fully hatched and is dry and fluffy, leave it in the incubator for 12-24 hours. This allows it to rest, gain strength, and absorb the remaining yolk sac, which provides initial nourishment. After this period, gently transfer the dry, active chicks to a pre-warmed brooder with chick starter feed and fresh water. Clean the incubator thoroughly once all chicks have hatched and been removed.
favorite You Might Also Love
Browse All arrow_forwardNostalgic Savory Onion Pot Roast: 20 Kitchens Ap Classic
Mastering Gemstone Cuts: A Chef's Guide to Brilliance
Cracker Barrel Meatloaf Recipe (Classic Homestyle)

Texas Roadhouse Butter Recipe (Sweet & Creamy)
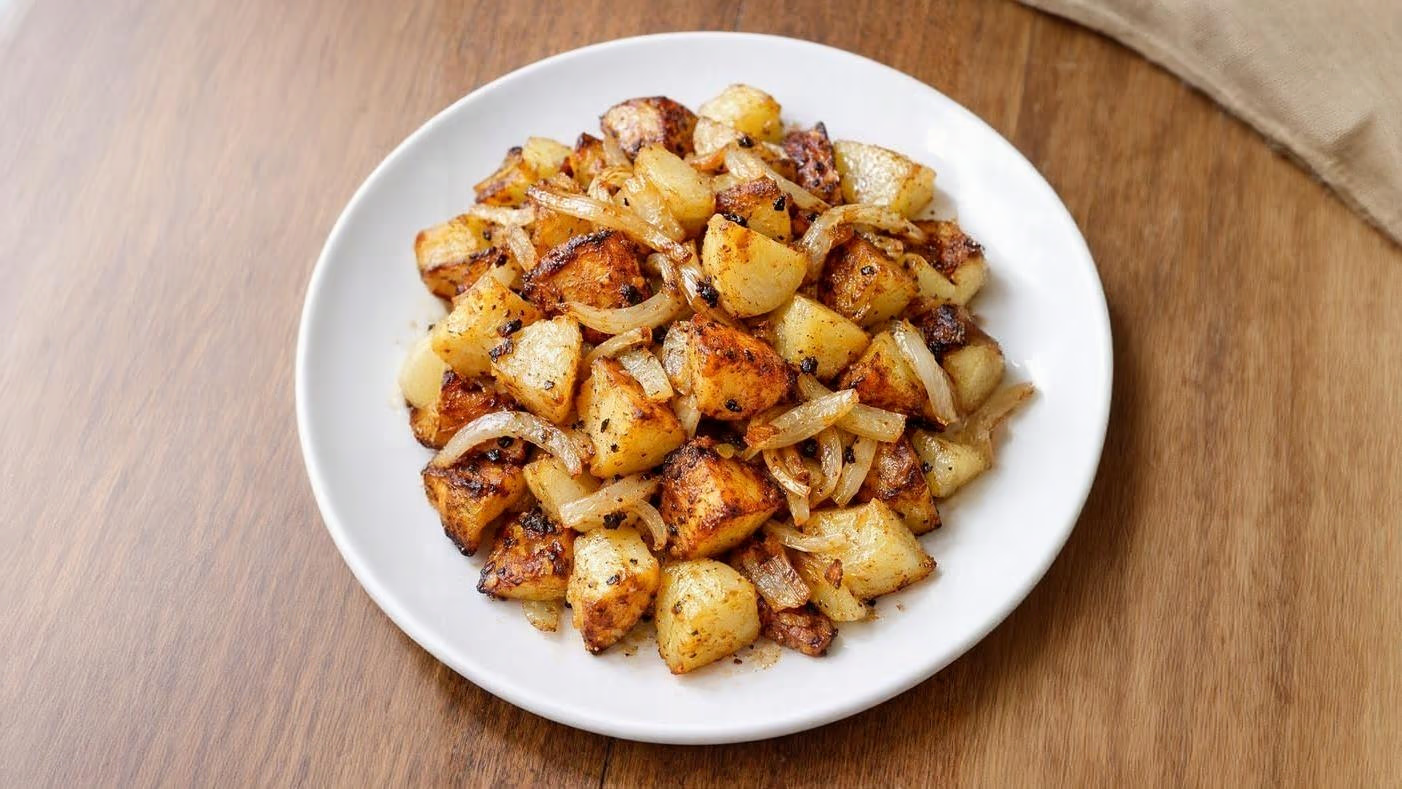
Classic Pan-Fried Potatoes and Onions: A Depression-Era Comfort Food Recipe

Dolly's 5-Ingredient Casseroles
Try These Variations
Duck Eggs
While the principles are similar, duck eggs generally require 28 days of incubation and slightly higher humidity (around 60% for the first 25 days, then 75-80% for lockdown). They are also larger, so ensure your incubator can accommodate their size and that the turning mechanism is suitable. Always research the specific requirements for the type of waterfowl you intend to hatch.
Quail Eggs
Quail eggs have a much shorter incubation period, typically 17-18 days. They are also much smaller, so special quail egg turning trays are often required. Temperature remains similar (99.5-100.5°F), but humidity might be slightly higher for some species. Due to their small size, they are more susceptible to drying out if humidity is too low. Precision is key with these tiny eggs.
Goose Eggs
Goose eggs are the giants of the poultry world and take about 28-32 days to hatch, depending on the breed. They require higher humidity (60-65% during incubation, 80-85% during lockdown) and often benefit from daily misting with warm water during the last week to help soften the shell and membrane. Their size also means fewer eggs can fit in a standard incubator, and stronger turning motors might be needed.
Chef's Pro Tips
Calibrate Your Equipment
Never trust built-in incubator thermometers and hygrometers implicitly. Just like a chef calibrates their oven, use a separate, known-accurate thermometer and hygrometer (like a medical thermometer for temperature and a salt test for humidity) to verify your incubator’s readings. This precision is the single most important factor for a successful hatch, as even a degree or two off can be fatal to embryos.
The ‘Dry Run’ is Non-Negotiable
Before placing any eggs, run your incubator for at least 24-48 hours. This allows the internal environment to stabilize and gives you time to fine-tune temperature and humidity settings without risking your precious fertile eggs. It’s like preheating your oven to ensure it’s at the perfect temperature before baking; consistency is paramount for successful embryo development.
Don’t Wash Eggs
Fertile eggs come with a natural protective coating called the ‘bloom.’ Washing eggs removes this bloom, making them susceptible to bacterial contamination and significantly reducing hatch rates. Only set clean eggs, and if an egg is soiled, it’s best not to incubate it. Think of the bloom as the egg’s natural sealant, keeping harmful microbes out.
Maintain Consistent Humidity
Humidity is often underestimated. Too low, and the embryo can dehydrate and get ‘shrink-wrapped’ by the inner membrane, making it impossible to hatch. Too high, and the chick can drown in the excess fluid or develop abnormally. Monitor your hygrometer diligently and adjust water levels in your incubator’s trays, using only distilled water to prevent mineral buildup and ensure accurate readings. An egg scale can help monitor proper moisture loss by tracking egg weight.
Resist the Urge to Peek During Lockdown
The last three days of incubation (days 18-21) are called ‘lockdown,’ and it’s crucial not to open the incubator. Every time you open it, you cause a sudden drop in temperature and humidity, which can be detrimental to the delicate pipping chicks. The sudden chill can weaken them, and the drop in humidity can cause the inner membrane to dry out, trapping the chick. Trust the process and let nature take its course.
Storage Guide
Pre-Incubation Storage (Fertile Eggs)
Store fertile eggs pointed end down in a clean, unused egg carton. The ideal conditions are a cool, humid environment, typically around 55-60°F (13-16°C) with 75% relative humidity. A cool basement or pantry is often suitable. Avoid standard refrigeration (below 45°F or 7°C) as this can halt embryonic development and reduce hatch rates. Eggs stored this way should be set within 7 days for optimal hatchability, though some viability may persist up to 10-14 days with diminishing returns.
Post-Hatch Storage (Chicks)
Once chicks have fully dried and fluffed up in the incubator (typically 12-24 hours after hatching), they should be immediately transferred to a pre-warmed brooder. A brooder is a safe, enclosed environment with a heat source (brooder lamp or heating plate), fresh chick starter feed, and clean water. The initial temperature directly under the heat source should be around 90-95°F (32-35°C), gradually reducing by 5°F (2.8°C) each week until they are fully feathered (around 6-8 weeks old) and can withstand ambient temperatures. Ensure the brooder is draft-free and provides enough space for the chicks to move away from the heat if they get too warm.
Avoid These Mistakes
✕ Inconsistent Temperature
Fluctuations in temperature, even slight ones, are a primary cause of failed hatches. Embryos are extremely sensitive to heat variations; too hot can cause deformities or early death, too cold can slow development or kill them. Always calibrate your thermometer and place the incubator in a room with stable ambient temperature to minimize swings.
✕ Incorrect Humidity Levels
Many beginners struggle with humidity. Too low, and the chick can dehydrate, becoming ‘shrink-wrapped’ by the inner membrane and unable to break free. Too high, and the chick can drown in excess fluid, or the air cell might not develop correctly, leading to late-term deaths. Use a reliable hygrometer and monitor daily, adjusting water levels carefully.
✕ Improper Egg Turning
If eggs aren’t turned regularly, the developing embryo can stick to the shell membrane, leading to deformities or death. This is why automatic turners are highly recommended. If turning manually, ensure you turn them at least three times a day, always an odd number of turns, and stop turning completely on day 18.
✕ Opening the Incubator During Lockdown
This is a critical mistake. During the last three days of incubation (‘lockdown’), opening the incubator causes a rapid loss of heat and humidity. This sudden environmental shock can chill the developing chicks, causing them to weaken or die, and can dry out the internal membrane, making it impossible for them to hatch. Patience is key during this final stage.
✕ Using Unclean or Old Eggs
Dirty eggs introduce bacteria into the incubator, which can contaminate other eggs and cause early embryonic death. Washed eggs lack the protective bloom and are also susceptible to bacteria. Old eggs (stored for more than 7-10 days before setting) have significantly reduced viability and hatch rates, as the embryo’s vitality decreases over time.
nutrition Nutrition Facts
Per serving: 1 successful hatch
This section is not applicable as the recipe is for hatching chicken eggs, not for consumption.
flag Conclusion
And there you have it, a comprehensive guide to successfully incubate chicken eggs at home! This journey, from a simple egg to a chirping chick, is incredibly rewarding and offers a unique connection to the natural world and your food source. It’s a testament to patience, precision, and understanding the delicate balance of nature. Whether you’re a seasoned homesteader or a curious beginner, I encourage you to embrace this experience. You’ll gain invaluable knowledge and the immense satisfaction of nurturing new life. Happy hatching, and remember, here at HomeRecipes.com, we’re always here to help you cultivate the joy of home cooking and living!
sell Related Topics
Frequently Asked Questions
How do I know if my eggs are fertile before I incubate chicken eggs? expand_more
The only definitive way to know if an egg is fertile is to have a rooster actively breeding with your hens. Even then, not all eggs will be fertile. Visually, you cannot tell if an egg is fertile before incubation begins. The best indication is to source eggs from a flock known to have a good rooster-to-hen ratio and healthy, active birds. Once incubation has started, you can candle the eggs around day 7 to look for the development of an embryo and blood vessels, which confirms fertility and viability.
What is the ideal temperature and humidity for incubating chicken eggs? expand_more
For chicken eggs, the ideal temperature is consistently between 99.5°F and 100.5°F (37.5-38.1°C). Slight variations within this range are acceptable, but drastic swings are detrimental. Humidity is also crucial: aim for 45-55% relative humidity for the first 18 days of incubation. During the last three days, known as 'lockdown,' increase the humidity to 65-75%. This higher humidity helps soften the shell membranes, making it easier for the chicks to pip and hatch. Always use a reliable hygrometer to monitor these levels.
When and how often should I turn the eggs during incubation? expand_more
Eggs should be turned at least three times a day for the first 18 days of incubation. The goal is to move the embryo gently within the egg, preventing it from sticking to the shell membrane and ensuring even development. If your incubator has an automatic turner, it will handle this for you. If turning manually, mark one side of the egg with an 'X' and the other with an 'O' and turn them end-over-end. Always turn an odd number of times (e.g., 3, 5) so the egg doesn't rest on the same side for two consecutive turning intervals. Stop turning completely on day 18, which is the start of the 'lockdown' phase.
What is 'candling' and why is it important when I incubate chicken eggs? expand_more
Candling is the process of shining a bright light through an egg to observe its internal contents. It's a vital step when you incubate chicken eggs because it allows you to check for embryo development, identify infertile eggs, or detect early embryonic death without disturbing the other eggs. You typically candle around day 7 and again around day 14. On day 7, you should be able to see a small, dark spot (the embryo) with tiny spiderweb-like blood vessels radiating from it. On day 14, the embryo will be much larger, filling most of the egg, and you might even see movement. Infertile eggs will look clear, and eggs with dead embryos may show a dark ring or cloudy appearance.
What should I do on hatch day and immediately after the chicks hatch? expand_more
Hatch day is one of the most exciting days! On day 18, stop turning the eggs and increase the humidity to 65-75% for 'lockdown.' Resist the urge to open the incubator during hatching. Each time you open it, you cause a rapid fluctuations in temperature and humidity, which can fatally chill the developing chicks or make it harder for them to hatch. Once a chick hatches, leave it in the incubator for 12-24 hours to dry off and gain strength. They absorb the yolk sac just before hatching, providing nourishment for this initial period. Once they are fully fluffed and active, gently transfer them to a pre-warmed brooder with food and water. Avoid rushing them, as the drying process is essential for their health.
More Recipes You'll Love

Sheet Pan Italian Chicken Sausage and Potatoes: An Easy One-Pan Dinner

Perfect Scrambled Eggs Recipe (Creamy & Fluffy)
The Ultimate Diners Drive Ins and Dives Food Map Guide

Kielbasa Potato Soup Recipe (Hearty & Quick)
Community Kitchen