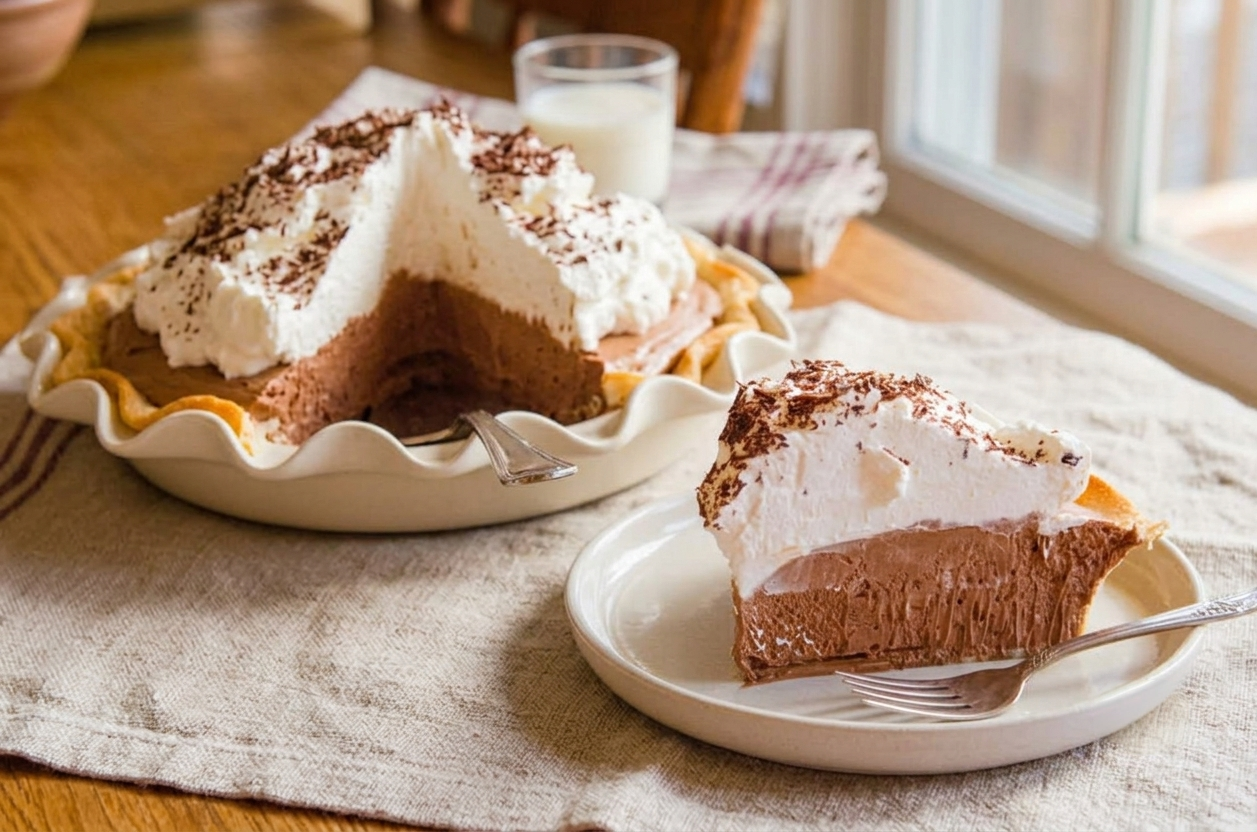
French Silk Pie Recipe (Rich & Creamy)
Experience the ultimate dessert with this classic French Silk Pie recipe. This pie delivers a rich, velvety chocolate filling, made with high-quality chocolate and pasteurized eggs, all nestled within a perfectly blind-baked crust. Topped with a generous swirl of fresh whipped cream and delicate chocolate shavings, it’s a show-stopping dessert that’s surprisingly straightforward to make. Perfect for holiday gatherings, special occasions, or simply to satisfy a deep chocolate craving, this recipe guarantees a luxurious, melt-in-your-mouth experience that will become a cherished favorite in your home.
restaurant_menu Ingredients
For the Pie
For Serving
hardware Essential Tools
9-inch pie plate
Electric mixer (stand or hand mixer)
Large mixing bowl
Medium microwave-safe bowl
Rubber spatula
Wire cooling rack
Measuring cups and spoons
Vegetable peeler (for chocolate shavings)
format_list_numbered Preparation
Getting Started
Begin by blind baking your 9-inch pie crust according to package directions or your favorite recipe, until the edges are golden brown and the crust is fully cooked. Allow the baked crust to cool completely on a wire rack before proceeding. This prevents a soggy bottom for your decadent French Silk Pie.
In a medium microwave-safe bowl, combine the chopped semi-sweet chocolate and milk chocolate baking chips. Microwave on high power in 30-second intervals, stirring thoroughly after each, until the chocolate is completely melted and smooth. Set aside to cool slightly to a warm, but not hot, liquid state.
Making the Filling
In a large mixing bowl, using an electric mixer, beat the softened unsalted butter and superfine sugar together on medium-high speed for a full 3 to 5 minutes. The mixture should become pale in color, incredibly light, and fluffy, and the sugar crystals should be completely dissolved. Scrape down the sides of the bowl as needed to ensure even mixing.
Add the kosher salt and pure vanilla extract to the creamed butter and sugar mixture. Pour in the slightly cooled melted chocolate. Beat on medium speed until all ingredients are thoroughly incorporated and the mixture is uniformly rich and glossy, with no streaks of butter or chocolate.
With the mixer still running on medium speed, add the pasteurized eggs one at a time. After each egg addition, continue beating the mixture for a full 5 minutes. This extended beating time is crucial for emulsifying the eggs into the chocolate and incorporating air, which creates the signature light, airy, and silken texture of your French Silk Pie.
Assembly and Chill
Carefully pour the finished chocolate filling into your completely cooled, blind-baked pie crust. Use an offset spatula or the back of a spoon to gently smooth out the top, ensuring an even layer.
Loosely cover the pie with plastic wrap, taking care not to let it touch the surface of the filling. Transfer the pie to the refrigerator and chill for a minimum of 3 hours, though ideally overnight. This chilling time allows the butter to firm up and the pie to set to its perfect, sliceable, silken consistency.
favorite You Might Also Love
Browse All arrow_forwardDubai Strawberry Chocolate Parfait Recipe (Creamy Dessert)

Velvety Banana Pudding Dream Cake
Mastering What Is Chantilly Cream: The Ultimate Guide
Pig Pickin' Cake Recipe (Southern Sunshine Cake)
Mastering the Most Iconic Dishes Ap: A Culinary Road Trip
Rainbow Layer Cake: Ultimate Chaos Centerpiece
Try These Variations
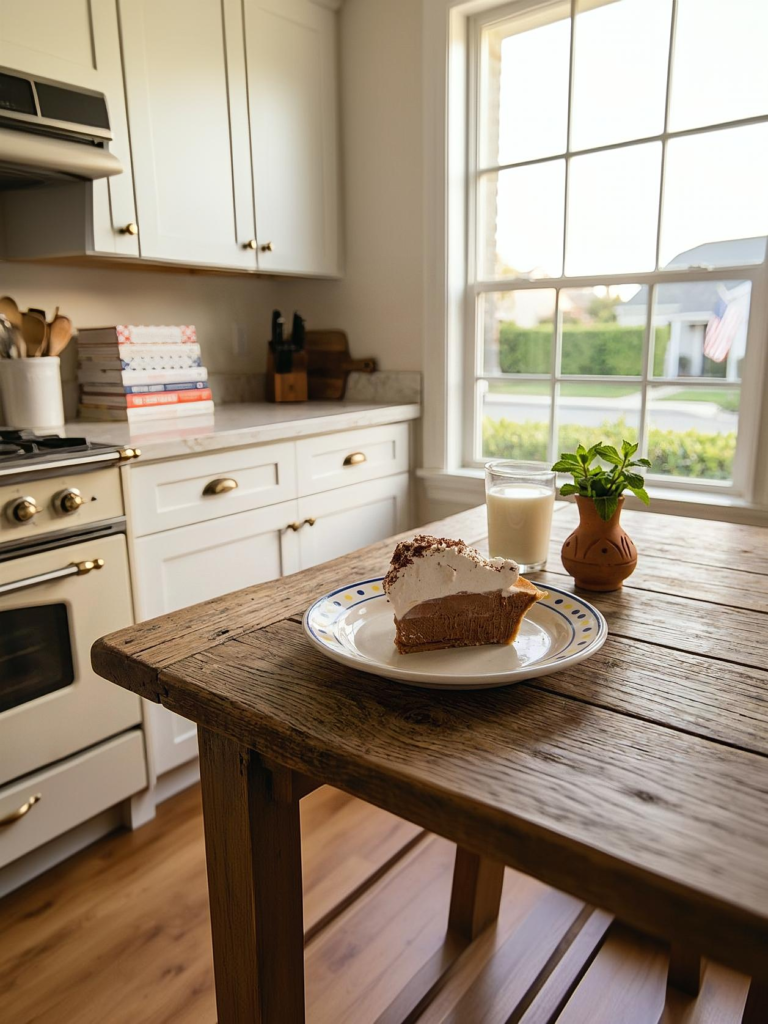
Espresso Chocolate French Silk Pie
For a sophisticated twist, add 1-2 teaspoons of instant espresso powder (or finely ground espresso beans) along with the vanilla extract. The coffee intensifies the chocolate flavor without making the pie taste distinctly like coffee, creating a deeper, more complex chocolate experience. This variation is particularly popular among those who appreciate gourmet coffee desserts.
Mint Chocolate French Silk Pie
Incorporate 1 teaspoon of pure peppermint extract (not mint extract) along with the vanilla. This will infuse the pie with a refreshing, cooling mint flavor that pairs wonderfully with the rich chocolate. You can also add a few drops of green food coloring to the filling for a festive look, or garnish with crushed peppermint candies.
Nutty French Silk Pie
Before pouring in the filling, sprinkle a layer of finely chopped toasted pecans or walnuts (about 1/2 cup) onto the bottom of the cooled pie crust. The nuts add a delightful crunch and a savory counterpoint to the creamy chocolate. You can also mix a smaller amount of very finely ground nuts into the filling itself for a more subtle nutty flavor.
Individual French Silk Tarts
Instead of a 9-inch pie crust, use mini pie crusts or fill small tart shells. This creates charming individual servings, perfect for parties or portion control. Adjust baking times for the smaller crusts. The chilling time remains the same, and they’re just as impressive topped with whipped cream and chocolate shavings.
Chef's Pro Tips
Don’t Over-Melt Your Chocolate
When melting chocolate, it’s easy to scorch it or cause it to seize if overheated. Melt it gently, stirring frequently, and remove it from the heat source (microwave or double boiler) just as it’s mostly melted, allowing residual heat to finish the job. This preserves its smooth texture and flavor, which is paramount for a silken pie.
The Importance of Superfine Sugar
While regular granulated sugar can be used, superfine sugar (also known as caster sugar) is highly recommended for this French Silk Pie recipe. Its smaller crystals dissolve much more readily into the butter, preventing a gritty texture in the final pie. If you only have granulated sugar, you can process it briefly in a food processor until it’s finer, but avoid making it into powdered sugar.
Be Patient with the Eggs
The extended beating time after adding each pasteurized egg is not a suggestion; it’s a critical step. This process emulsifies the fats and liquids, creating a stable, aerated, and incredibly smooth filling. Rushing this step will result in a denser, less ‘silken’ pie. Think of it as building the structure of your pie, one egg at a time.
Chill Your Serving Bowl and Whisks for Whipped Cream
For the fluffiest, most stable whipped cream to top your French Silk Pie, chill your mixing bowl and whisk attachment in the freezer for 10-15 minutes before whipping. Cold equipment helps the heavy cream whip up faster and hold its volume better, resulting in a lighter, airier topping that won’t deflate quickly.
Storage Guide
Refrigerator Storage
Your French Silk Pie will keep beautifully in the refrigerator for up to 3-4 days. Ensure it’s covered tightly with plastic wrap or stored in an airtight pie carrier to prevent it from absorbing odors and drying out. Always keep it chilled; this pie is meant to be served cold for the best texture and safety.
Freezer Storage
To extend its life, French Silk Pie can be frozen for up to 1 month. Once the pie is completely set and chilled, wrap it tightly in several layers of plastic wrap, followed by a layer of aluminum foil. This double layer protects against freezer burn. To serve, transfer the frozen pie to the refrigerator and allow it to thaw slowly overnight or for at least 8-10 hours. Do not thaw at room temperature, as this can affect the delicate texture and food safety.
Whipped Cream Storage
If you’ve already added whipped cream, the pie is best consumed within 1-2 days, as whipped cream can start to weep or deflate over time. For longer storage, it’s best to store the pie without the whipped cream and add it just before serving. Whip fresh cream for each serving or for the day you plan to consume the pie.
Avoid These Mistakes
✕ Not Properly Softening the Butter
If your butter is too cold, it won’t cream properly with the sugar, leading to a lumpy, dense texture and undissolved sugar crystals in your French Silk Pie. If it’s too warm or melted, the emulsion won’t hold, and the pie will be greasy. Aim for butter that yields easily to a gentle press, but isn’t oily. This ensures proper aeration and a smooth base.
✕ Insufficient Beating Time for Butter and Sugar
Rushing the creaming process of butter and sugar is a common mistake. Beating for less than 3-5 minutes means you haven’t incorporated enough air, which is vital for the pie’s light, silken texture, and the sugar won’t fully dissolve. The mixture should be visibly lighter in color and fluffy, indicating proper aeration and dissolution.
✕ Not Cooling the Melted Chocolate Enough
Adding hot melted chocolate to the butter and sugar mixture can cause the butter to melt too quickly, breaking the emulsion you’ve worked to create. This can lead to a greasy, separated filling. Ensure your melted chocolate is warm but not hot to the touch before combining it, allowing it to integrate smoothly without compromising the butter’s texture.
✕ Shortening the Egg Beating Time
The most critical step for the signature texture of a French Silk Pie recipe is the extended beating of the pasteurized eggs, 5 minutes per egg. This creates a stable emulsion and incorporates air, giving the pie its characteristic silken, airy-yet-rich consistency. Cutting this time short will result in a denser, less luxurious, and potentially grainy filling that lacks the desired melt-in-your-mouth quality.
nutrition Nutrition Facts
Per serving: 1 slice
Nutritional values are approximate and may vary based on specific ingredient brands and preparation methods.
flag Conclusion
There you have it, my friends – the ultimate French Silk Pie recipe, straight from my kitchen to yours. This dessert is a true labor of love, but every moment spent preparing it is rewarded with a slice of pure bliss. The silken texture, the intense chocolate flavor, the delicate balance of sweetness – it’s all here. Don’t be intimidated by the steps; embrace the process, trust in the quality of your ingredients, and you’ll create a masterpiece that will impress everyone at your table. Here at HomeRecipes, we believe in bringing restaurant-quality dishes into your home, and this pie is no exception. So go on, indulge a little, and savor the joy of this classic American dessert. Happy baking, and happy eating!
sell Related Topics
Frequently Asked Questions
What makes French Silk Pie different from chocolate cream pie? expand_more
While both are delicious chocolate desserts, the primary difference lies in their preparation and texture. A traditional chocolate cream pie typically uses a cooked custard base, thickened with cornstarch or flour, and often includes egg yolks, resulting in a denser, pudding-like consistency. French Silk Pie, on the other hand, relies on the emulsification of raw pasteurized eggs into a butter and melted chocolate mixture, which is then chilled to set. This technique gives it that uniquely light, airy, yet incredibly rich and silken texture that has no equal. It's a raw chocolate mousse in a pie crust, essentially.
Can I use a different type of chocolate in this French Silk Pie recipe? expand_more
Absolutely, with some considerations. This French Silk Pie recipe calls for a combination of semi-sweet and milk chocolate for a balanced flavor profile. You could use all semi-sweet chocolate for a deeper, more intense dark chocolate flavor, but be aware it will be less sweet. If using darker chocolate (like 60-70% cacao), you might want to slightly increase the superfine sugar by 1-2 tablespoons to balance the bitterness. Avoid using unsweetened or baking chocolate unless you significantly adjust the sugar, as it will be too bitter. White chocolate is not recommended as it doesn't have the same structural properties for this type of filling.
Is it safe to eat raw eggs in this pie? expand_more
Yes, it is safe because the recipe specifically calls for pasteurized eggs. Pasteurization is a heat treatment that significantly reduces the risk of salmonella and other bacteria without cooking the egg. You can typically find pasteurized eggs in the refrigerated section of most major grocery stores, often labeled as such. If you cannot find pasteurized eggs, you can pasteurize your own at home using a sous vide method, or opt for an egg-free chocolate mousse filling if you have concerns. However, using pasteurized eggs as specified makes this recipe perfectly safe for consumption.
Why is my French Silk Pie grainy? expand_more
A grainy texture in your French Silk Pie is almost always due to sugar crystals that haven't fully dissolved. This usually happens if you haven't creamed the butter and superfine sugar for long enough in the initial steps. It's crucial to beat them together for at least 3-5 minutes until the mixture is very light and fluffy, and you can no longer feel distinct sugar granules when you rub a tiny bit between your fingers. Using superfine sugar also helps, as its smaller crystals dissolve more readily than regular granulated sugar. Ensure your butter is properly softened; if it's too cold, it will hinder sugar dissolution.
Can I make this French Silk Pie recipe ahead of time for a party? expand_more
Absolutely! This French Silk Pie recipe is an ideal make-ahead dessert, which is one of its many charms for entertaining. In fact, it benefits greatly from extended chilling time. You can prepare the entire pie, pour it into the crust, and chill it in the refrigerator for up to 2-3 days before you plan to serve it. Just be sure to cover it well with plastic wrap to protect the surface and prevent it from absorbing any refrigerator odors. When ready to serve, simply add your whipped cream and chocolate shavings. This allows you to have a spectacular dessert ready without any last-minute stress.
More Recipes You'll Love
Golden Fried Peach Cobbler Egg Rolls
The Ultimate Butterfinger Puppy Chow: A Crunchy Masterpiece
Community Kitchen