Experience the simple joy of baking with this foolproof Rustic Rosemary Artisan Bread recipe. This artisanal loaf boasts a wonderfully crisp, golden crust and a soft, chewy interior, generously infused with the fragrant, earthy notes of fresh rosemary. It's surprisingly easy to make, even for novice bakers, and delivers a beautifully rustic bread that's perfect for dipping in olive oil, serving with soups, or elevating any meal. Your kitchen will be filled with an irresistible aroma, promising a taste of homemade perfection.
Ingredients
Main Ingredients
Essential Tools
Large mixing bowl
Whisk or sturdy spoon
Danish dough whisk (optional)
Measuring cups and spoons
Kitchen towel or plastic wrap
Baking sheet
Parchment paper
Sharp knife or bread lame
Wire cooling rack
Dutch oven (optional)
favorite You Might Also Love
Browse All arrow_forward
Mastering French Vanilla: The Secret to Rich, Custard-Based Flavor
Mastering Zucchini Scarpaccia: A Tuscan Flatbread Recipe
Mastering Induction Cooking: Techniques for the Modern Kitchen

The Ultimate Creamy Ham Pasta Salad Recipe
Mastering Gemstone Cuts: A Chef's Guide to Brilliance
Homestyle Sausage Gravy: The Ultimate Southern Breakfast Recipe
Preparation
Getting Started
In a large mixing bowl, combine the 3 cups of all-purpose flour, 2 teaspoons of active dry yeast, 1 teaspoon of kosher salt, and 2 tablespoons of finely chopped fresh rosemary. Whisk these dry ingredients together thoroughly to ensure even distribution of the yeast and salt, which is crucial for uniform leavening and flavor in your Rustic Rosemary Artisan Bread.
Gradually pour 1 ½ cups of warm water (between 105-115°F or 40-46°C) into the dry mixture, stirring continuously with a sturdy spoon or Danish dough whisk until a shaggy, cohesive dough forms, ensuring all the flour is hydrated. If the dough appears too dry, add water a teaspoon at a time; if too sticky, add flour in similar small increments until you achieve a rough, but unified, mass.
Kneading and First Rise
Drizzle 1 tablespoon of extra-virgin olive oil over the shaggy dough, then turn the dough out onto a lightly floured surface and knead it vigorously for 10-15 minutes until it becomes smooth, elastic, and passes the windowpane test (meaning a small piece can be stretched thin enough to see light through it without tearing).
Lightly grease a clean large bowl with a touch more olive oil, transfer the kneaded dough to it, turning once to coat, then cover the bowl with a clean kitchen towel or plastic wrap. Place the bowl in a warm, draft-free spot (around 75-80°F or 24-27°C) and allow the dough to rise for 1 to 2 hours, or until it has distinctly doubled in size, developing both volume and flavor for your Rustic Rosemary Artisan Bread.
Shaping, Second Rise, and Baking
Gently 'punch down' the risen dough to release the accumulated gases, then turn it out onto a lightly floured surface and carefully shape it into a round loaf, handling it minimally to preserve the air bubbles within the dough.
Place the shaped loaf onto a baking sheet lined with parchment paper, cover it again with a kitchen towel, and let it undergo its second rise (proofing) for 30-45 minutes, allowing it to puff up slightly for its final expansion.
Preheat your oven to 400°F (200°C) during the last 15 minutes of the second rise. Just before baking, use a very sharp knife or bread lame to make 2-3 shallow slashes (about ½ inch deep) across the top of the loaf, which will guide its expansion in the oven and create a beautiful crust for your Rustic Rosemary Artisan Bread.
Carefully transfer the baking sheet to the preheated oven and bake for 25-30 minutes, or until the crust is a deep golden brown and the bottom of the loaf sounds hollow when tapped, indicating it's thoroughly cooked.
Immediately transfer the baked Rustic Rosemary Artisan Bread to a wire cooling rack and allow it to cool completely for at least 30-60 minutes before slicing and serving, ensuring the internal structure sets and flavors fully develop.
Recipe Variations
Whole Wheat Rustic Rosemary Artisan Bread: For a heartier loaf with a nuttier flavor and increased fiber, substitute 1 cup of the all-purpose flour with whole wheat flour. You might need to add an extra tablespoon or two of water as whole wheat flour absorbs more liquid. The texture will be denser, but the earthy notes will perfectly complement the rosemary. This is a fantastic option for those seeking a more wholesome bread that still retains that wonderful artisan appeal.
Garlic Parmesan Rustic Rosemary Artisan Bread: Elevate the savory profile by incorporating 2-3 cloves of minced garlic and ¼ cup of finely grated Parmesan cheese into the dough along with the rosemary. The garlic will mellow and sweeten during baking, while the Parmesan adds a salty, umami depth, creating an incredibly fragrant and flavorful bread that pairs beautifully with Italian-inspired dishes or simply enjoyed on its own.
Honey Oat Rustic Rosemary Artisan Bread
For a subtle sweetness and added texture, add 2 tablespoons of honey (or maple syrup) to the warm water before mixing with the dry ingredients, and incorporate ½ cup of old-fashioned rolled oats with the flour. The honey will aid in browning and add a delicate sweetness, while the oats provide a delightful chewiness and rustic appearance. This variation makes a wonderful breakfast bread or a comforting accompaniment to a cheese board.
Chef's Tips
Don’t Be Afraid of Hydration
Achieving the right dough consistency is paramount for a light, open crumb in your Rustic Rosemary Artisan Bread. While the recipe provides a specific water amount, flour absorption can vary depending on humidity and brand. If your dough feels too stiff and dry after initial mixing, don’t hesitate to add an extra tablespoon or two of warm water until it forms a cohesive, shaggy mass. Conversely, if it’s overly sticky, a light dusting of flour will help. Trust your instincts and the feel of the dough over strict adherence to the exact quantity here; it’s a living thing!
The Power of Patience in Fermentation
Rushing the rise times is one of the biggest mistakes a home baker can make. The first rise (bulk fermentation) and the second rise (proofing) are not just about volume; they are crucial for flavor development. During these periods, the yeast produces alcohols and organic acids that contribute to the complex, nuanced taste of true artisan bread. If you shortchange these steps, your Rustic Rosemary Artisan Bread will lack depth of flavor and may have a less airy texture. Allow the dough to truly double in size, even if it takes a bit longer than the suggested time, especially in cooler kitchens.
Preheat Your Oven (and Optional Dutch Oven) Thoroughly: A properly preheated oven is critical for achieving a beautiful crust and optimal oven spring – the final burst of rising that occurs when dough hits hot temperatures. For this Rustic Rosemary Artisan Bread, ensure your oven has been preheated to 400°F (200°C) for at least 20-30 minutes before baking. If you’re using a Dutch oven, preheat it inside the oven for the entire preheating duration. This intense initial heat causes the moisture in the dough to rapidly turn to steam, expanding the loaf and creating that coveted crisp, golden crust.
Storage & Conservation
Room Temperature
Once your Rustic Rosemary Artisan Bread has completely cooled, store it at room temperature. For optimal crust crispness, place it cut-side down on a clean cutting board, or store it in a paper bag. This allows air to circulate and maintains the desired crust texture. Avoid airtight plastic bags, as they can trap moisture and soften the crust. Stored this way, the bread will remain delicious for 2-3 days, though it’s always best enjoyed fresh.
Refrigerator
Storing bread in the refrigerator is generally not recommended for more than a day or two, as it can accelerate the staling process, making your Rustic Rosemary Artisan Bread dry out faster. If you must, wrap it tightly in plastic wrap to minimize moisture loss, then place it in an airtight container for up to 3-4 days. For reheating, a quick toast or a few minutes in a 300°F (150°C) oven will help revive it, but it won’t be quite as fresh as its room-temperature counterpart.
Freezer
For longer storage, freezing is your best friend. Once your Rustic Rosemary Artisan Bread is completely cool, wrap the entire loaf or individual slices tightly in plastic wrap, then an additional layer of aluminum foil to prevent freezer burn. Store in the freezer for up to 3 months. To enjoy, thaw the bread at room temperature, then refresh in a 350°F (175°C) oven for 10-15 minutes (or 20-25 minutes if reheating from frozen) until the crust is crisp and the interior is warm and soft, tasting almost freshly baked.
Common Mistakes
Using Water That’s Too Hot or Too Cold for Yeast: A common pitfall when making Rustic Rosemary Artisan Bread is not checking the water temperature for activating the yeast. Water that’s too hot (above 120°F/49°C) will kill the yeast, rendering it inactive and preventing your bread from rising. Conversely, water that’s too cold (below 100°F/38°C) won’t properly activate the yeast, leading to a very slow or weak rise. Always aim for water that feels like a warm bath on your wrist, ideally between 105-115°F (40-46°C), and use a thermometer for precision to ensure your yeast is happy and active.
Under-Kneading the Dough
Many beginners stop kneading too soon because the dough is sticky or they fear overworking it. However, under-kneading is a far more common problem, especially for a rustic loaf like this Rustic Rosemary Artisan Bread. Insufficient kneading means the gluten network hasn’t fully developed. Without this strong, elastic structure, the dough won’t be able to trap the carbon dioxide gas produced by the yeast, resulting in a dense, heavy loaf with a tight crumb rather than a light, airy one. Knead until the dough is smooth, elastic, and passes the windowpane test.
Cutting into the Bread Before It’s Cooled: It’s incredibly tempting to slice into a warm, fragrant loaf of Rustic Rosemary Artisan Bread straight out of the oven, but doing so is a significant mistake. Bread continues to cook and set its internal structure as it cools. Cutting into it prematurely releases steam too quickly, which can lead to a gummy, doughy texture inside, even if the crust is perfect. Always allow your bread to cool completely on a wire rack for at least 30-60 minutes. This patience ensures a perfectly set crumb and the best possible eating experience.
Recipe Keywords
Conclusion
And there you have it, my friends – a recipe for Rustic Rosemary Artisan Bread that will transform your kitchen into a true artisan bakery. The satisfaction of pulling a warm, fragrant loaf from your oven, knowing you created it with your own hands, is truly unparalleled. Here at HomeRecipes, we believe that every meal should be a celebration, and this bread is certainly something to celebrate. Don’t be afraid to experiment, to feel the dough, and to make this recipe your own. I encourage you to try this recipe this week; I promise, your family and friends will thank you. Happy baking!
Frequently Asked Questions
Can I use dried rosemary instead of fresh for this Rustic Rosemary Artisan Bread? expand_more
While fresh rosemary truly provides the most vibrant and aromatic flavor for this Rustic Rosemary Artisan Bread, you can certainly use dried rosemary as a substitute if fresh isn't available. As a general rule, dried herbs are more concentrated than fresh, so you'll want to use about half the amount. For this recipe, if you're substituting, use 1 tablespoon of dried rosemary instead of 2 tablespoons of fresh. Just be aware that the flavor profile will be slightly less bright and more earthy, but still delicious! Crush the dried rosemary lightly between your fingers before adding to release its oils.
Why is my dough not rising? expand_more
There are a few common culprits if your Rustic Rosemary Artisan Bread dough isn't rising. The most frequent reason is inactive or dead yeast. Ensure your active dry yeast is fresh and hasn't expired. You can test its viability by mixing it with a small amount of warm water (105-115°F) and a pinch of sugar; it should get foamy within 5-10 minutes. Another reason could be the water temperature – too hot will kill the yeast, too cold won't activate it. Lastly, ensure your dough is in a warm, draft-free environment for its rise. Cold temperatures significantly slow down yeast activity, leading to a sluggish or non-existent rise.
What if my bread comes out too dense? expand_more
A dense loaf of Rustic Rosemary Artisan Bread usually points to one of two issues: either insufficient kneading or not enough rise time. If the gluten isn't properly developed during kneading, the dough won't have the elastic structure to trap the carbon dioxide gas produced by the yeast, resulting in a tight crumb. Ensure you knead for the full 10-15 minutes until the dough is smooth and elastic. Alternatively, if the dough didn't get enough time to rise (either the first or second rise), the yeast didn't produce enough gas to create an open, airy texture. Give your dough the full time it needs in a warm spot to double in size.
Can I bake this bread in a Dutch oven? expand_more
Absolutely! Baking this Rustic Rosemary Artisan Bread in a preheated Dutch oven is an excellent way to achieve an even crustier exterior and a more professional-looking loaf, mimicking the conditions of a professional bread oven. Preheat your Dutch oven with the lid on in your oven at 400°F (200°C) for at least 30 minutes before placing the dough inside. Carefully transfer the proofed loaf into the hot Dutch oven, score it, cover, and bake for 20 minutes. Then, remove the lid and bake for another 10-15 minutes, or until golden brown and hollow-sounding. The trapped steam inside the Dutch oven creates that beautiful, crisp crust.
How can I make this Rustic Rosemary Artisan Bread more savory? expand_more
To amp up the savory notes in your Rustic Rosemary Artisan Bread, you have several delicious options. As mentioned in our variations, incorporating finely grated Parmesan cheese (about ¼ cup) into the dough along with the flour and rosemary adds a wonderful umami depth. You could also add 2-3 cloves of minced garlic along with the rosemary for a more pungent aroma and flavor. Another excellent addition is a tablespoon of dried Italian seasoning or a teaspoon of black pepper for an extra kick. For a smoky touch, a quarter teaspoon of smoked paprika can also be a delightful surprise.
Suggested Recipes

Chicago-Style Bakery Apple Slices: A Nostalgic Treat
timer 30 minutes

Creamy Garlic Smothered Baked Potatoes: The Ultimate Comfort Food Recipe
timer 20 minutes

Iowa Party Bites: The Ultimate Cheesy Appetizer
timer 10 minutes
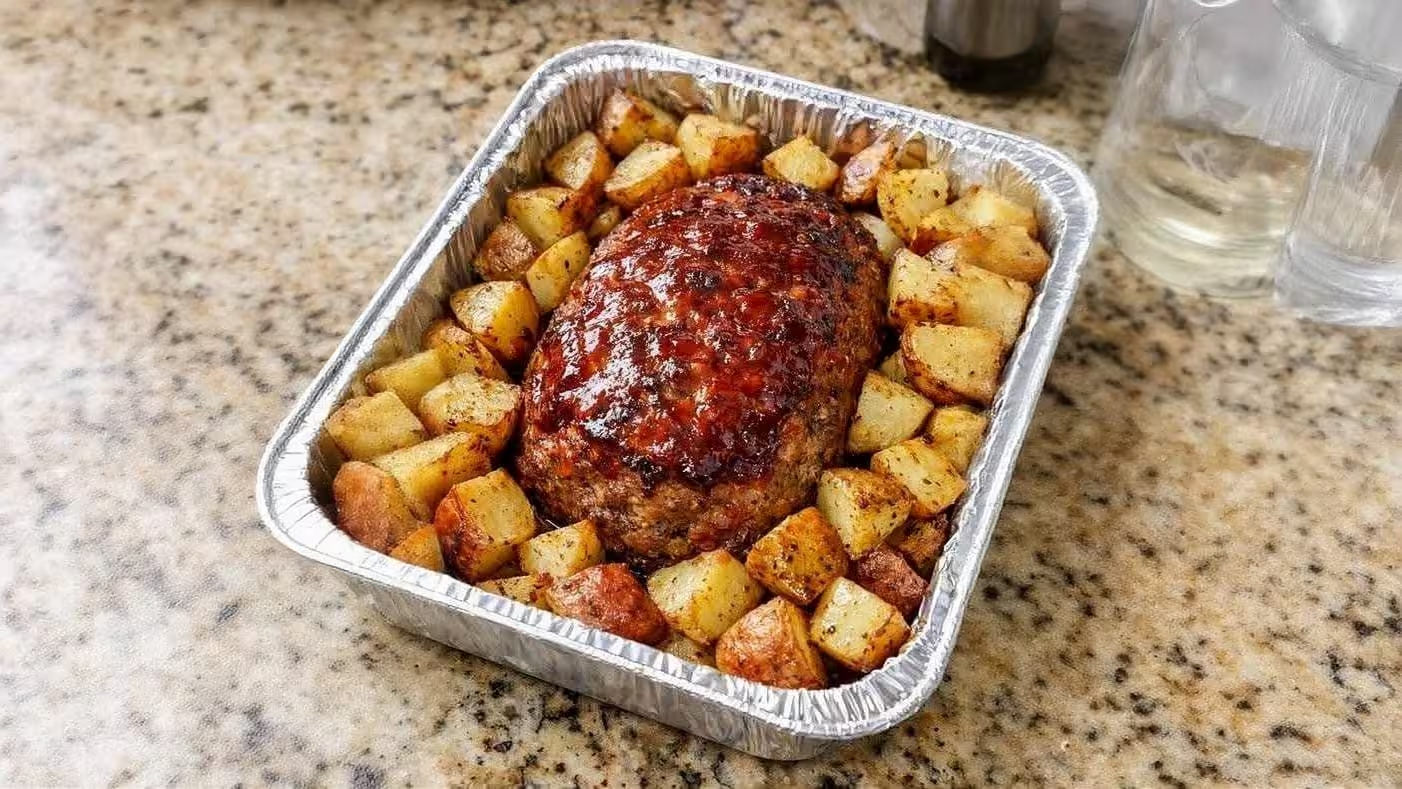
Simple Oven-Baked Meatloaf and Potatoes: A Classic Comfort Food Recipe
timer 20 minutes

Ultimate Rotel Dip Recipe: Creamy, Cheesy Party Appetizer
timer 20 minutes

Mastering Creamy Ditalini Pasta Soup in 20 Minutes
timer 5 minutes