Simple. Tasty. From Our Home to Yours. Browse all recipes

Simple. Tasty. From Our Home to Yours. Browse all recipes
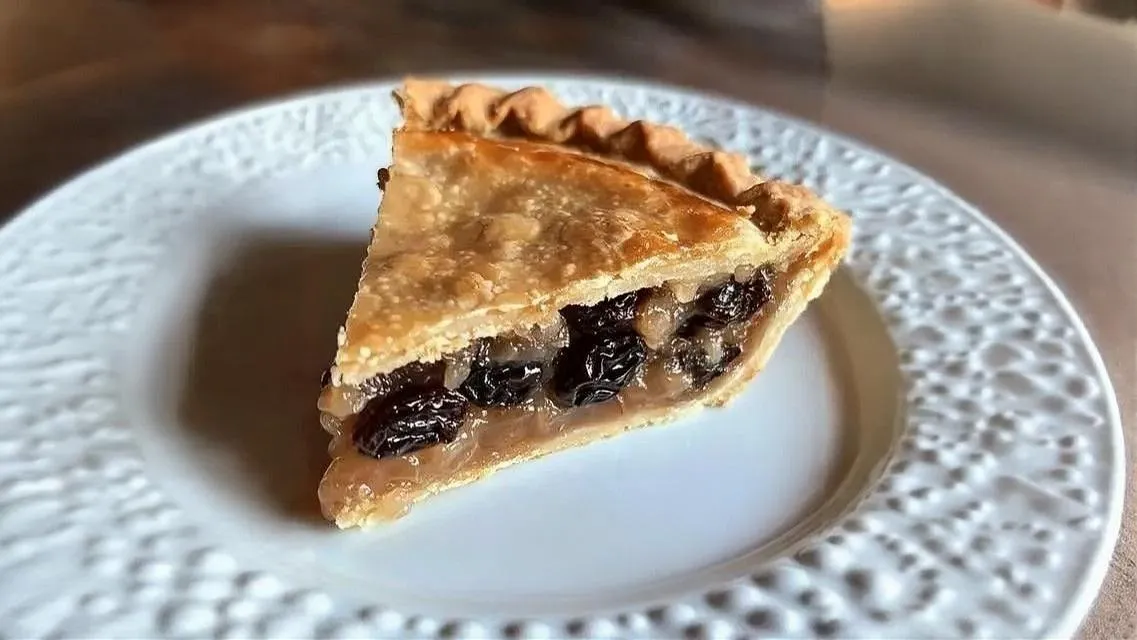
A classic raisin pie recipe with a sweet and tangy filling, perfect for a nostalgic treat.
9-inch pie plate
Medium saucepan
Whisk
Measuring cups and spoons
Sharp knife
In a medium saucepan, whisk together brown sugar, cornstarch, and water until smooth.
Stir in orange juice, zest, lemon juice, and raisins.
Cook over medium heat until bubbling and thickened, then simmer for 1 more minute.
Remove from heat, stir in walnuts, and let the mixture cool completely.
Line a 9-inch pie plate with one crust.
Fill with the cooled raisin mixture.
Cover with the second crust, sealing the edges, and cut small vents on top.
Brush with beaten egg white and sprinkle lightly with sugar.
Bake at 400°F for 35–40 minutes, shielding with foil if the crust browns too quickly.
Let the pie cool at least 1 hour before slicing.


Apple Raisin Pie Add 2 cups of diced apples to the raisin filling for a fruity twist.
Spiced Raisin Pie Add 1 teaspoon of cinnamon, ½ teaspoon of nutmeg, and ¼ teaspoon of cloves to the filling for a warm, spiced flavor.
Rum Raisin Pie Soak the raisins in ¼ cup of rum for at least 30 minutes before adding them to the filling for a boozy kick.
Use a high-quality pie crust for the best results.
Don’t overbake the pie, or the filling will become dry.
Let the pie cool completely before slicing to allow the filling to set.
Toast the walnuts before adding them to the filling for a richer flavor.
Store the baked raisin pie in the refrigerator for up to 3 days. To freeze, wrap the cooled pie tightly in plastic wrap and then in foil. Freeze for up to 2 months. Thaw overnight in the refrigerator before serving.
Per serving: 1 slice
Nutritional information is an estimate and may vary based on specific ingredients and portion sizes.
This classic old-fashioned raisin pie is a timeless dessert that’s perfect for any occasion. Its sweet and tangy filling, combined with a flaky crust, makes it a comforting and satisfying treat. Give this recipe a try and experience the joy of homemade raisin pie!
Yes, you can substitute pecans or almonds for the walnuts in this recipe.
While you can experiment with sugar substitutes, brown sugar contributes to the unique flavor and texture of the filling. Results may vary.
If the crust is browning too quickly, shield it with aluminum foil during the last 15-20 minutes of baking.
Yes, you can create a lattice crust instead of a solid top crust for a more decorative pie.
Simmering the raisins in the citrus juice helps to plump them up and infuse them with flavor.


No items yet. Click "Add All" or use + buttons!
Community Kitchen