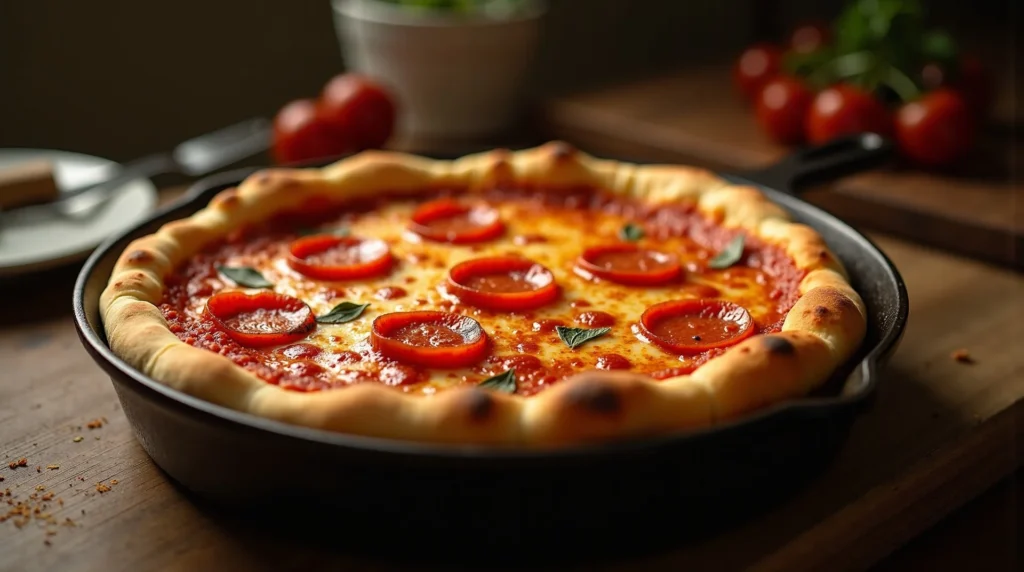
The Ultimate Cast Iron Skillet Pizza Recipe: Crispy Bottom Magic
This is the definitive guide to making a show-stopping Cast Iron Skillet Pizza, featuring a crust that achieves pizzeria-level crispness through a unique stovetop pre-sear!
restaurant_menu Ingredients
For the Quick Italian Pizza Dough
For the Toppings and Sauce
hardware Essential Tools
Large mixing bowl
Stand mixer with dough hook (optional)
Instant-read thermometer
10-inch or 12-inch cast iron skillet
Plastic wrap
Cutting board
format_list_numbered Preparation
Making the Dough
Warm the water to the precise temperature range of 105°F to 115°F and stir in the yeast and sugar, allowing it to bloom for 5 minutes until foamy.
In a separate large bowl, whisk together the bread flour and salt. Pour in the yeast mixture and the 3 tablespoons of olive oil, mixing until a cohesive, sticky dough ball forms.
Turn the dough onto a lightly floured surface and knead for approximately 3 minutes until it becomes smooth and elastic; adjust with flour if necessary to prevent sticking.
Lightly coat a clean bowl with olive oil, place the dough inside, turning it to coat, cover tightly with plastic wrap, and allow it to double in size at room temperature (about 1 hour).
Skillet Prep and Final Assembly
Preheat your oven to a very hot 500°F and ensure your cast iron skillet is clean and dry.
Coat the bottom and sides of the skillet generously with olive oil—this is crucial for the crisping process of your cast iron skillet pizza.
Gently press the proofed dough into the oiled skillet, stretching it carefully to cover the base and slightly creep up the sides; cover loosely and let it rest for a final 20 to 30 minutes to relax the gluten.
Place the skillet over the lowest heat setting on your stovetop and cook for 15 minutes, rotating the pan every two minutes to guarantee even heat distribution across the entire bottom surface, then turn the heat off.
Spread the pizza sauce over the partially cooked dough, seasoning it evenly with garlic powder, 1 tablespoon of the Italian seasoning, and the crushed fennel seeds.
Top evenly with the freshly grated mozzarella, ensuring full coverage, and then place the pepperoni slices on top, followed by the remaining 1/2 tablespoon of Italian seasoning.
Baking to Perfection
Carefully transfer the skillet from the stovetop directly into the center rack of the 500°F oven.
Bake for 15 to 30 minutes, checking every 10 minutes and rotating the skillet to prevent any single area from over-browning or burning.
The cast iron skillet pizza is finished when the cheese is fully melted and bubbling, and the edges of the crust touching the iron are deeply caramelized and crisp.
Allow the pizza to rest in the hot skillet for 5 minutes before using a large metal spatula to gently release and transfer the pizza onto a wire rack or cutting board for slicing.
favorite You Might Also Love
Browse All arrow_forward
Texas Roadhouse Butter Recipe (Sweet & Creamy)
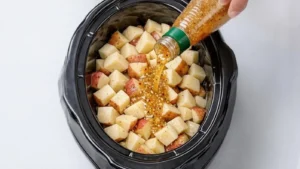
Effortless Slow Cooker Italian Herb Potatoes: A Flavorful Side Dish
The Ultimate Guide to Vanilla Extract Substitute Options
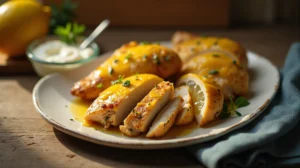
Baked Greek Lemon Chicken at Home
Fiery Jalapeno Cheddar Focaccia Masterclass
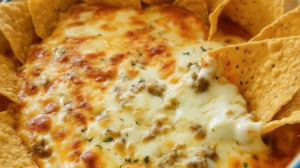
Texas Trash Dip: The Ultimate Cheesy Party Appetizer
Try These Variations
Quick Pizza Dough Version
Use 1 teaspoon of instant yeast instead of active dry yeast and skip the 5-minute bloom time to save 5 minutes in prep.
Vegetarian Delight
Omit the pepperoni and load up on sautéed mushrooms, thinly sliced bell peppers, and black olives for a vibrant vegetarian pizza.
White Sauce Upgrade
Replace the tomato sauce with a rich, homemade Alfredo sauce (ensure no alcohol is used in the sauce base) for a decadent white pizza, which pairs exceptionally well with the crispness of the cast iron skillet pizza base.
Breakfast Pizza
Top with scrambled eggs, cooked turkey sausage crumbles, and a blend of cheddar and mozzarella.
Chef's Pro Tips
Always use bread flour for the best chew; if you must substitute, use high-quality all-purpose flour, but reduce mixing time slightly.
The initial oiling of the skillet should be generous enough to coat the entire bottom surface; this oil is what fries the dough into that signature texture.
When stretching the dough in the pan, use oiled fingers, not heavily floured ones, to prevent the dough from sticking to your hands during the second proof.
For an extra savory flavor in the crust, whisk 1/2 teaspoon of onion powder into the dry flour mixture before adding the wet ingredients.
If your oven temperature fluctuates wildly, consider using an oven thermometer placed inside to monitor the actual heat the cast iron skillet pizza is receiving.
Storage Guide
Refrigerator
Store any leftover cast iron skillet pizza slices tightly wrapped in aluminum foil or plastic wrap in the refrigerator for up to 3 days.
Freezer
For longer storage, flash freeze individual slices on a baking sheet, then transfer them to a heavy-duty freezer bag, removing as much air as possible; freeze for up to 2 months.
Reheating
The best method is in a toaster oven or conventional oven at 350°F (175°C) on a baking sheet for 8-10 minutes to re-crisp the bottom; the microwave only yields a chewy result.
Avoid These Mistakes
✕ Not resting the dough long enough during the first or second proofing stage, resulting in a tight, small crust that doesn’t fill the pan properly.
✕ Placing dough into a cold cast iron skillet and putting it on high heat, which results in a burnt, hard bottom before the top even begins to cook.
✕ Using pre-shredded cheese, which prevents that beautiful, smooth, melting quality that finishes a perfect cast iron skillet pizza.
✕ Failing to rotate the skillet frequently during the stovetop phase, leading to one side burning while the other remains pale and undercooked.
✕ Overloading the pizza with wet toppings, which steams the crust instead of crisping it, negating the entire purpose of the cast iron method.
nutrition Nutrition Facts
Per serving: 1/4 of pizza
Nutritional information is an estimate based on the ingredients listed and is for one quarter of the pizza.
flag Conclusion
There you have it—the definitive method for achieving that elusive, perfect crust right in your home kitchen. This cast iron skillet pizza recipe is a testament to how simple, traditional cooking equipment, when used correctly, can outperform modern gadgets. Don’t be intimidated by the two-stage cooking process; it’s simply about respecting the heat. Embrace the sizzle, enjoy the aroma filling your home, and take pride in serving up a pizza that rivals your favorite local spot. Make this cast iron skillet pizza tonight, and let us know how it turns out on HomeRecipes.com!
sell Related Topics
Frequently Asked Questions
Why does the recipe call for bread flour instead of regular all-purpose flour for this cast iron skillet pizza? expand_more
Bread flour has a higher protein content, typically around 12-14%, compared to all-purpose flour's 10-12%. This extra protein allows for significantly more gluten development during kneading. Gluten is what creates the strong, elastic network that traps gas from the yeast, resulting in the wonderful chewiness and structure needed to support the toppings on a thick-crust cast iron skillet pizza.
How do I prevent my dough from sticking to the cast iron skillet during the stovetop phase? expand_more
Sticking is prevented by two factors: using enough oil and allowing the dough to rest properly. First, ensure the entire base of the skillet has a visible, shimmering layer of olive oil before the dough goes in. Second, the 20-30 minute rest period after stretching the dough allows the gluten to relax; tight dough tends to pull away from the sides unevenly, which can cause sticking. If you are worried, you can also lightly dust the oiled iron with a thin layer of cornmeal before adding the dough, though this slightly alters the final crust texture of the cast iron skillet pizza.
My pepperoni curls up into little cups when baking. Is this normal for a cast iron skillet pizza? expand_more
Absolutely! That curling, often called 'cupping,' is desired by many pizza aficionados, especially with natural-casing pepperoni. As the edges of the pepperoni crisp up in the high heat, the casing shrinks, forcing the edges upward into small cups that often hold a little pool of rendered, flavorful fat. It is a sign of excellent, high-heat cooking, which this cast iron skillet pizza method delivers beautifully.
Can I make the dough for this cast iron skillet pizza a day ahead of time? expand_more
Yes, and I highly recommend it for flavor development! After kneading the dough (Step 4), instead of letting it rise for one hour at room temperature, place the oiled and covered bowl in the refrigerator for up to 24 hours. This slow, cold fermentation builds complex, slightly tangy flavors into the crust. When ready to use, remove the dough from the fridge about 2 hours before you plan to stretch it into the skillet, allowing it to come back to room temperature before the final 20-minute rest.
What if I don't have a cast iron skillet? Can I use a regular cake pan or aluminum pizza pan? expand_more
You can try, but the results for this specific cast iron skillet pizza recipe will be significantly different. Cast iron’s superior heat retention is what allows the dough to sear properly on the stovetop without burning immediately. A standard aluminum pan will heat up too quickly and likely burn the bottom before the center cooks through. If cast iron is unavailable, you must skip the stovetop phase entirely; preheat a heavy-duty metal pizza pan inside the 500°F oven for 30 minutes, then quickly top the dough (which must be shaped on parchment paper) and slide it onto the hot pan. It will be more of a traditional oven-baked thick crust than a true cast iron skillet pizza.
More Recipes You'll Love
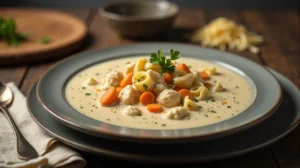
Creamy Chicken Alfredo Soup Recipe
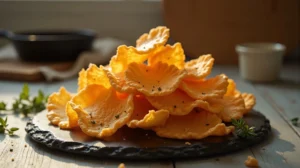
Mastering Homemade Cheese Onion Chips: A Crispy Delight
Mastering Trash Bread: The Ultimate Comfort Food Bake

Creamy Garlic Smothered Baked Potatoes: The Ultimate Comfort Food Recipe
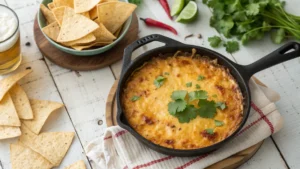
Ultimate Rotel Dip Recipe: Creamy, Cheesy Party Appetizer
Community Kitchen