Mastering the Art of Sliced Mayonnaise for Home Cooks
Learn the professional method to stabilize and slice your favorite mayonnaise into perfect, neat squares for elevated presentation and texture control.
restaurant_menu Ingredients
Base Ingredients for Structured Mayonnaise
Optional Flavor Add-ins
Tools for Shaping
hardware Essential Tools
Small loaf pan
Plastic wrap
Small microwave-safe bowl
Sharp chef's knife
Cutting board
Parchment paper
Freezer access
format_list_numbered Preparation
Setting Up the Mold and Gelatin
Line a small loaf pan (about 8x4 inches) meticulously with plastic wrap, ensuring generous overhang on all sides for easy removal later
In a separate small bowl, sprinkle the unflavored gelatin powder over the 2 tablespoons of cold water and allow it to bloom undisturbed for 5 minutes
Microwave the bloomed gelatin in short 5-second bursts until it is completely clear and liquid, then allow it to cool slightly
Flavoring and Molding
In a medium bowl, whisk together the 2 cups of mayonnaise, lemon juice, and salt until uniform
Slowly drizzle the slightly cooled, liquefied gelatin into the mayonnaise while whisking vigorously for a full minute to ensure complete incorporation
Gently fold in any desired dry spices or fresh herbs, being careful not to overmix the structure
Pour the entire mixture into the prepared, plastic-lined mold and gently tap the mold on the counter several times to release trapped air bubbles
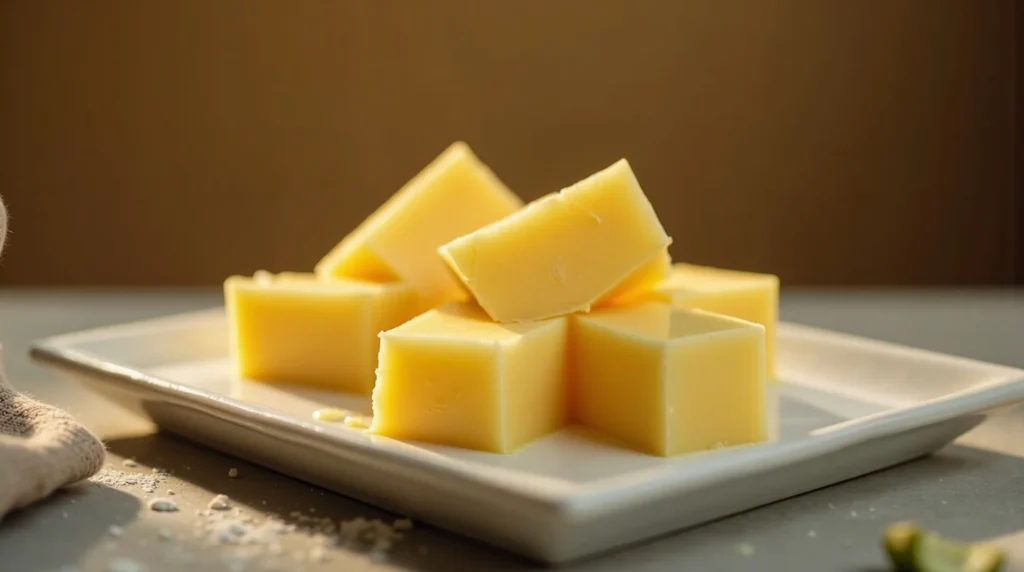
Chilling and Slicing
Cover the mold with the plastic wrap overhang and transfer it to the freezer, allowing it to set completely for a minimum of 6 hours, preferably overnight
When ready to slice, prepare a tall container of very hot water and place it near your cutting station
Remove the mold from the freezer, lift the solidified block out using the plastic wrap handles, and place it on a sturdy cutting board
Dip your sharpest knife into the hot water, wipe the blade completely dry, and make a clean, swift cut; repeat this heat-and-dry process for every single slice to prevent dragging and smearing
favorite You Might Also Love
Browse All arrow_forward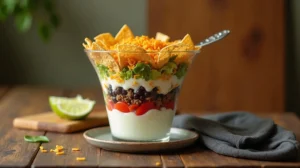
Layered Taco Salad Recipe for Any Gathering
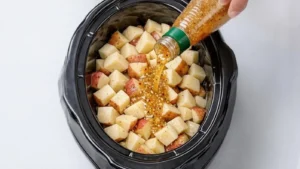
Effortless Slow Cooker Italian Herb Potatoes: A Flavorful Side Dish
Vintage Harvest Kitchen: Nostalgic 21 Grocery Store Photos Ap
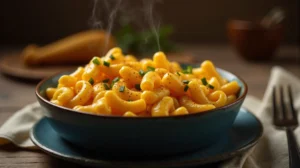
Tini Mac n Cheese: A Creamy Dream
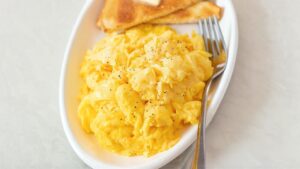
Perfect Scrambled Eggs Recipe (Creamy & Fluffy)
Nancy Reagan’s Delightful Vienna Bars: A Classic Recipe
Try These Variations
Smoked Paprika & Garlic Slice
Whisk 1 teaspoon of smoked paprika and 1/2 teaspoon of garlic powder into the base mixture
Herb Garden Slice
Fold in 2 tablespoons of finely minced fresh dill and chives just before molding
Spicy Inspired Slice
Mix in a small amount of finely minced jarred pimento and a tiny pinch of cayenne pepper for color and mild heat
Chef's Pro Tips
Always bring your eggs to room temperature before baking — cold eggs can cause the batter to curdle
For extra moisture, add 2 tablespoons of sour cream or Greek yogurt to the batter
Use the hot-knife technique religiously; reheating the blade between every cut ensures a glass-smooth slice surface
Never attempt to slice the mayonnaise until it has chilled for the full recommended time—patience prevents structural collapse
Storage Guide
Refrigerator: Store in an airtight container on the coldest shelf for up to 24 hours
Freezer: Wrap tightly in plastic wrap and store in an airtight bag for up to 1 month; thaw slightly before serving
Avoid These Mistakes
✕ Attempting to slice the mayonnaise directly from the jar without transferring it to a mold
✕ Not using a sufficiently sharp knife, which tears the delicate structure instead of cutting it cleanly
✕ Using low-fat mayonnaise, which results in a watery, icy texture upon chilling
Failing to reheat and dry the knife between cuts, causing the slices to smear together
nutrition Nutrition Facts
Per serving: Approximately 1/8th of the block
Nutritional values are estimates based on full-fat mayonnaise and gelatin use.
flag Conclusion
There you have it, my friends. We’ve taken a global curiosity—the concept of sliced mayonnaise—and applied solid culinary principles to bring a version of it right into your American kitchen. This exercise is about pushing boundaries and appreciating texture. Whether you use this technique for a whimsical appetizer or as a structural element in your precise meal prep, the pride of serving something so meticulously crafted is unmatched. I encourage you to try this out this week and share your perfectly cut squares with family and friends. Until next time, happy cooking from the HomeRecipes team!
sell Related Topics
Frequently Asked Questions
How is this different from frozen mayonnaise? expand_more
Standard mayonnaise, when frozen, often separates upon thawing because the water content crystallizes, destabilizing the oil-in-water emulsion. Our method, utilizing a shallow mold and often the addition of gelatin, forces the entire matrix—fat, water, and stabilizer—to set into a uniform, sliceable block. It’s not simply frozen; it’s structurally set to maintain integrity when cut, which is the key difference between a messy puddle and true sliced mayonnaise.
Can I use regular light mayonnaise or mayonnaise made with vegetable oil? expand_more
I strongly advise against it. Light mayonnaise contains significantly more water, which results in an icy texture when chilled this intensely, and it often separates much faster. Furthermore, the lower oil content means the structure will be weak and prone to crumbling or weeping when sliced. For the best results that mimic the desired consistency, stick to a full-fat, premium brand, preferably one using a more stable oil like avocado or sunflower oil as its primary fat source, ensuring a richer flavor payoff.
Do I have to use gelatin, or can I skip it? expand_more
If your freezer is extremely cold (capable of reaching temperatures below 10°F consistently) and you are willing to work very quickly with an ice-cold knife, you might succeed without gelatin. However, for the average home freezer and for guaranteed clean slices, the gelatin is your insurance policy. It acts as a scaffold. Think of it as the rebar in concrete; it gives the soft material the necessary tensile strength to be cut cleanly. I always recommend using the gelatin when attempting sliced mayonnaise for the first time.
How long does it take for the mixture to set properly? expand_more
The setting time is crucial. While 6 hours is the minimum to achieve a solid block in a standard home freezer, I insist on an overnight rest, meaning at least 10 to 12 hours. This extended duration allows the fats to fully solidify and the gelatin (if used) to fully hydrate and cross-link its protein chains. Rushing this step is the primary cause of slicing failure, leading to soft edges that smear when you try to cut them. Allow the time for the chemistry to work its magic!
Can I use this technique for other creamy spreads, like aioli or sour cream dips? expand_more
Absolutely! This technique is transferable to any stable emulsion or fat-based spread that you wish to structure. A homemade garlic aioli, for example, would make incredible sliced mayonnaise-style squares for topping baked potatoes or burgers. The same principles apply: ensure the base is rich in fat, use a mold, chill intensely, and employ the hot-knife slicing method. Just remember that richer bases (like those high in egg yolk or butterfat) will generally set up firmer than leaner bases.
More Recipes You'll Love
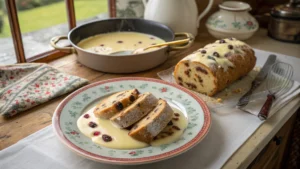
Traditional Spotted Dick Recipe: A Classic English Pudding

Ultimate Oven-Baked Sausage and Mushroom Pasta Gratin Recipe

Hearty Beef Dorito Casserole: Your New Weeknight Star

Savory French Onion Stuffed Potatoes: A Comfort Food Delight
Mastering Gemstone Cuts: A Chef’s Guide to Brilliance
Community Kitchen