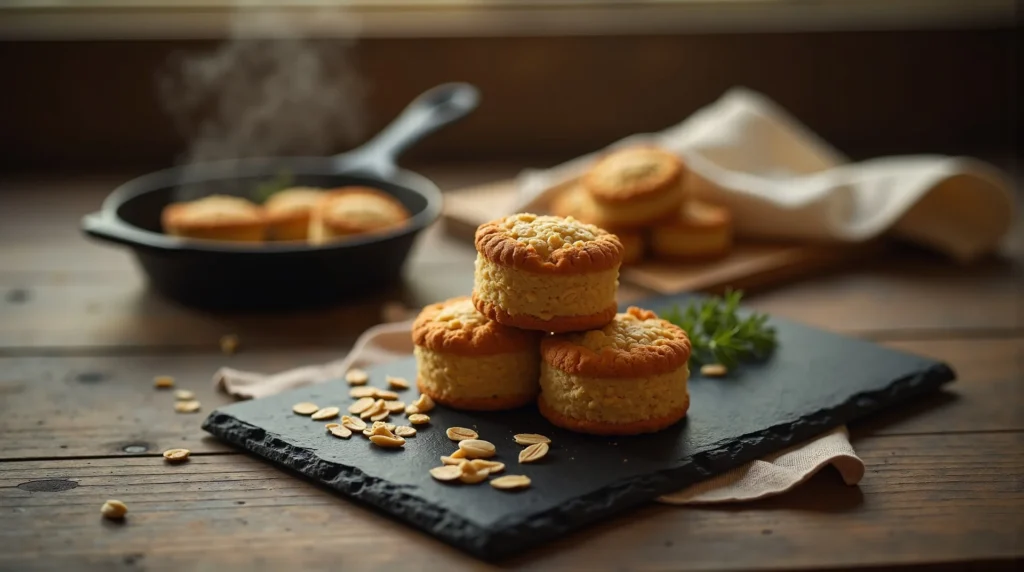
Mastering Homemade Hobnobs: The Ultimate Oat Cookie
These homemade hobnobs deliver that iconic, robust oat texture beloved across the pond. Simple, rustic, and perfect for dunking!
restaurant_menu Ingredients
Hobnobs Base Ingredients
hardware Essential Tools
Large mixing bowl
Electric hand mixer or stand mixer
Rubber spatula
Two standard baking sheets
Parchment paper
Wire cooling rack
1.5 tablespoon cookie scoop (optional)
format_list_numbered Preparation
Oven Preparation and Creaming
Preheat your oven precisely to 300°F (150°C) and prepare two baking sheets by lining them completely with parchment paper to prevent sticking
In a large, sturdy mixing bowl, combine the softened unsalted butter and granulated sugar
Using an electric mixer on medium speed, beat this butter and sugar mixture for a full 5 minutes until the mixture is visibly lighter in color and achieves a fluffy, airy consistency
This creaming process is essential for the final structure of your hobnobs
Dough Assembly
Reduce the mixer speed to low and carefully incorporate the whole milk, honey, kosher salt, and baking soda until just blended together smoothly
Add the old-fashioned oats and the all-purpose flour all at once
Switch to a large rubber spatula and fold the dry ingredients into the wet mixture by hand, stopping immediately once no dry streaks of flour remain; avoid overmixing at all costs
Using a tablespoon measure or a small cookie scoop, portion the dough into approximately 2-tablespoon mounds
Baking and Cooling
Arrange the dough portions onto the prepared baking sheets, ensuring generous spacing of 4 to 5 inches between each mound to allow for minor spreading during the bake
Bake the hobnobs in the 300°F oven for 20 to 23 minutes, watching until the edges turn a light, even golden brown
Remove the sheets from the oven and allow the hobnobs to rest on the hot parchment paper for 5 minutes—this sets their structure before handling
Carefully transfer the warm hobnobs to a wire rack to cool completely to room temperature before storing them
favorite You Might Also Love
Browse All arrow_forward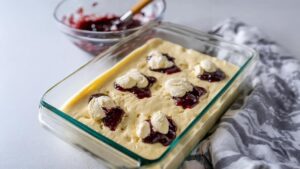
Festive Swirls: The Ultimate Christmas Chaos Cake

The Ultimate Pig Pickin Cake: A Southern Dessert Legend
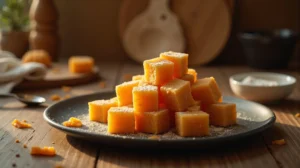
Master Homemade Sponge Candy: Airy, Crunchy Perfection
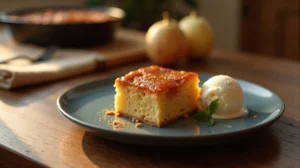
Chef's Guide to Irresistible Yum Yum Cake

Slow Cooker Strawberry Cobbler: The 4-Ingredient Vintage Secret
Mastering the Perfect Swedish Apple Cake Recipe
Try These Variations
Chocolate Dipped Hobnobs
Once completely cool, dip half of each hobnobs into melted, high-quality dark or milk chocolate (ensure halal compliance) and let set on parchment paper
Spice Addition
Add 1/2 teaspoon of ground cinnamon and a tiny pinch of nutmeg to the dry ingredients for a warmer flavor profile
Brown Sugar Swap
Substitute half of the granulated sugar with packed light brown sugar for a slightly chewier, more molasses-forward hobnobs.
Chef's Pro Tips
Always use old-fashioned rolled oats; quick oats will result in a mushy texture that defeats the purpose of a true hobnobs
If your dough feels too sticky to handle, chill it in the refrigerator for 15 minutes before scooping; cold dough spreads less
Listen for the sound of the baking—when the initial sizzle quiets down, the moisture is evaporating, which is crucial for the final crispness of the hobnobs
Use a kitchen scale if you have one to weigh your butter and flour for absolute consistency, even when using cups
Storage Guide
Airtight Container (Room Temp)
Store cooled hobnobs in a sealed container on the counter for up to 5 days
Refrigerator
Wrap tightly in plastic wrap and place inside an airtight container for up to 10 days in humid environments
Freezer
Place in a heavy-duty freezer bag, pressing out all air, and freeze for up to 3 months; thaw at room temperature
Avoid These Mistakes
✕ Using melted or overly soft butter, leading to immediate spreading and flat, greasy hobnobs
✕ Overmixing the batter after the flour and oats are introduced, resulting in tough, dense biscuits instead of tender ones
✕ Baking at too high a temperature (above 325°F), which causes rapid browning before the center is cooked through
✕ Not spacing the dough mounds sufficiently apart on the baking sheet, causing the hobnobs to bake into one large sheet
nutrition Nutrition Facts
Per serving: 1 biscuit
Nutritional information is an estimate based on 24 servings and standard ingredient brands.
flag Conclusion
There you have it—the definitive guide to creating spectacular homemade hobnobs. This recipe strips away the industrial complexity and returns you to the pure, satisfying joy of baking with oats, butter, and honey. These are more than just cookies; they are a testament to how simple, quality ingredients, treated with respect and precision, can yield world-class results in your own kitchen. I urge you to try this recipe this weekend. Once you taste the superior texture and flavor of these authentic hobnobs, I promise you won’t look back. Make them your own, share them generously, and enjoy the pride of serving a truly exceptional, homemade treat. Visit us again at HomeRecipes.com for more culinary adventures!
sell Related Topics
Frequently Asked Questions
Can I make these hobnobs gluten-free? expand_more
While this recipe is designed around the structure provided by all-purpose flour, you absolutely can adapt it. For a gluten-free version of these hobnobs, substitute the all-purpose flour with a high-quality 1-to-1 gluten-free baking blend that contains xanthan gum. You may need to add an extra teaspoon of milk, as GF blends tend to absorb moisture differently. The texture might be slightly more crumbly, but the flavor profile remains wonderfully oaty and satisfying.
Why are my hobnobs spreading too much and becoming flat? expand_more
The most common culprit for excessive spreading is overly warm butter, or an oven temperature that is too low. If your butter is too soft when creamed, the dough won't hold its shape. Secondly, ensure your oven is calibrated correctly to 300°F. If the oven is too cool, the fat melts before the structure sets, causing a wide, thin cookie. Chilling the scooped dough on the baking sheet for 15 minutes before placing it in the oven can also help mitigate spreading.
What is the difference between a Hobnob and a standard oatmeal cookie? expand_more
The primary distinction lies in the texture and the ratio of oats to flour. Traditional American oatmeal cookies often rely on more molasses or brown sugar, resulting in a chewier, softer, richer texture, sometimes containing raisins or chocolate chips. Our hobnobs are intentionally drier and crunchier, relying more heavily on the oats for structure and less on added moisture, making them the perfect dunking biscuit. They are designed to be robust, not cakey.
Can I replace the honey with maple syrup in these hobnobs? expand_more
You certainly can substitute the honey with pure maple syrup. However, be aware that maple syrup has a higher water content than honey, which can subtly alter the final texture of your hobnobs, potentially making them slightly softer. If you use maple syrup, I recommend reducing the milk by 1 teaspoon to compensate for the extra liquid. The flavor will shift to a distinct North American maple note, which is delicious in its own right.
What is the best way to ensure my hobnobs are uniform in size? expand_more
Consistency is key for even baking. I highly recommend using a standardized portion scoop, like a 1.5-tablespoon cookie scoop, to ensure every piece of dough is the exact same size. If you are scooping manually, use a level tablespoon measure and try to roll the dough into a rough ball before flattening it slightly on the tray. Uniformity guarantees that every single one of your hobnobs finishes baking at the same moment, preventing some from burning while others remain underdone.
More Recipes You'll Love
Golden Pecan Dandy Delights: A Homestyle Classic
Velvety Banana Pudding Dream Cake

Divine Heavenly Hash: Your Ultimate No-Bake Sweet Treat
The Easiest 4 Ingredient Lemon Cream Cheese Dump Cake Recipe
Community Kitchen