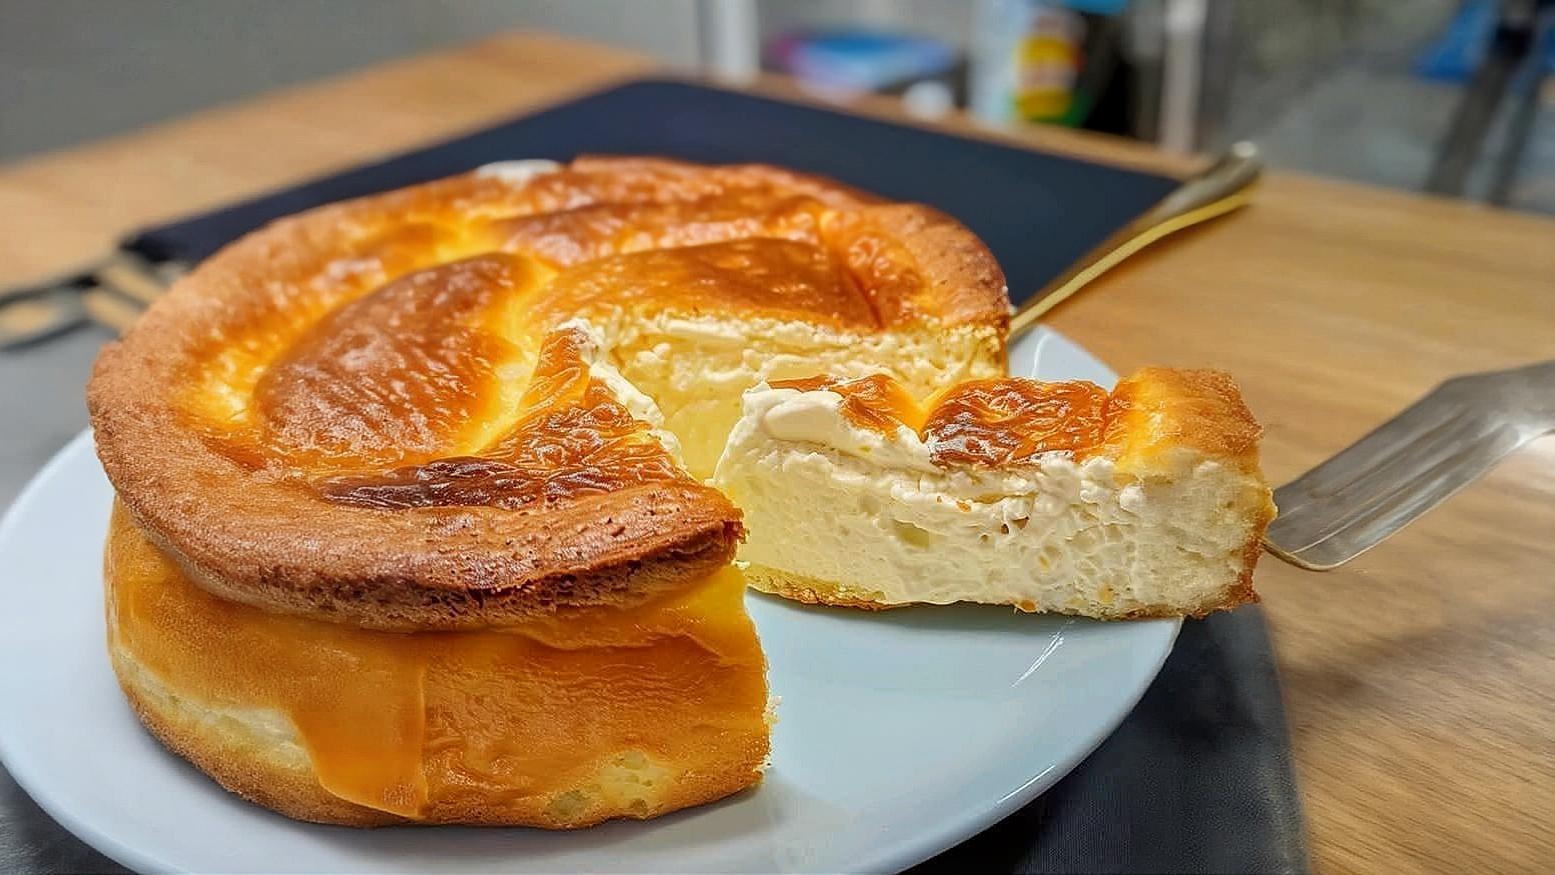
This isn't just dessert; it's an architectural triumph of baking science. The Japanese style cheesecake offers an unparalleled, cloud-like texture—a sublime marriage between a delicate sponge and a tangy cream cheese filling. It requires patience, but the reward is a dessert so light, it feels like eating sweetened air. It’s the perfect showstopper for any American gathering seeking sophistication without the traditional heaviness of a standard cheesecake.
Ingredients
The Cream Base and Yolk Batter
The Dry Ingredients
For the Water Bath (Bain-Marie)
Essential Tools
8-inch round springform pan (essential for easy release)
Large heatproof bowl for double boiler setup
Saucepan for simmering water
Whisk
Large rubber spatula
Electric stand mixer or hand mixer with whisk attachment
Fine-mesh sieve
Large roasting pan (for water bath)
Parchment paper
favorite You Might Also Love
Browse All arrow_forward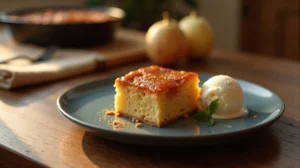
Mastering the Perfect Swedish Apple Cake Recipe
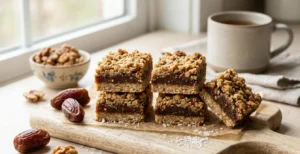
Mastering Flavorful Irish Coconut Date Bars at Home
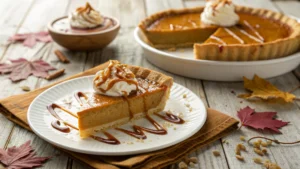
The Ultimate Homemade Pumpkin Pie Recipe with Caramel Pecan Topping
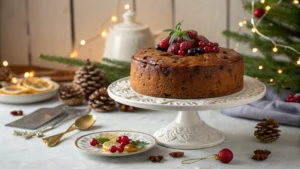
The Ultimate Christmas Fruitcake Recipe: A Festive Delight
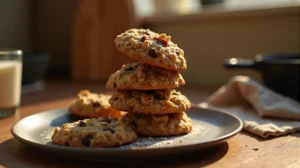
Mastering 10 Cup Cookies: A Chewy American Classic
The Ultimate Peach Pretzel Salad: A Retro Dessert Masterpiece
Preparation
Creating the Base Emulsion
Prepare your oven and pan
Preheat your oven to 325°F (160°C). Line the bottom and sides of your 8-inch springform pan with two layers of parchment paper, ensuring the paper extends at least 2 inches above the rim to contain the rise of the Japanese style cheesecake. Wrap the outside bottom of the pan tightly in heavy-duty aluminum foil—this is crucial to prevent water from the bain-marie from seeping in.
The Yolk Batter Assembly
Gently melt the cream cheese, butter, and milk together in a bowl set over a saucepan of gently simmering water (double boiler). Whisk constantly until the mixture is completely smooth, glossy, and uniform—no lumps allowed. Remove from heat and let cool for 5 minutes before whisking in the 4 egg yolks one at a time until fully incorporated. Sift the cake flour and cornstarch together, then gently whisk them into the yolk mixture until just combined; do not overmix. Stir in the lemon juice and vanilla extract.
The Meringue and Folding
In a separate, impeccably clean bowl, beat the egg whites until foamy. Gradually add the remaining 1/4 cup of sugar while beating, increasing speed until stiff, glossy peaks form—the tips should hold their shape firmly when the whisk is lifted. Take one-third of the meringue and vigorously whisk it into the heavy yolk batter to lighten it (this is called sacrificing the first meringue portion). Gently fold the remaining two-thirds of the meringue into the batter in two stages using a large spatula, cutting down the center and sweeping up the sides until no white streaks remain. Stop immediately once combined.
Recipe Variations
Matcha Green Tea Infusion
For a vibrant, earthy twist popular in Japanese tea ceremonies, whisk 2 tablespoons of high-quality, ceremonial-grade matcha powder into the sifted dry ingredients (flour and cornstarch). Ensure the matcha is completely lump-free before adding it to the yolk mixture. This variation pairs beautifully with a light dusting of powdered sugar and requires no other adjustments to the main process of making the Japanese style cheesecake. The slight bitterness of the tea balances the sweetness perfectly.
Citrus Zest Brightening
Amp up the tanginess by substituting the lemon juice with the zest of one large orange or two Meyer lemons. Zest the fruit *before* juicing it, and gently rub the zest into the granulated sugar intended for the yolks using your fingertips. The oils released from the zest infuse the sugar, providing a deeper, more aromatic citrus note throughout the entire cake structure, moving beyond the singular sourness of just lemon.
Chocolate Swirl Variation
Melt 2 ounces of high-quality bittersweet chocolate (ensure it is Halal compliant) and allow it to cool slightly. After folding the meringue into the yolk batter (Step 6 in the main steps), pour about one cup of the final batter into a separate bowl and gently whisk in the melted chocolate until uniform. Pour the plain batter into the prepared pan, then drizzle the chocolate batter over the top. Use a skewer to gently swirl the two batters together in figure-eights to create a marbled effect, ensuring you do not scrape the bottom of the pan, which would deflate the rise of your Japanese style cheesecake.
Dairy-Free Adaptation
While challenging, this can be adapted. Replace the cream cheese with an equal weight of high-quality, firm vegan cream cheese alternative and substitute the butter with a neutral-flavored vegan baking stick. Use a full-fat unsweetened oat or soy milk instead of dairy milk. Note that the texture will be slightly less resilient, requiring an even gentler fold of the meringue.
Chef's Tips
The Japanese style cheesecake relies on the steam from the water bath to insulate the edges and maintain a slow, even bake. If you skip the bain-marie, the exterior will cook too fast, causing it to pull away from the sides and crack severely on top because the interior moisture is evaporating too quickly. Think of it as creating a tiny, humid microclimate inside your oven just for this delicate creation.
When separating eggs, use a clean glass bowl for the whites and crack each egg individually into a small separate cup before adding the yolk to the main mixture and the white to the whites bowl. This critical step ensures that if a single yolk breaks, you won’t contaminate the entire batch of egg whites, which would instantly ruin your ability to achieve stiff peaks necessary for a proper rise in this light Japanese style cheesecake.
Chill time is not optional—it is part of the cooking process. After the initial cooling in the turned-off oven, the structure needs time to set fully. Serving this cake warm results in a texture closer to soft scrambled eggs; chilling allows the proteins and fats to firm up, creating that signature ‘cotton’ or ‘fluffy’ mouthfeel that distinguishes the Japanese style cheesecake from a standard soufflé. Aim for at least four hours, but overnight is truly superior.
Always use a serrated knife when slicing this delicate dessert, and wipe the blade clean with a warm, damp cloth between every cut. The high moisture and delicate structure mean a straight, cold knife will drag and tear the beautiful, airy crumb. Wiping the blade ensures each slice presents as perfectly as the first, showcasing the successful texture of your Japanese style cheesecake.
Storage & Conservation
Room Temperature
This Japanese style cheesecake is extremely high in moisture and dairy, making it unsafe to store at room temperature for extended periods, especially in warm American kitchens. If serving immediately or within 2 hours of cooling, it can sit, covered loosely with plastic wrap, on a cool counter, but anything longer requires refrigeration to prevent spoilage and maintain its delicate structure from drying out prematurely.
Refrigerator
The best method for short-term storage is the refrigerator. Once completely chilled (at least 4 hours), cover the cake tightly with plastic wrap, ensuring the wrap does not touch the surface to prevent sticking. Store on a stable shelf away from strong odors (like onions or garlic) for up to 4 days. When serving, allow the chilled slice to sit out for about 20 minutes; this slightly softens the fats, bringing back a hint of that melt-in-your-mouth quality lost during refrigeration.
Freezer
For long-term storage of your successful Japanese style cheesecake, wrap the entire cooled cake tightly first in plastic wrap, then in a layer of aluminum foil to prevent freezer burn. It freezes beautifully for up to 2 months. To thaw, transfer the wrapped cake directly to the refrigerator and allow it to defrost slowly for 12 to 24 hours. Avoid microwaving, as the rapid heating destroys the airy structure, leaving you with a dense, rubbery texture.
Common Mistakes
Over-mixing the dry ingredients into the yolk batter: When you combine the sifted flour and cornstarch with the liquid yolk base, mixing too long develops gluten strands. Gluten is fantastic for chewy breads but disastrous for light cakes. Over-mixing creates a tougher structure that cannot expand sufficiently when the trapped air in the meringue tries to lift it during baking, resulting in a dense, heavy cake that deflates rapidly upon cooling, completely defeating the purpose of making a Japanese style cheesecake.
Improper meringue consistency
If the egg whites are under-whipped (soft peaks), they lack the structural integrity to hold up the heavy cream cheese batter, leading to immediate collapse. Conversely, if they are over-whipped (dry, curdled looking), they become brittle, and when folded, they shatter instead of blending, creating pockets of dry white and dense yellow batter throughout the final product. You must aim for stiff, glossy peaks that gently curl over at the very tip, indicating maximum stable volume for your Japanese style cheesecake.
Temperature shock during cooling
The single most common way home cooks ruin a beautiful rise is by taking the cake directly from a hot oven and placing it on a cold countertop. The sudden drastic drop in temperature causes the steam trapped inside the structure to condense rapidly, creating a vacuum of sorts that pulls the structure downward, resulting in a massive sinkhole in the center. Always cool slowly inside the turned-off oven with the door ajar to temper the change gradually.
Recipe Keywords
Conclusion
There you have it—the secrets to transforming a seemingly complex dessert into a manageable, show-stopping home creation. The Japanese style cheesecake is more than just a recipe; it’s an exercise in patience and precision, rewarding you with a texture that simply cannot be replicated by denser baked goods. Don’t be intimidated by the water bath or the folding technique; embrace them as the tools of a master baker. Now, go forth, serve this cloud-like delight to your family, and take pride in the culinary artistry you’ve achieved right in your own kitchen! We can’t wait to see your results here at HomeRecipes.com!
Frequently Asked Questions
Why did my Japanese style cheesecake sink so much after baking? expand_more
The primary reason for excessive sinking in a Japanese style cheesecake is temperature shock, as detailed in the common mistakes. When the cake is removed from the heat source too quickly, the steam within the structure condenses rapidly, causing a structural failure and significant collapse. To prevent this, you must implement a staged cooling process: turn the oven off, prop the door open about 2 inches with a wooden spoon, and let the cake sit inside for a full hour before attempting to remove it to room temperature. This slow transition allows the protein network to set gradually without sudden contraction.
Can I use a regular 9-inch springform pan instead of an 8-inch pan? expand_more
You absolutely can, but you must adjust your expectations and baking times. A 9-inch pan has a significantly larger surface area (about 25% more volume) than an 8-inch pan. If you use the same amount of batter in a 9-inch pan, the cake will bake much faster and will be significantly shorter, losing some of that signature height. If you stick with the 9-inch pan, reduce the initial high-heat baking time by about 5 minutes and the low-heat time by 10 to 15 minutes, checking for doneness earlier. The resulting Japanese style cheesecake will be thinner but still delicious.
What is the purpose of the aluminum foil wrap around the springform pan? expand_more
The aluminum foil serves a critical, non-negotiable purpose when making any cheesecake baked in a water bath (bain-marie), especially this delicate Japanese style cheesecake. The foil acts as a waterproof barrier, creating a seal around the bottom seam of the springform pan. If you skip this step, the boiling water from the bath will inevitably seep into the bottom of your cake batter during the long bake time, resulting in a soggy, inedible bottom layer that ruins the texture you worked so hard to achieve. Use heavy-duty foil and wrap it completely around the bottom and several inches up the sides.
Why is cake flour specified over all-purpose flour for this recipe? expand_more
Cake flour is essential because its lower protein content leads to less gluten formation. Gluten provides chewiness and strength, which is desirable in breads but detrimental to the ethereal softness required in a Japanese style cheesecake. Lower protein means a more tender crumb structure that remains delicate even after baking and chilling. If you must substitute, remember the trick: for every cup of AP flour, remove 2 tablespoons and replace it with 2 tablespoons of cornstarch to artificially lower the overall protein ratio.
How do I prevent the top of my Japanese style cheesecake from cracking during baking? expand_more
Cracking is usually caused by uneven heat, too much heat, or over-baking. Ensure you are using the water bath (bain-marie) as this provides moist, gentle heat that cooks the cake evenly from all sides. Secondly, never bake this cake above 325°F (160°C) for the initial phase. Finally, the most important step is the slow cooling inside the turned-off oven. A sudden drop in temperature causes the exterior to seize while the interior is still expanding, leading to tension cracks. Patience during cooling is the true secret to a flawless surface on your Japanese style cheesecake.