Bread in a Bag Recipe (No-Mixer Zip Bag Method)
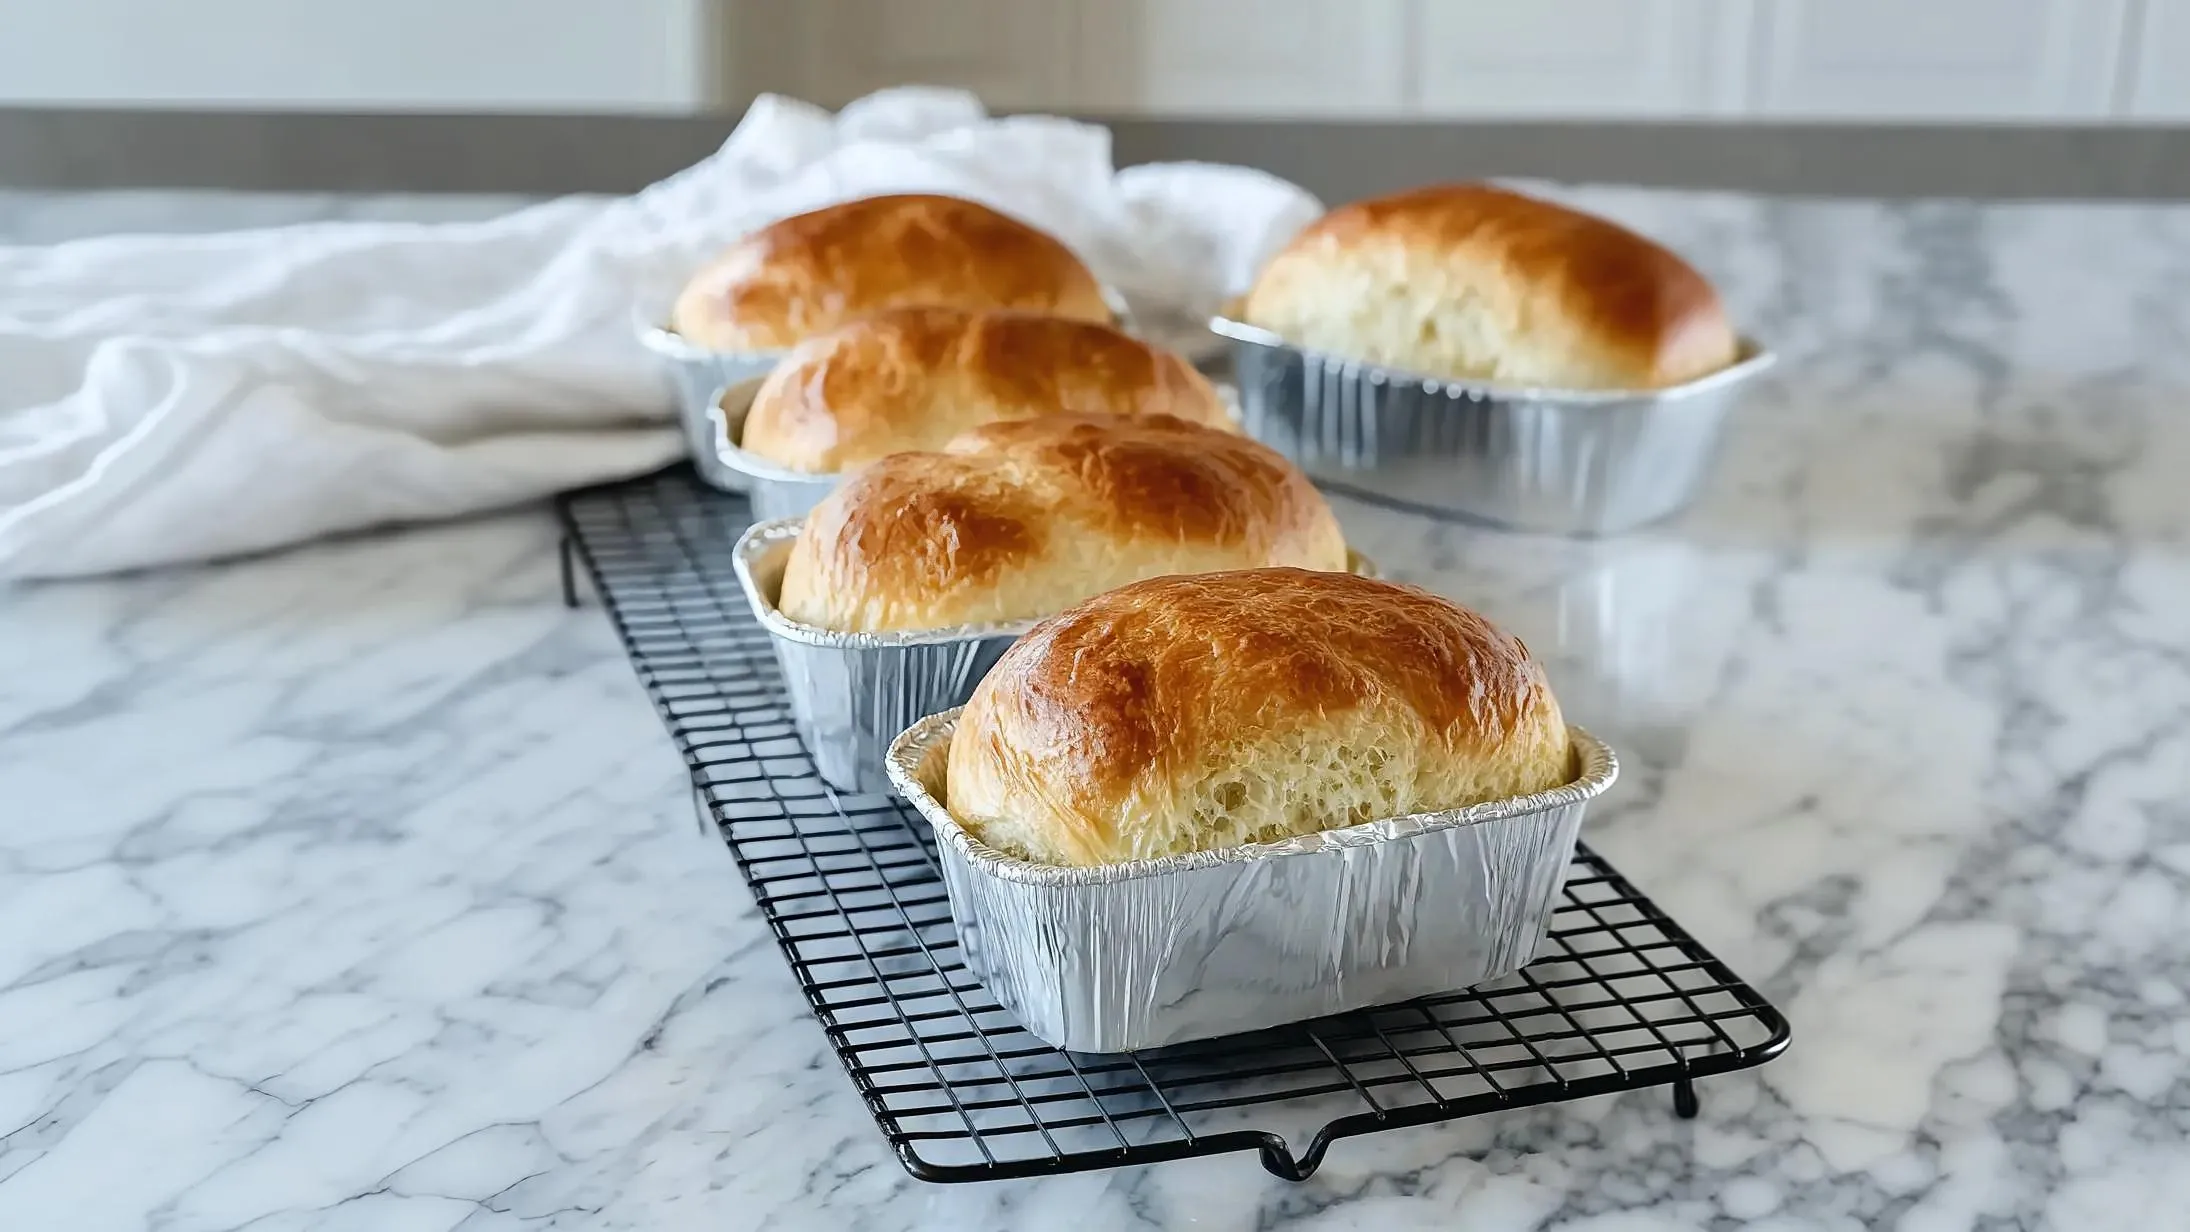
This bread in a bag recipe delivers a soft, tender sandwich loaf with a golden crust and a mild, slightly sweet flavor. The entire dough comes together inside a zip-top bag, meaning almost no dishes and no sticky countertops. It's an approachable, kid-friendly way to introduce anyone to the satisfaction of baking real homemade bread from scratch.
restaurant_menu Ingredients
Main Ingredients
hardware Essential Tools
1-gallon freezer-strength zip-top bag
9x5-inch loaf pan
Measuring cups and spoons
Kitchen thermometer (optional)
Wire cooling rack
format_list_numbered Preparation
Preparation
Add 1 cup flour, sugar, yeast, and warm water to a gallon-size freezer bag. Seal, press out excess air, and squeeze until smooth.
Rest the sealed bag on the counter for 10 to 15 minutes, until the mixture looks puffy and bubbly.
Open the bag, add the remaining 2 cups flour, olive oil, and salt. Reseal and knead through the bag until a soft dough forms.
Turn the dough onto a lightly floured surface and knead by hand for 2 minutes, until smooth and springy.
Shape the dough into a log and place it in a greased 9x5-inch loaf pan. Cover loosely and let rise in a warm spot until doubled, about 25 to 40 minutes.
Preheat the oven to 375°F. Bake for 25 to 30 minutes, until deep golden and the loaf sounds hollow when tapped.
Cool the loaf on a wire rack for at least 30 minutes before slicing.
favorite You Might Also Love
Browse All arrow_forwardGolden Crispy Chicken Fritters: A Deliciously Crunchy Recipe

Potato Au Gratin Cups Recipe (Crispy Cheddar)
Creamy Garlic Smothered Baked Potatoes: The Ultimate Comfort Food Recipe
Cream of Tomato Soup Recipe (Velvety Smooth)
Creamy Au Gratin Potatoes Recipe - Easy & Delicious Side Dish
Classic Raisin Pie Recipe: A Nostalgic Slice of Comfort
Try These Variations
Honey Wheat Swap
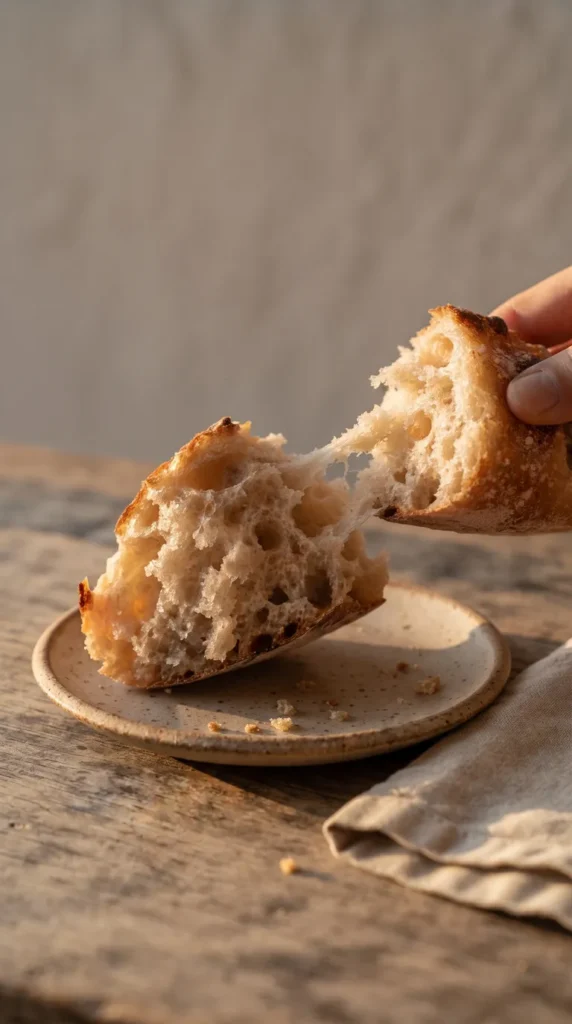
Replace the sugar with 1 tablespoon of honey stirred into the warm water, and substitute up to 1 cup of the all-purpose flour with white whole wheat flour for a heartier, slightly nutty loaf that still stays soft enough for sandwiches.
Herb and Garlic Loaf
Knead in 1 teaspoon dried Italian herbs and 1 minced garlic clove along with the oil and salt for a savory version that pairs beautifully with soup or pasta night.
Cinnamon Swirl Version
After the bench knead, roll the dough into a rectangle, sprinkle with cinnamon sugar, and roll it back into a log before placing it in the pan for a sweet breakfast-style loaf.
Seeded Crust
Just before baking, brush the top of the risen loaf lightly with water and press on a mix of sesame and poppy seeds for extra crunch and a bakery-style finish.
Chef's Pro Tips
Getting the water temperature right matters more than most home bakers realize — yeast is a living culture, and water above 120°F will kill it outright while water below 100°F slows activation to a crawl. A cheap kitchen thermometer removes all the guesswork and guarantees consistent results every time you bake.
Kneading through the bag is effective, but don’t skip the short bench knead afterward. Those extra two minutes of hand-kneading develop additional gluten strands, which trap more gas from the yeast and give you a taller, more even rise instead of a dense, flat loaf.
Always let the baked loaf rest for a full 30 minutes before slicing. Cutting too early releases trapped steam and can leave the crumb gummy; the resting period allows the starches to finish setting so your slices hold their shape.
Storage Guide
Room Temperature
Store the cooled loaf in a bread bag or wrapped tightly in foil at room temperature for up to 3 days. Keep it away from direct sunlight or heat sources, which can dry out the crust faster than normal.
Refrigerator
Refrigeration is not recommended for this loaf, as the cold environment actually speeds up the staling process and can leave the crumb dry and crumbly sooner than simply leaving it at room temperature.
Freezer
Slice the fully cooled loaf and freeze pieces in a single layer before transferring to a freezer bag, separating layers with parchment paper. Frozen slices keep well for up to 2 months and can be toasted directly from frozen.
Avoid These Mistakes
✕ Using water that’s too hot
Many home bakers assume hotter water speeds things up, but anything above 120°F can kill the yeast entirely, leaving you with dough that never rises. Always test your water temperature or let it cool slightly before adding.
✕ Skipping the froth check
If you rush past the 10 to 15 minute rest without confirming the mixture looks bubbly, you risk baking with inactive yeast. If it doesn’t froth, start over with a fresh packet rather than proceeding.
✕ Overcrowding a small pan
Using a loaf pan smaller than 9×5 inches can cause the dough to overflow during baking, leading to uneven browning and a messy oven. Stick to the recommended pan size for the best shape and rise.
nutrition Nutrition Facts
Per serving: 1 slice (1/12 of loaf)
Nutrition values are estimated per slice and will vary based on exact ingredients and loaf size.
flag Conclusion
Few things feel as rewarding as slicing into a loaf you made with your own hands, especially when the whole process barely dirtied a dish. This bread in a bag recipe is proof that homemade bread doesn’t have to be complicated or intimidating — it just takes a warm kitchen, a sturdy bag, and a little patience while the yeast does its work.
sell Related Topics
Frequently Asked Questions
Can I use a different type of bag for this bread in a bag recipe? expand_more
Stick with a heavy-duty, gallon-size freezer bag rather than a thin sandwich bag. The thicker plastic holds up to the pressure of kneading without tearing or leaking, which keeps your countertop clean and your dough intact throughout the mixing process.
Why didn't my dough rise properly? expand_more
The most common culprit is water temperature. If it was too hot, it likely killed the yeast; if too cool, the yeast may simply be sluggish. Also double-check your yeast's expiration date, since older packets lose their leavening power over time and won't give you a strong rise.
Can I make the dough ahead of time? expand_more
Yes. After shaping the loaf in the pan, cover it tightly and refrigerate for up to 12 hours. When you're ready to bake, let it sit at room temperature until it finishes rising, which may take 15 to 30 minutes longer than usual since the dough is starting out cold.
What size loaf pan should I use? expand_more
A standard 9-by-5-inch loaf pan works perfectly for this recipe and yields a tall, evenly shaped loaf. Smaller pans can cause the dough to overflow during baking, while significantly larger pans may produce a shorter, wider loaf with a less classic sandwich-bread shape.
Can I double this bread in a bag recipe? expand_more
You can, but it's best done in two separate bags rather than one oversized batch, since a single bag becomes difficult to knead evenly once the dough volume doubles. Working in two batches also lets you bake two loaf pans back to back or freeze one for later.
More Recipes You'll Love
Classic Homemade Pesto Recipe: Fresh & Flavorful

Classic Homemade Pesto Recipe: Fresh & Flavorful

Community Kitchen