Simple. Tasty. From Our Home to Yours. Browse all recipes

Simple. Tasty. From Our Home to Yours. Browse all recipes
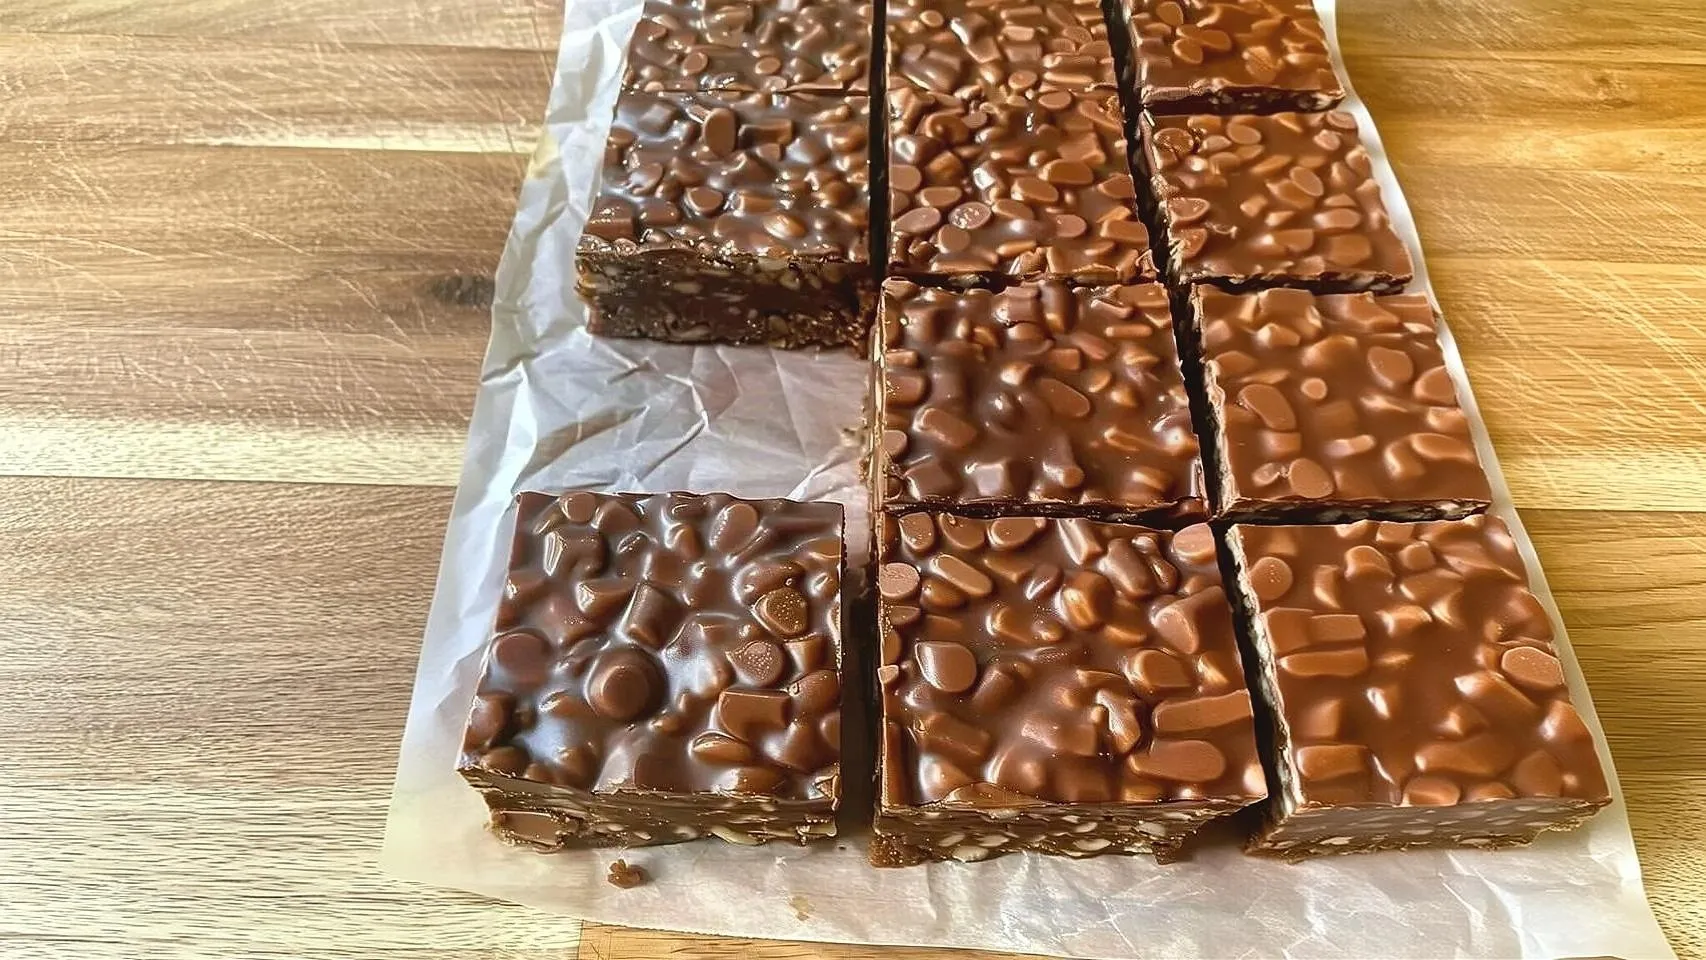
These Chocolate Crunch Bars from Scratch bring together crispy rice cereal and a rich, silky mixture of melted chocolate, creamy peanut butter, and maple syrup. Pressed into a pan and chilled until firm, they deliver a satisfying contrast between a smooth, fudgy chocolate coating and light, audible crunch in every bite. No oven, no candy thermometer, and no complicated techniques — just a handful of simple ingredients transformed into a treat that tastes far more special than the effort involved.
8-inch square baking pan
Parchment paper
Saucepan
Large mixing bowl
Spatula
Sharp knife
Line an 8-inch square baking pan with parchment paper, leaving overhang on the sides for easy removal.
Combine the chocolate chips, peanut butter, maple syrup, and coconut oil in a saucepan over low heat, stirring frequently until melted and smooth.
Place the crispy rice cereal in a large mixing bowl and pour the warm chocolate mixture over it.
Gently fold the cereal and chocolate mixture together with a spatula until evenly coated, being careful not to crush the cereal.
Transfer the mixture to the prepared pan and press it into an even layer using the back of a spoon or a piece of parchment paper.
Refrigerate for at least 2-3 hours, or until completely firm to the touch.
Lift the firm mixture out using the parchment overhang, transfer to a cutting board, and slice into bars or squares with a sharp knife.




For a slightly more delicate, less assertive nutty flavor, swap the peanut butter for creamy almond butter — it blends into the chocolate mixture just as smoothly and pairs beautifully with the maple syrup.
For a nut-free version suitable for school lunchboxes, use sunflower seed butter in place of peanut butter, and double-check that your chocolate chips are processed in a nut-free facility if needed.
Stir in a handful of unsweetened shredded coconut along with the cereal for a tropical twist that adds a chewy contrast to the crunchy texture.
Sprinkle a small amount of flaky sea salt over the top of the mixture before chilling for a salty-sweet finish that works especially well with dark chocolate.
Melt the chocolate mixture over low heat and stir frequently rather than walking away from the stove. Chocolate can seize and turn grainy if it gets too hot too quickly, and gentle, even heat keeps the final texture glossy and smooth instead of clumpy.
Fold the cereal into the chocolate mixture gently rather than stirring vigorously. Crispy rice cereal is fragile, and aggressive mixing crushes the pieces, robbing the finished bars of the light, audible crunch that makes them so satisfying.
Press the mixture into the pan firmly enough to hold together, but avoid compacting it into a dense brick. A light, even press preserves some of the air pockets in the cereal, keeping the texture from becoming heavy or overly dense.
Allow the bars to chill completely, ideally a full 2-3 hours, before attempting to cut them. A fully set bar slices cleanly, while a partially firm one will crumble apart under the knife.
These bars can sit out for a couple of hours at cool room temperature, but the coconut oil in the recipe means they’ll soften notably in a warm kitchen, so they’re best enjoyed within a short window if left unrefrigerated.
Store bars in an airtight container in the refrigerator for up to two weeks, placing a sheet of parchment paper between layers if stacking them to prevent sticking.
These bars freeze exceptionally well for up to 3 months in a freezer-safe airtight container. Let them sit at room temperature for a few minutes before serving so they soften slightly and are easier to bite into.
Per serving: 1 bar
Nutrition values are estimates and will vary based on the specific chocolate and nut butter used.
These Chocolate Crunch Bars from Scratch prove that a genuinely satisfying homemade treat doesn’t require an oven, special equipment, or hours in the kitchen. With just a handful of pantry staples and a little patience while they chill, you get a dessert with real textural contrast and rich chocolate flavor in every bite. Keep a batch in the fridge and you’ll always have something homemade ready to go.
No, these are entirely no-bake. The chocolate mixture is gently melted on the stovetop, combined with the crispy rice cereal, pressed into a pan, and chilled in the refrigerator until firm. There's no oven involved at any point in the process.
Yes, milk chocolate works well and creates a sweeter, creamier flavor that's especially popular with kids. Dark chocolate gives a more sophisticated, less-sweet result, so the choice really comes down to your personal preference.
Absolutely. Almond butter, cashew butter, or sunflower seed butter all work well in this recipe, each bringing a slightly different flavor while keeping the same creamy texture that binds the bars together.
Yes, these bars freeze beautifully. Store them in a freezer-safe airtight container with parchment paper between layers, and let them sit at room temperature for a few minutes before serving so they soften slightly.
This usually means the cereal wasn't coated thoroughly enough with the chocolate mixture, or the bars weren't pressed firmly enough into the pan before chilling. Make sure the mixture is fully chilled and firm all the way through before slicing.





No items yet. Click "Add All" or use + buttons!
Community Kitchen