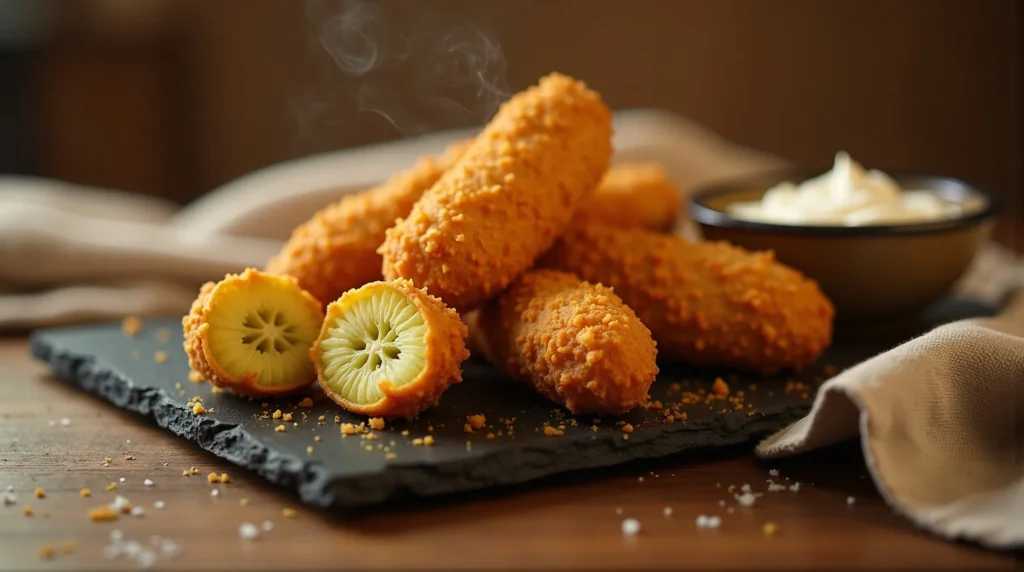
Mastering Homemade Fried Pickle Spears: A Chef’s Guide
Master the art of frying to achieve the crispiest, tangiest fried pickle spears—a true American appetizer sensation—complete with a zesty homemade dipping sauce.
restaurant_menu Ingredients
For the Fried Pickle Spears
For the Spicy Ranch Dip
hardware Essential Tools
Heavy-bottomed pot or Dutch oven
Deep-fry or candy thermometer
Wire rack set over a baking sheet
Large mixing bowl
Shallow dish or pie plate
Slotted spoon or spider strainer
Paper towels
format_list_numbered Preparation
Preparation and Setup
Prepare the pickles by removing them from the jar and blotting them thoroughly between layers of paper towels to remove excess brine
Heat 2 inches of vegetable oil in your heavy-bottomed pot over medium-high heat until it reaches a stable temperature of 365°F (185°C), monitored with a thermometer
In a medium bowl, whisk together the 1/4 cup of buttermilk and the single large egg until completely smooth and incorporated
In a separate shallow dish, whisk together the 1/2 cup of flour, garlic powder, onion powder, paprika, salt, and cayenne pepper until uniformly combined
Dredging and Frying
Take one dried pickle spear and dredge it completely in the seasoned flour mixture, shaking off any heavy excess coating
Dip the floured spear into the buttermilk-egg wash, allowing any drips to fall back into the bowl for about three seconds
Return the wet spear to the seasoned flour mixture, gently pressing the flour onto the surface to create a thick, craggy crust
Working in small batches of 3 to 4 spears to maintain oil temperature, carefully lower the coated pickles into the 365°F oil
Fry for 2 to 3 minutes, rotating them frequently with tongs until they achieve a deep, even golden-brown color
Use a slotted spoon to transfer the finished fried pickle spears immediately to a wire rack lined with fresh paper towels to drain excess oil
Making the Dip and Serving
While the last batch fries, quickly prepare the dip by vigorously whisking the hot sauce into the 1/3 cup of ranch dressing until fully blended
Adjust the hot sauce until the dip reaches your desired level of heat
Serve the hot, crispy fried pickle spears immediately alongside the zesty dipping sauce for the best texture and flavor experience
favorite You Might Also Love
Browse All arrow_forward
Easy Air Fryer Boiled Eggs: The Ultimate No-Water Method
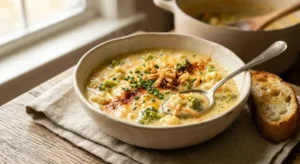
The Ultimate Cheesy Broccoli Cauliflower Soup Recipe
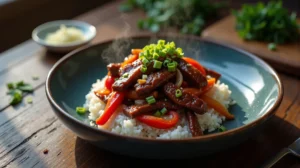
Authentic Quick Beijing Beef: Restaurant Flavor at Home
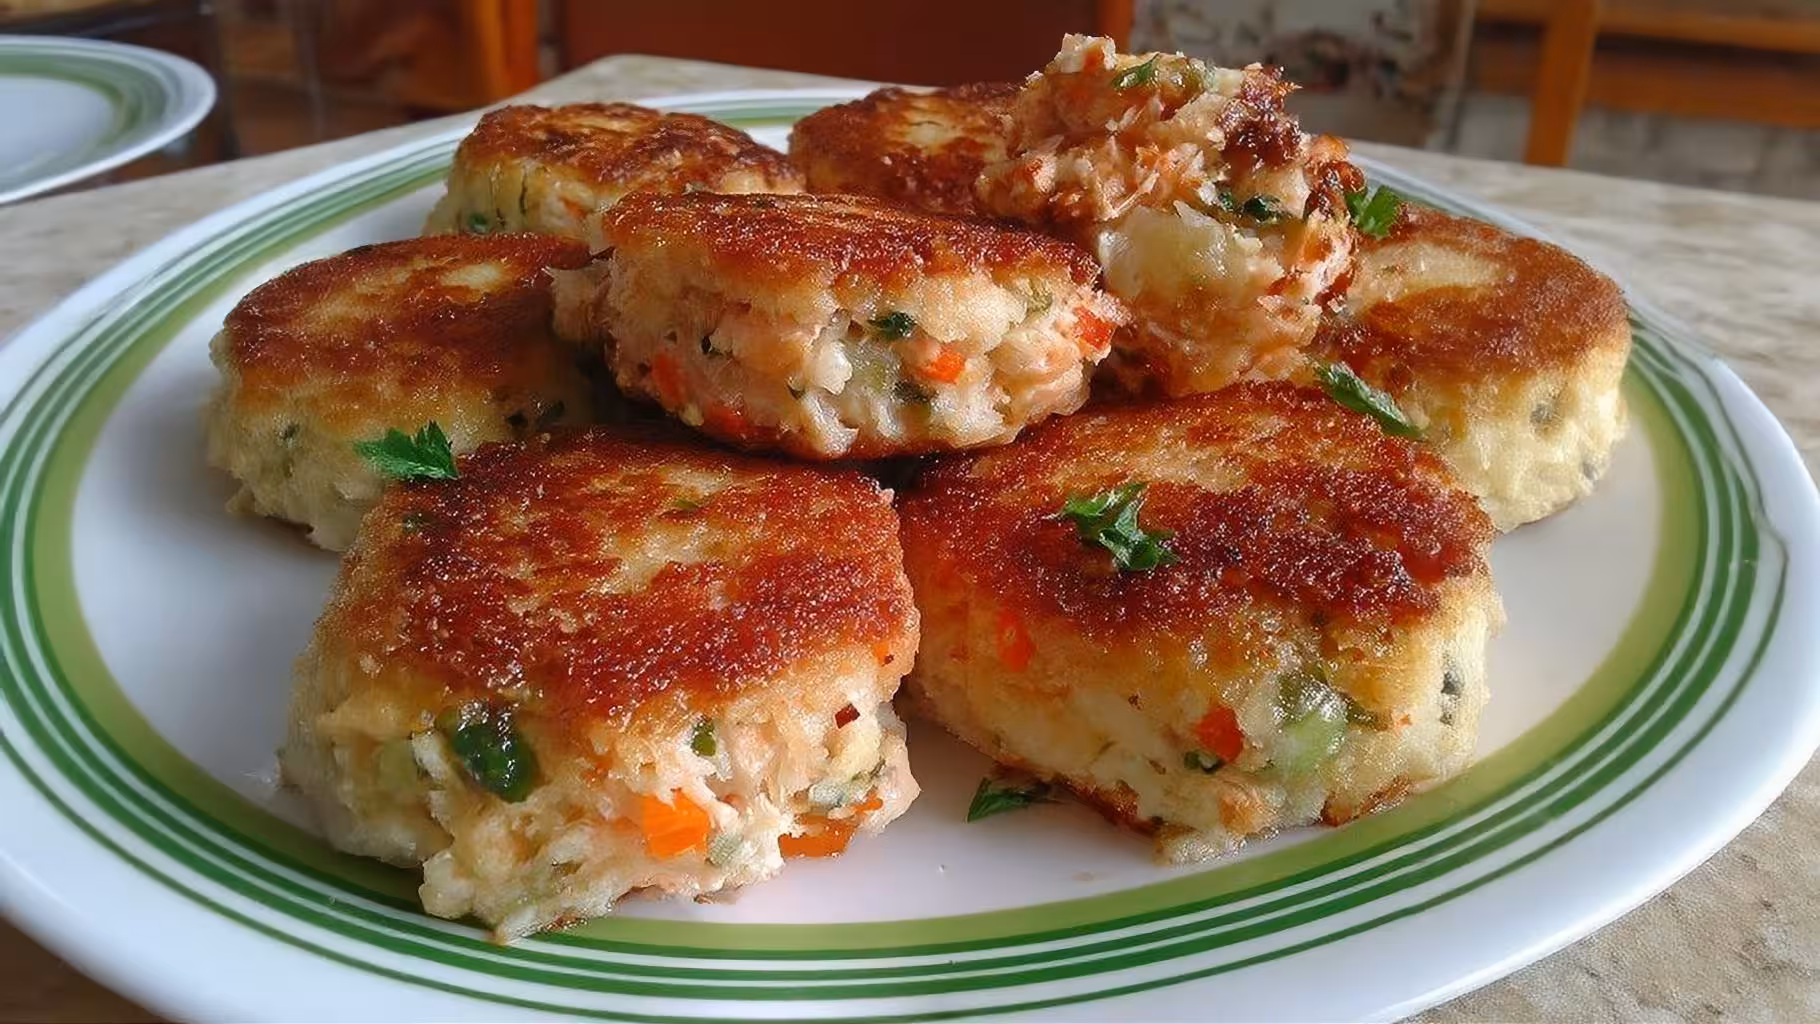
Copycat Joe's Crab Shack Crab Cakes: A Seafood Sensation
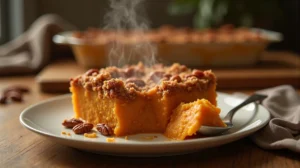
Southern Sweet Potato Casserole Recipe

Chef's Guide to Perfect Lazy Mini Tacos Appetizer
Try These Variations
Spicy Pickle Spears
Add 1/2 teaspoon of smoked paprika and increase cayenne to 1/2 teaspoon in the flour mix
Beer Batter Upgrade
Substitute the buttermilk/egg wash with 1 cup of cold, light lager beer mixed with 1/4 cup of flour to create a thinner, puffier crust
Sweet & Tangy: Use sweet pickle spears instead of dill for a candied crunch experience
Parmesan Crust: Add 1/4 cup of finely grated Parmesan cheese to the final flour dredge for an extra savory layer
Chef's Pro Tips
Always use pickle spears, not slices, as the extra surface area of the slice tends to result in soggier coatings under high heat
Ensure your oil temperature recovers to 365°F between every small batch; this is the single most important factor for non-greasy fried pickle spears
If you are preparing a large quantity, keep the finished spears warm on a baking sheet in a very low oven (200°F) while you finish the remaining batches
For an added flavor punch, mix a pinch of celery salt into your final flour dredge
Storage Guide
Room Temperature
For 4 hours maximum, loosely covered on paper towels, best eaten immediately
Refrigerator
Store in an airtight container separated by parchment paper for up to 24 hours (expect significant loss of crispness)
Freezer: Not recommended, as refreezing cooked battered items rarely yields good results
Reheating: Preheat oven to 400°F (200°C); spread on a wire rack and bake for 8-10 minutes, flipping halfway, until crisp returns
Avoid These Mistakes
✕ Frying too many spears at once, which causes the oil temperature to drop below 350°F, resulting in oil-logged, soggy coatings
✕ Not drying the pickles sufficiently before coating, leading to the batter sliding off during frying
✕ Failing to press the final layer of flour onto the spear, resulting in a thin, weak crust that doesn’t achieve maximum crunch
✕ Using old or dirty oil, which imparts off-flavors and lowers the smoke point, potentially burning the coating prematurely
nutrition Nutrition Facts
Per serving: 10 spears
Nutritional information is an estimate based on 10 servings and typical ingredient brands.
flag Conclusion
There you have it, my friends—the definitive guide to making restaurant-quality fried pickle spears in your own kitchen. We’ve gone beyond simple instructions to discuss the science of the dredge, the necessity of temperature control, and the art of the perfect supporting dip. This recipe proves that world-class flavor doesn’t require world-class expense or complexity; it requires attention to detail and respect for the ingredients. Now, go forth, make these glorious fried pickle spears, and take pride in serving something truly exceptional. Share your triumphs with us here at HomeRecipes.com!
sell Related Topics
Frequently Asked Questions
Why are my fried pickle spears soggy instead of crispy? expand_more
Sogginess is almost always a temperature or moisture issue. You likely allowed the oil temperature to drop too low when you added the pickles, causing them to soak up oil rather than fry quickly. Alternatively, you may not have adequately dried the pickles before dredging, leading to a steam pocket between the pickle and the crust. Remember: 365°F oil and working in small batches are the keys to crisp fried pickle spears.
Can I use sweet pickles instead of dill pickles for this recipe? expand_more
You absolutely can, but the flavor profile changes dramatically! Dill pickles offer that sharp, acidic tang that perfectly contrasts the rich fried coating. Sweet pickles will result in sweet and savory fried pickle spears, which some people enjoy, but it moves the dish away from the classic pub-style flavor profile. If you enjoy that sweetness, you might also enjoy experimenting with homemade fried apples next!
What is the best oil to use for frying these spears? expand_more
For deep-frying anything, especially something as delicate as fried pickle spears, you need an oil with a high smoke point that remains neutral in flavor. Vegetable oil, canola oil, or refined peanut oil are my top recommendations. They handle the 365°F cooking temperature with grace and are readily available and affordable for large batches required for deep frying.
Can I bake or air fry these instead of deep frying? expand_more
Yes, you certainly can bake or air fry your fried pickle spears, especially if you are looking for a lighter alternative. For the oven, bake at 425°F (220°C) until golden brown, flipping halfway. For the air fryer, set it to 380°F (195°C) and cook for about 10 to 12 minutes, shaking the basket halfway through. Be warned: while baking or air frying yields a decent crust, it will never achieve the deep, rich texture and flavor achieved by proper deep frying. For the true experience of fried pickle spears, frying is the way to go.
What other dipping sauces work well with fried pickle spears? expand_more
While spicy ranch is a personal favorite, many dipping sauces pair wonderfully! A creamy comeback sauce (similar to a remoulade) offers complexity. For something brighter, try a simple chipotle aioli made by mixing mayonnaise with lime juice and a touch of chipotle powder. If you are feeling adventurous, a slightly sweet and tangy honey mustard also complements the salty brine of the fried pickle spears beautifully.
More Recipes You'll Love
Ultimate Garbage Bread Recipe: A Cheeseburger-Inspired Delight
Copycat Joe’s Crab Shack Crab Cakes: A Seafood Sensation
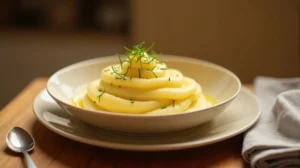
Perfect Pommes Purée: The Ultimate Buttery Potato Recipe
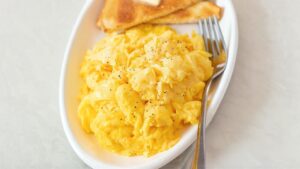
Perfect Scrambled Eggs Recipe (Creamy & Fluffy)
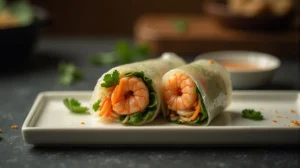
Fresh Rice Shrimp Rolls: A Light Classic
Community Kitchen