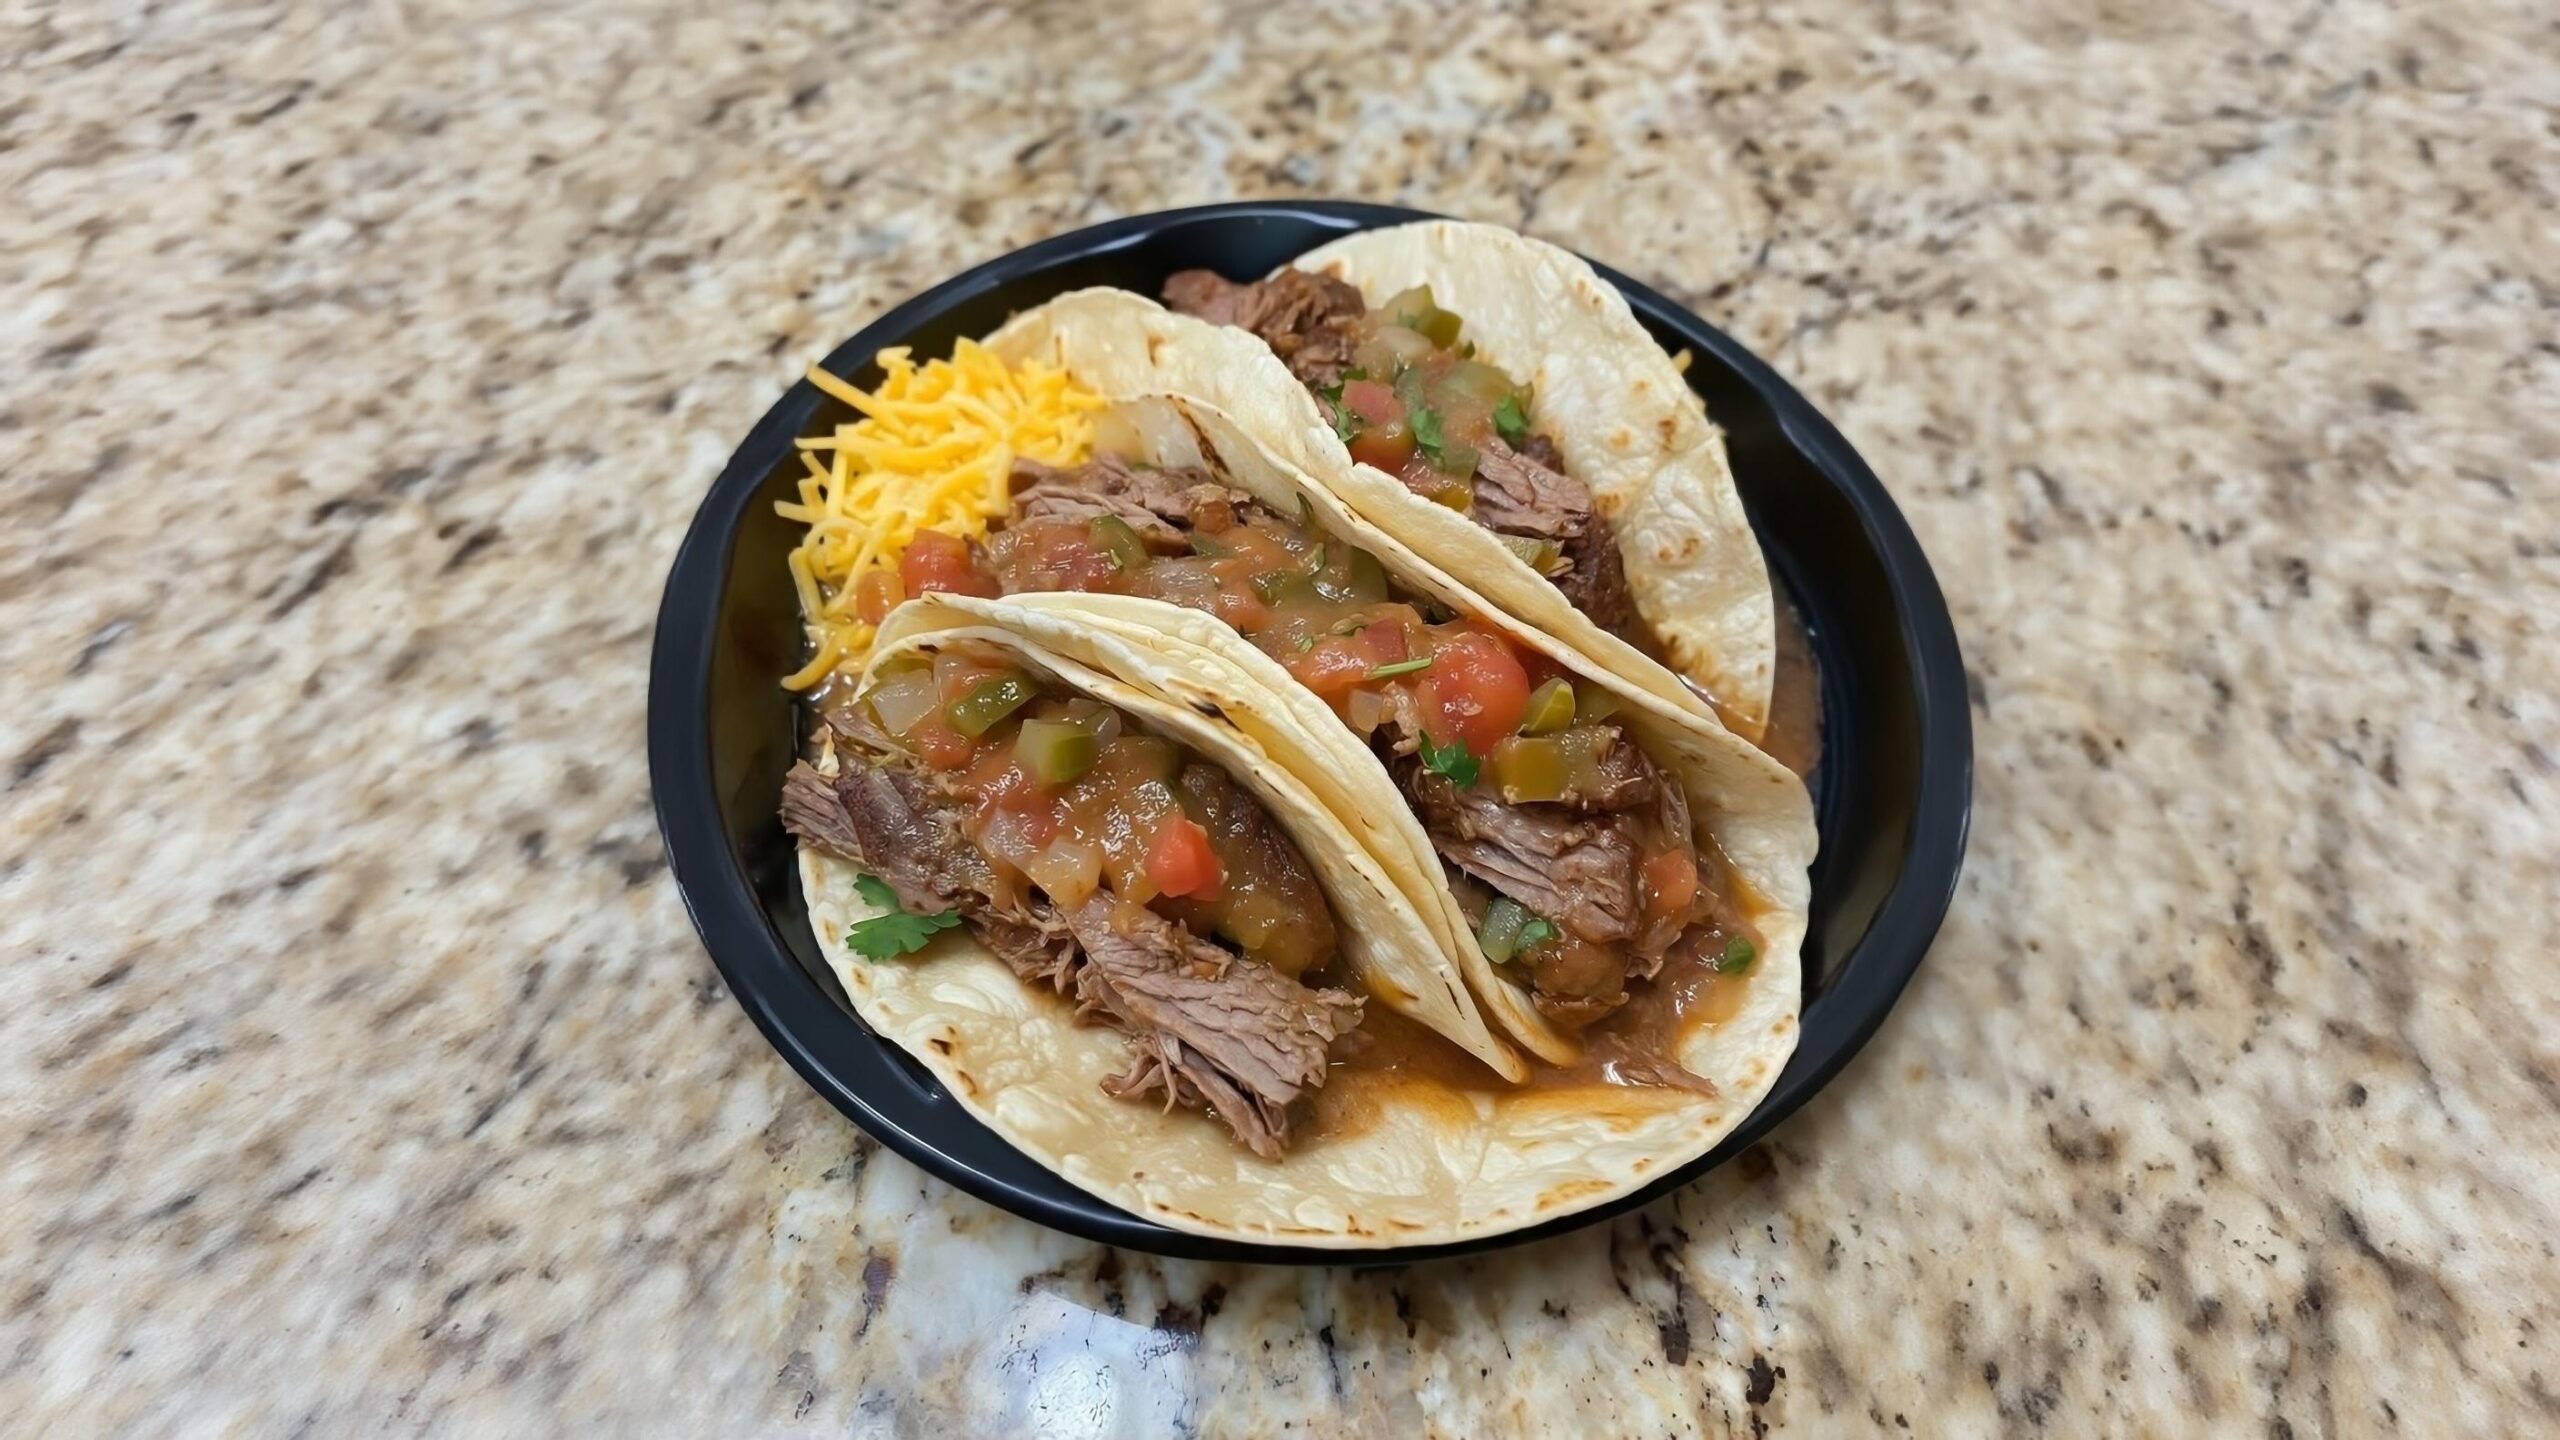
Citrus-Braised Chuck Roast Tacos: Crispy Edges
Forget bland shredded beef; these Chuck Roast Tacos redefine comfort food using a professional two-stage cooking method. We slow-braise a beautiful chuck roast with bright orange juice and savory spices until it melts, then crisp the shreds in a hot oven for an irresistible texture contrast. This technique yields intensely flavorful, juicy, and slightly caramelized beef, making every bite of these Chuck Roast Tacos a masterpiece of savory and bright notes. Perfect for a hearty family meal or entertaining guests, this recipe guarantees a show-stopping main dish.
restaurant_menu Ingredients
For the Citrus-Braised Chuck Roast
For Crisping and Serving
hardware Essential Tools
Large 6-quart Dutch oven with lid
Large cutting board
Two sturdy forks for shredding
Large rimmed baking sheet
Parchment paper
Fine-mesh sieve (for sauce reduction)
format_list_numbered Preparation
Braising the Chuck Roast
Preheat your oven to precisely 325°F (163°C). Pat the 4-pound chuck roast thoroughly dry with paper towels; this is essential for seasoning adhesion. In a small bowl, combine the 4 tablespoons of taco seasoning, 1 teaspoon of salt, and 1/2 teaspoon of pepper, then rub this mixture vigorously over all surfaces of the roast until fully coated. Place the seasoned roast into a heavy 6-quart Dutch oven and scatter the quartered onions around the sides of the meat. Pour the 1/2 cup of fresh orange juice and the 1/2 cup of beef stock into the bottom of the pot, ensuring the liquid comes about halfway up the side of the meat.
Slow Cook and Shred
Cover the Dutch oven tightly with its lid and immediately transfer it to the preheated 325°F oven. Braise for a minimum of 3.5 hours, or until the beef is completely tender and pulls apart with minimal effort. I found my specific roast required 3 hours and 50 minutes. Once tender, carefully remove the roast from the oven and let it rest, covered loosely with foil, on the counter for 15 minutes to allow the internal juices to redistribute throughout the muscle fibers. While resting, skim any excess rendered fat from the surface of the braising liquid remaining in the Dutch oven, reserving this flavorful liquid separately.
The Essential Crisp Finish
Using two forks, shred the chuck roast into medium-sized strands, mixing in the softened onions from the pot. Spread this shredded mixture onto a large baking sheet lined with parchment paper, ensuring the meat is in a thin, single layer—avoid piling it high, as this prevents proper crisping. Sprinkle the reserved 1 tablespoon of taco seasoning evenly over the shredded meat. Increase the oven temperature sharply to 425°F (218°C) and return the baking sheet to the oven. Roast uncovered for 15 to 25 minutes, watching carefully until the edges of the Chuck Roast Tacos filling are deeply caramelized and shatteringly crisp.
favorite You Might Also Love
Browse All arrow_forward
Spicy Cheddar Corn Dogs: The Ultimate State Fair Crunch
Homestyle Cornbread Chicken Casserole Masterpiece
Balsamic Brown Sugar Pot Roast: Restaurant Flavor at Home
Ultimate Comfort: Rotisserie Chicken And Stuffing Casserole
Ultimate Cornbread Chicken Casserole: Comfort Redefined
Golden-Crusted Crispy Chicken Fritters
Try These Variations
Smoky Chipotle Kick
For a deeper, smoky heat profile that complements the orange beautifully, add 3-4 canned chipotle peppers in adobo sauce (chopped) directly into the Dutch oven along with the braising liquid. The smoke from the peppers will permeate the meat during the long braise, creating a complex, multi-layered flavor that moves beyond standard taco seasoning. Make sure to stir them in well before covering and roasting. This variation makes the Chuck Roast Tacos feel incredibly robust and suitable for a cooler evening meal.
Alternative Protein Swap (Brisket)
If you happen to have a beef brisket flat available, it substitutes exceptionally well for chuck roast in this recipe, though it may require slightly longer cooking time due to its denser structure—expect closer to 4.5 or 5 hours at 325°F. Brisket fat renders beautifully, creating an even richer mouthfeel than chuck, though you might need to skim slightly more fat before shredding. The orange juice and seasoning still cut through the richness perfectly, providing a phenomenal experience for your Chuck Roast Tacos night.
Vegetable-Forward Base
To add bulk and natural sweetness without relying solely on meat volume, incorporate finely diced carrots and celery (mirepoix) alongside the quartered onions in the Dutch oven. These vegetables will completely break down during the braise, enriching the sauce base and adding natural sugars that caramelize beautifully when the meat is crisping. This method also helps stretch the recipe yield slightly, making your 4 lbs of beef go even further for those larger gatherings where you need extra volume for your Chuck Roast Tacos.
Chef's Pro Tips
Controlling the Maillard Reaction During Crisp
The reason we roast at 425°F is to rapidly achieve the Maillard reaction—the chemical process between amino acids and reducing sugars that creates hundreds of complex flavor compounds and that desirable brown color. To maximize this, ensure the shredded meat is not touching itself too much on the baking sheet. If you have a very large amount of beef, use two baking sheets instead of piling it onto one. Steam is the enemy of crispness; the high dry heat must interact directly with the meat surface to create those perfect, flavorful, crunchy edges essential for premium Chuck Roast Tacos.
The Importance of Acidity in Braising
That half-cup of fresh orange juice is not merely for flavor; it’s a culinary tool. Acidity helps to break down the tough muscle fibers (collagen) in the chuck roast more efficiently, speeding up the tenderization process slightly and adding brightness. If you were using a much leaner cut, this acid would be even more critical. In this rich chuck roast, it acts as a counterbalance, ensuring the final product isn’t overwhelmingly beefy but remains vibrant and exciting enough to carry the taco toppings.
Rehydrating Dried Spices
When you season the roast initially, if your taco seasoning blend seems dull or old, try to ‘bloom’ it first. Mix the dry seasoning with just 2 tablespoons of hot water (or use a small amount of the reserved beef stock) to form a thick paste. Rubbing this paste onto the meat allows the volatile oils in the spices (like cumin and oregano) to release their full aromatic potential before they even hit the heat, leading to a much deeper flavor profile for your Chuck Roast Tacos.
Using the Reserved Braising Liquid
Never discard the liquid! After skimming the fat, you have a highly concentrated, savory jus. If the shredded meat seems a bit dry after the high-heat crisping—which can happen if your oven runs hot—toss the meat with just 1 or 2 tablespoons of this reserved liquid before serving. This reintroduces moisture and deepens the flavor immediately, ensuring your Chuck Roast Tacos are never dry.
Storage Guide
Refrigerator Storage (Short-Term)
For immediate enjoyment over the next few days, allow the shredded beef to cool completely to room temperature (this prevents condensation buildup inside the container, which causes sogginess). Store the meat in an airtight, rigid plastic container—avoid thin zipper bags for this rich meat. It will keep beautifully for up to 4 days. When you are ready to eat, reheat on the stovetop in a cast-iron skillet with a splash of broth, ensuring you stir frequently to re-crisp the edges slightly as it heats up; do not reheat cold meat directly onto a tortilla.
Freezer Method for Future Taco Nights
This recipe freezes exceptionally well due to the high gelatin content. Cool the shredded beef completely, then portion it into heavy-duty freezer-safe zip-top bags or vacuum-seal bags. Lay the bags flat on a tray in the freezer until solid to save space. Label clearly with the date. This beef maintains peak quality for up to 2 months. Thaw overnight in the refrigerator before reheating using the stovetop or oven method described below for the best texture.
Reheating for Perfect Texture
To resurrect the intended texture of these Chuck Roast Tacos, avoid the microwave if possible, as it steams the meat. The superior method is reheating in a 350°F oven on a baking sheet, lightly drizzled with reserved braising liquid, for 10-12 minutes. If you must use the microwave, use 50% power in 60-second bursts, stirring between each interval, then quickly crisp the meat for 2 minutes in a hot, dry skillet before assembling your tacos.
Avoid These Mistakes
✕ Overcrowding the Crisping Pan
The single biggest error home cooks make when attempting this technique is piling the shredded beef too high on the baking sheet for the final 425°F roast. When the meat is piled more than half an inch deep, the interior strands are shielded from the direct, dry heat. Instead of crisping and caramelizing (Maillard reaction), they steam in their own moisture, resulting in soft, slightly wet meat that completely negates the effort of the slow braise followed by the high-heat finish—the hallmark of a fantastic Chuck Roast Tacos filling is texture contrast.
✕ Using Bottled Citrus Juice
While convenient, bottled orange juice lacks the volatile aromatic oils present in freshly squeezed fruit. These oils contribute significantly to the bright, uplifting quality that cuts through the richness of the chuck roast fat. Bottled juice often tastes flat or overly sweet/acidic without the necessary complexity. For this recipe, I highly recommend spending the extra three minutes to squeeze one or two oranges; the resulting flavor elevation in your Chuck Roast Tacos is dramatic and worth the minimal extra effort.
✕ Not Resting the Meat Before Shredding
When the roast comes out of the oven after four hours, the muscle fibers are tight, and the juices are actively moving. If you immediately shred the meat, all that precious, flavorful gelatinous liquid will run out onto your cutting board, leaving you with dry, stringy beef. Allowing the roast to rest, covered, for 15 minutes allows the muscle proteins to relax and reabsorb that moisture, ensuring that when you shred it, the meat remains succulent and juicy, which is vital for moist Chuck Roast Tacos.
nutrition Nutrition Facts
Per serving: 1.5 cups shredded beef and 1-2 tortillas
This estimation is for the beef and two tortillas with minimal toppings. Calorie count will increase significantly with cheese, sour cream, and heavy guacamole application.
flag Conclusion
There you have it—a technique borrowed from classical cooking applied perfectly to the beloved American taco. These Chuck Roast Tacos offer a complexity of flavor and texture that will make you put away the ground beef mixture for good. The combination of slow-braised tenderness meeting that final, satisfying crisp is truly sublime. I encourage you to try this recipe this weekend; invite some friends over, set up that topping bar, and take pride in serving them something truly spectacular that originated right in your own oven. Happy cooking, and be sure to share your results with us here at HomeRecipes.com!
sell Related Topics
Frequently Asked Questions
Can I use a slow cooker instead of the oven? expand_more
Yes! To make this in a crockpot, place the seasoned beef, onions, juice, and stock in your slow cooker. Cook on LOW for 8 hours or HIGH for 4–5 hours until tender. Once shredded, transfer the meat to a baking sheet and follow the same oven-crisping step at 425°F! Skipping the final high-heat crisping step will result in soft, wet meat, which is not ideal for these flavor-packed Chuck Roast Tacos.
How do I store and reheat leftovers? expand_more
Store the shredded beef in an airtight container in the refrigerator for up to 4 days. When reheating, warm it in a skillet over medium heat (about 300°F) or in the oven, adding a tiny splash of beef broth or reserved braising liquid to keep the meat juicy and moist. For the best flavor, try to crisp the edges again for the final 5 minutes of reheating.
Can I freeze this beef? expand_more
Yes, this meat freezes wonderfully! Let it cool completely, then freeze it in portioned, airtight containers or heavy-duty freezer bags for up to 2 months. Thaw overnight in the refrigerator before reheating using the stovetop method to restore that perfect texture for your Chuck Roast Tacos.
What kind of taco seasoning should I use? expand_more
You have complete freedom here, which is the beauty of home cooking! I suggest a robust, smoky blend featuring chili powder, cumin, smoked paprika, garlic powder, and onion powder. If you prefer a store-bought option, look for a high-quality, low-sodium blend. Remember to reserve one tablespoon of the blend specifically for sprinkling over the meat right before the final high-heat crisping stage to maximize flavor on the caramelized bits.
Is it necessary to use a Dutch oven, or can I use a standard deep baking dish? expand_more
While a Dutch oven is highly recommended due to its heavy cast iron construction which promotes incredibly even, slow heat transfer, you can use a deep, oven-safe casserole dish. The key is achieving a tight seal to trap the steam necessary for tenderizing the chuck roast. If using a standard dish, cover it first tightly with heavy-duty aluminum foil, then place the lid on top of the foil to create a steam-proof barrier necessary for successful Chuck Roast Tacos preparation.
More Recipes You'll Love
Fall-Off-The-Bone Crock Pot Barbecue Ribs Mastery
Homestyle Cornbread Chicken Casserole Masterpiece

Mayonnaise and Parmesan Chicken

Crispy Chicken Fritters Recipe (Golden & Juicy)
Ultimate Comfort: Rotisserie Chicken And Stuffing Casserole

Community Kitchen