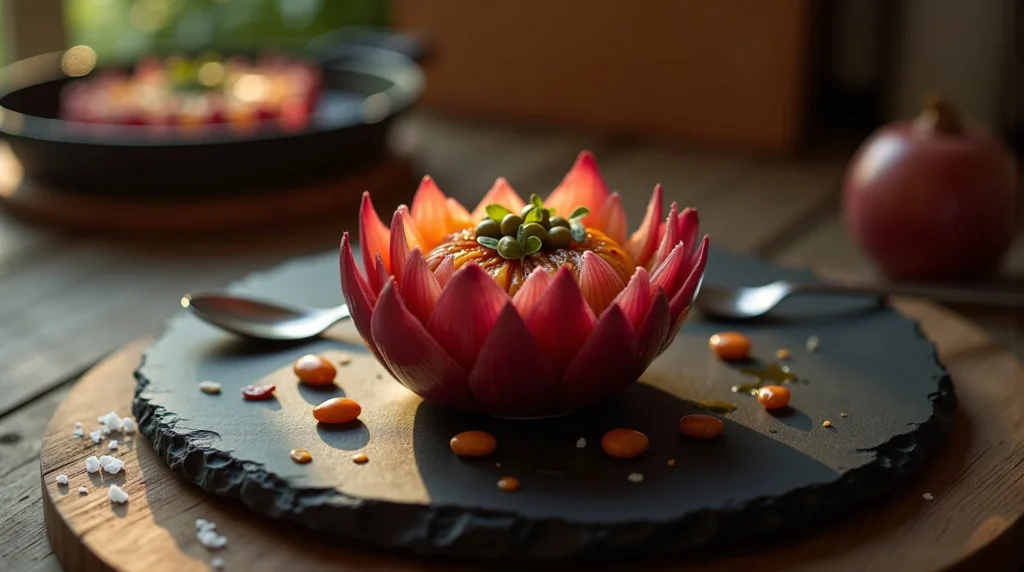
Mastering the Roasted Onion Flower: A Culinary Showstopper
Transform a simple red onion into a visually stunning, deeply flavorful roasted onion flower using precision cuts and a sweet balsamic glaze. An impressive side dish made easy!
restaurant_menu Ingredients
For the Roasted Onion Flower
Optional Flavor Boosters
hardware Essential Tools
Sharp chef's knife
9x13-inch baking dish
Aluminum foil
Large mixing bowl
Wire rack or cooling sheet (for resting)
format_list_numbered Preparation
Preparation and Cutting
Preheat your oven to 425°F and lightly grease a 9x13-inch baking dish to prevent sticking
Peel the red onions and carefully trim off the root end to create a flat, stable base for anchoring the flower
Make the first vertical cut through the onion, stopping about 1/2 inch shy of the root base to maintain structure
Rotate the onion 90 degrees and make a second cut, dividing the onion into four quarters, all still connected at the bottom
Continue slicing each of those four segments in half again, and then repeat once more, resulting in 16 distinct, connected wedges or petals
(Optional but recommended) Submerge the cut onions in a bowl of ice water for 15 minutes to firm up the structure, then drain thoroughly and pat them completely dry with paper towels
Place the dried onion flowers into a large bowl
Seasoning and Roasting
Drizzle the 3 tablespoons of olive oil and 2 tablespoons of balsamic vinegar over the onions in the bowl
Use your hands to gently massage the oil and vinegar mixture into the crevices between the petals, being careful not to tear the root anchor
Season generously with kosher salt and freshly ground black pepper, ensuring seasoning gets between the layers
Carefully arrange the seasoned onion flowers root-side down in the prepared baking dish, allowing space between each one for proper air circulation
Cover the baking dish tightly with aluminum foil and bake for 25 to 30 minutes at 425°F, allowing the onions to steam and soften completely
Remove the foil carefully, allowing the steam to escape, and return the uncovered onion flower to the oven for an additional 10 minutes to allow the exposed edges to caramelize and crisp up
Remove from the oven, garnish immediately with capers if desired, and serve hot
favorite You Might Also Love
Browse All arrow_forward
Ultimate Oven-Baked Sausage and Mushroom Pasta Gratin Recipe
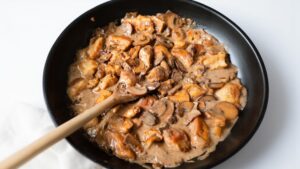
Velvety Chicken Stroganoff: A Weeknight Masterpiece
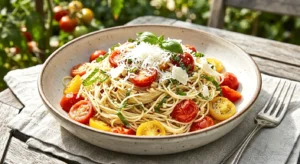
Summer Garden Pasta Recipe (Fresh & Flavorful)
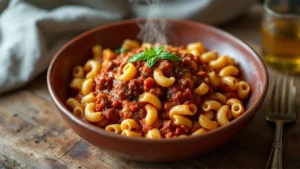
Hearty American Goulash: A Comfort Classic Redefined
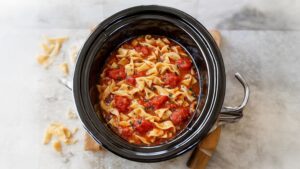
Velvet Slow Cooker Potato Broccoli Cheddar Soup

Authentic Minced Meat Pasties: A Chef's Guide
Try These Variations
Parmesan Herb Crust
Omit capers, sprinkle with Parmesan cheese, rosemary, and thyme before the final 10 minutes of uncovered baking
Sweet & Smoky Glaze
Substitute balsamic vinegar with a mixture of 1 tablespoon maple syrup and 1 teaspoon chipotle powder mixed into the olive oil
Garlic Confit Style
Stuff several peeled garlic cloves between the petals before covering with foil; serve the resulting sweet, spreadable garlic alongside the onion flower
Chef's Pro Tips
The root end is your anchor—do not cut through it, or the structure will fail
Always use a very sharp knife to ensure clean cuts that don’t crush the onion layers
If you have time, soak the cut onions in ice water for 15 minutes to help the layers separate cleanly before baking
Do not overcrowd the baking dish; ensure there is space around each onion flower for the edges to crisp properly
When seasoning, remember that onions are porous and need more salt than you think to achieve balanced flavor
Storage Guide
Refrigerator
Store cooled flowers in an airtight container lined with parchment paper between layers for up to 3 days
Room Temperature: Not recommended for more than 2 hours due to oil/vinegar content
Freezer: Not recommended as texture degrades significantly upon thawing
Avoid These Mistakes
✕ Cutting through the root base, which causes the onion flower to collapse during baking
Not preheating the oven fully, leading to a steamed, mushy texture instead of roasted caramelization
✕ Overcrowding the baking pan, which prevents the edges from crisping up evenly
Failing to remove the foil for the final stage, which keeps the onion tender but prevents desirable browning and texture development
✕ Using old or soft onions, which lack the structural integrity needed for this intricate cutting technique
nutrition Nutrition Facts
Per serving: 1 onion flower
Nutritional information is an estimate based on 4 servings, excluding optional capers.
flag Conclusion
There you have it—the technique to transform a simple red onion into a stunning, flavorful centerpiece. The onion flower is proof that impressive dining doesn’t require hours of complicated labor; it simply requires respect for the ingredient and precision in your technique. I hope you feel the confidence to tackle this beautiful side dish. Don’t be afraid to experiment with seasonings; make this onion flower your signature! When you master this impressive creation, share your photos with us here at HomeRecipes.com. Happy cooking, everyone!
sell Related Topics
Frequently Asked Questions
What is the absolute most critical step in making the onion flower bloom correctly? expand_more
The critical step is ensuring the root end remains completely intact, acting as the hinge. You must stop all your cuts approximately 1/2 inch from the root base. If you slice through that anchor point, the structural integrity is lost, and the onion will simply separate into wedges, not bloom. Take your time with the knife work; it is the foundation of the entire dish’s success.
Why are you roasting instead of deep-frying like a traditional 'blooming onion recipe'? expand_more
In a professional kitchen, deep frying requires precise temperature control and large volumes of oil, which isn't always practical or healthy for home cooking. Roasting achieves a similar, though arguably superior, depth of flavor through caramelization without the heavy saturated fats. This roasted onion flower retains the beautiful presentation while offering a cleaner, more nuanced sweet and tangy profile thanks to the balsamic glaze we use.
Can I use yellow or white onions instead of red onions for this recipe? expand_more
You absolutely can, but I highly recommend sticking to red onions for the best results, especially visually. Red onions have a natural sweetness that deepens beautifully when roasted, and their vibrant color holds up well. Yellow onions are much higher in sulfur compounds, which can sometimes result in a sharper, more pungent flavor even after roasting. If you must substitute, use sweet Vidalia onions, as they share the sweetness profile of the red onion.
My onion petals are falling apart during the initial bake. What went wrong? expand_more
This almost always points to one of two issues. First, you likely cut too close to the root base, compromising the anchor. Second, if you didn't use the ice water soak or didn't dry the onion thoroughly after soaking, the layers might have been too loose before they hit the heat. Remember, the heat needs to 'set' the structure quickly. Ensure your oven is fully preheated to 425°F before the dish goes in.
How can I adapt this recipe to be spicier, perhaps like a buffalo cauliflower recipe but with onions? expand_more
That’s a fantastic idea for adding a kick! Instead of relying solely on salt and pepper, create a spicy coating for the final 10 minutes of baking. Whisk together 2 tablespoons of melted clarified butter (or ghee, ensuring halal compliance), 1 tablespoon of your favorite mild or medium buffalo-style hot sauce, and 1/2 teaspoon of smoked paprika. After removing the foil at the 30-minute mark, brush this mixture lightly over the exposed petals and return to the oven for the final 10 minutes. This will give you a beautiful, savory, and slightly spicy onion flower.
More Recipes You'll Love
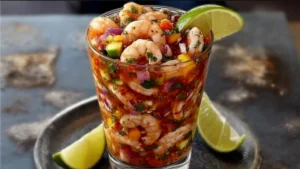
Vibrant Mexican Shrimp Cocktail: The Ultimate Chilled Appetizer
Decadent Creamy Alfredo Lasagna Soup Masterpiece
Rich Garlic Butter Beef Pasta Mastery
Powerhouse Antioxidant Rich Salads for Immunity
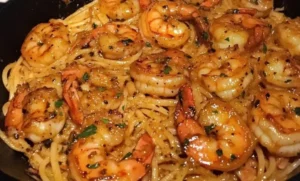
Garlic Butter Shrimp Pasta: A Quick and Delicious Recipe
Community Kitchen