
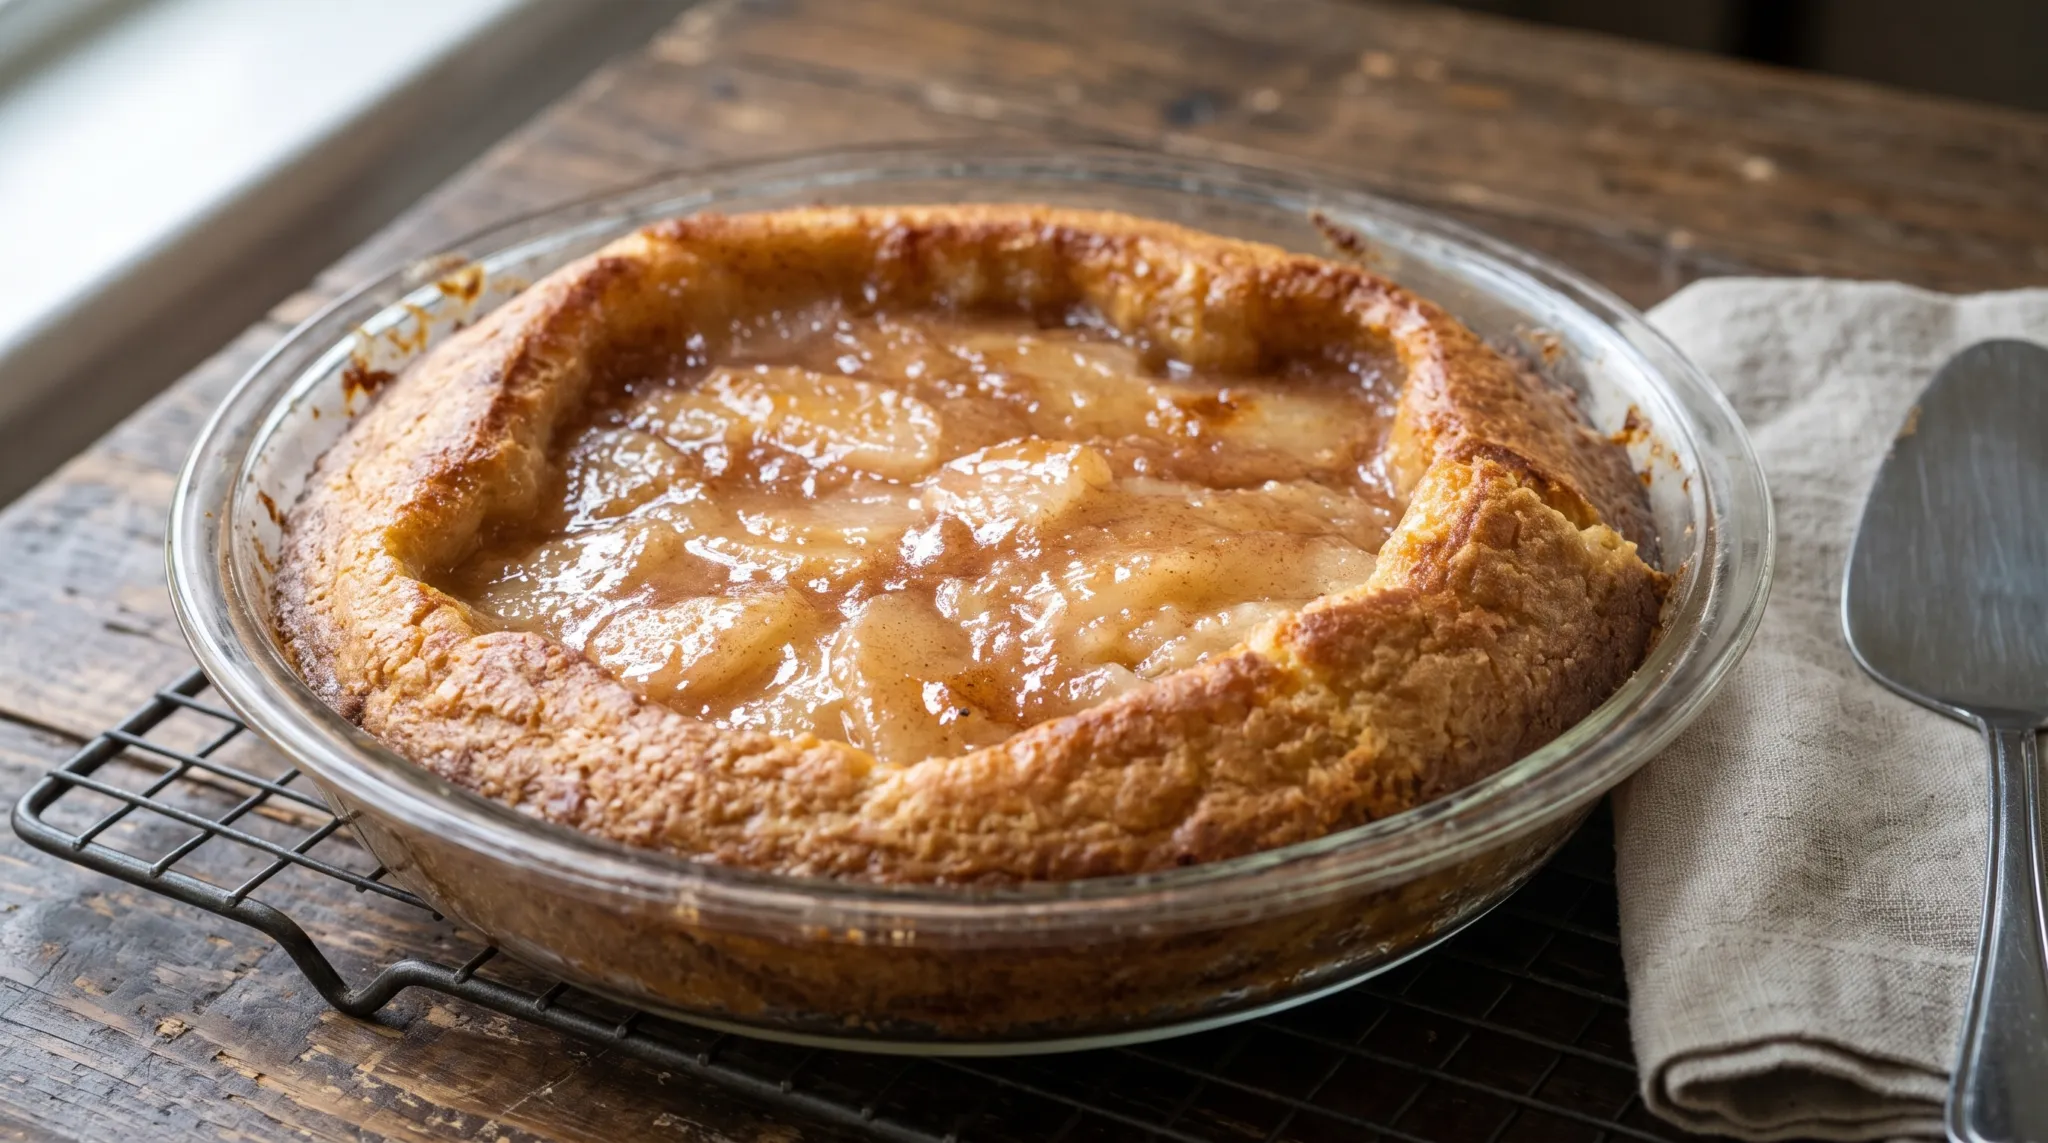
The edge of a crazy crust apple pie comes out golden and slightly puffed, with a tender, biscuit-like bite, while the apples in the middle sit soft and glossy under a smell of cinnamon and baked pastry. It takes about 5 minutes to stir together and 45 to 50 minutes in the oven, which makes it an easy bake for a beginner. The recipe makes one 9-inch pie, enough for 4 generous wedges or 6 to 8 smaller slices.
People who search for the Recipe Tin Project version usually want this exact pour-in style: one bowl, an electric mixer, a can of apple pie filling, no rolling pin and no chilling. It won’t flake like a rolled all-butter crust, and it isn’t meant to. What you get is a soft, slightly cakey crust that bakes up around the filling and holds a slice together.
Reading the Pie Through Your Own Oven
Pour the batter into the pan and it will look far too thin and far too pale, more like pancake mix than a crust. That is normal. Spoon the filling into the center and let it settle where it wants to, because stirring would mix the apples into the batter and you’d lose the ring of crust.
Your oven decides the rest. A glass pan browns the bottom slowly and holds heat, a dark metal pan browns faster, and a fan oven runs hotter, so drop the temperature by 25°F (15°C) if yours has one. Bake on a lower rack with a rimmed baking sheet underneath, since the batter can bubble over the edge of the pan. Around 15 minutes the edge starts to set and puff, and by 30 minutes it should be turning gold. If it’s already deep brown by then, tent the pie loosely with foil.
Judge doneness by eye rather than by the clock. The crust ring should be deep golden, firm when pressed lightly and dry where it meets the filling, while the filling bubbles slowly near the center. If the ring still looks wet or pale at 45 minutes, give it 5 more minutes and look again.
Why the Batter Turns Into a Crust
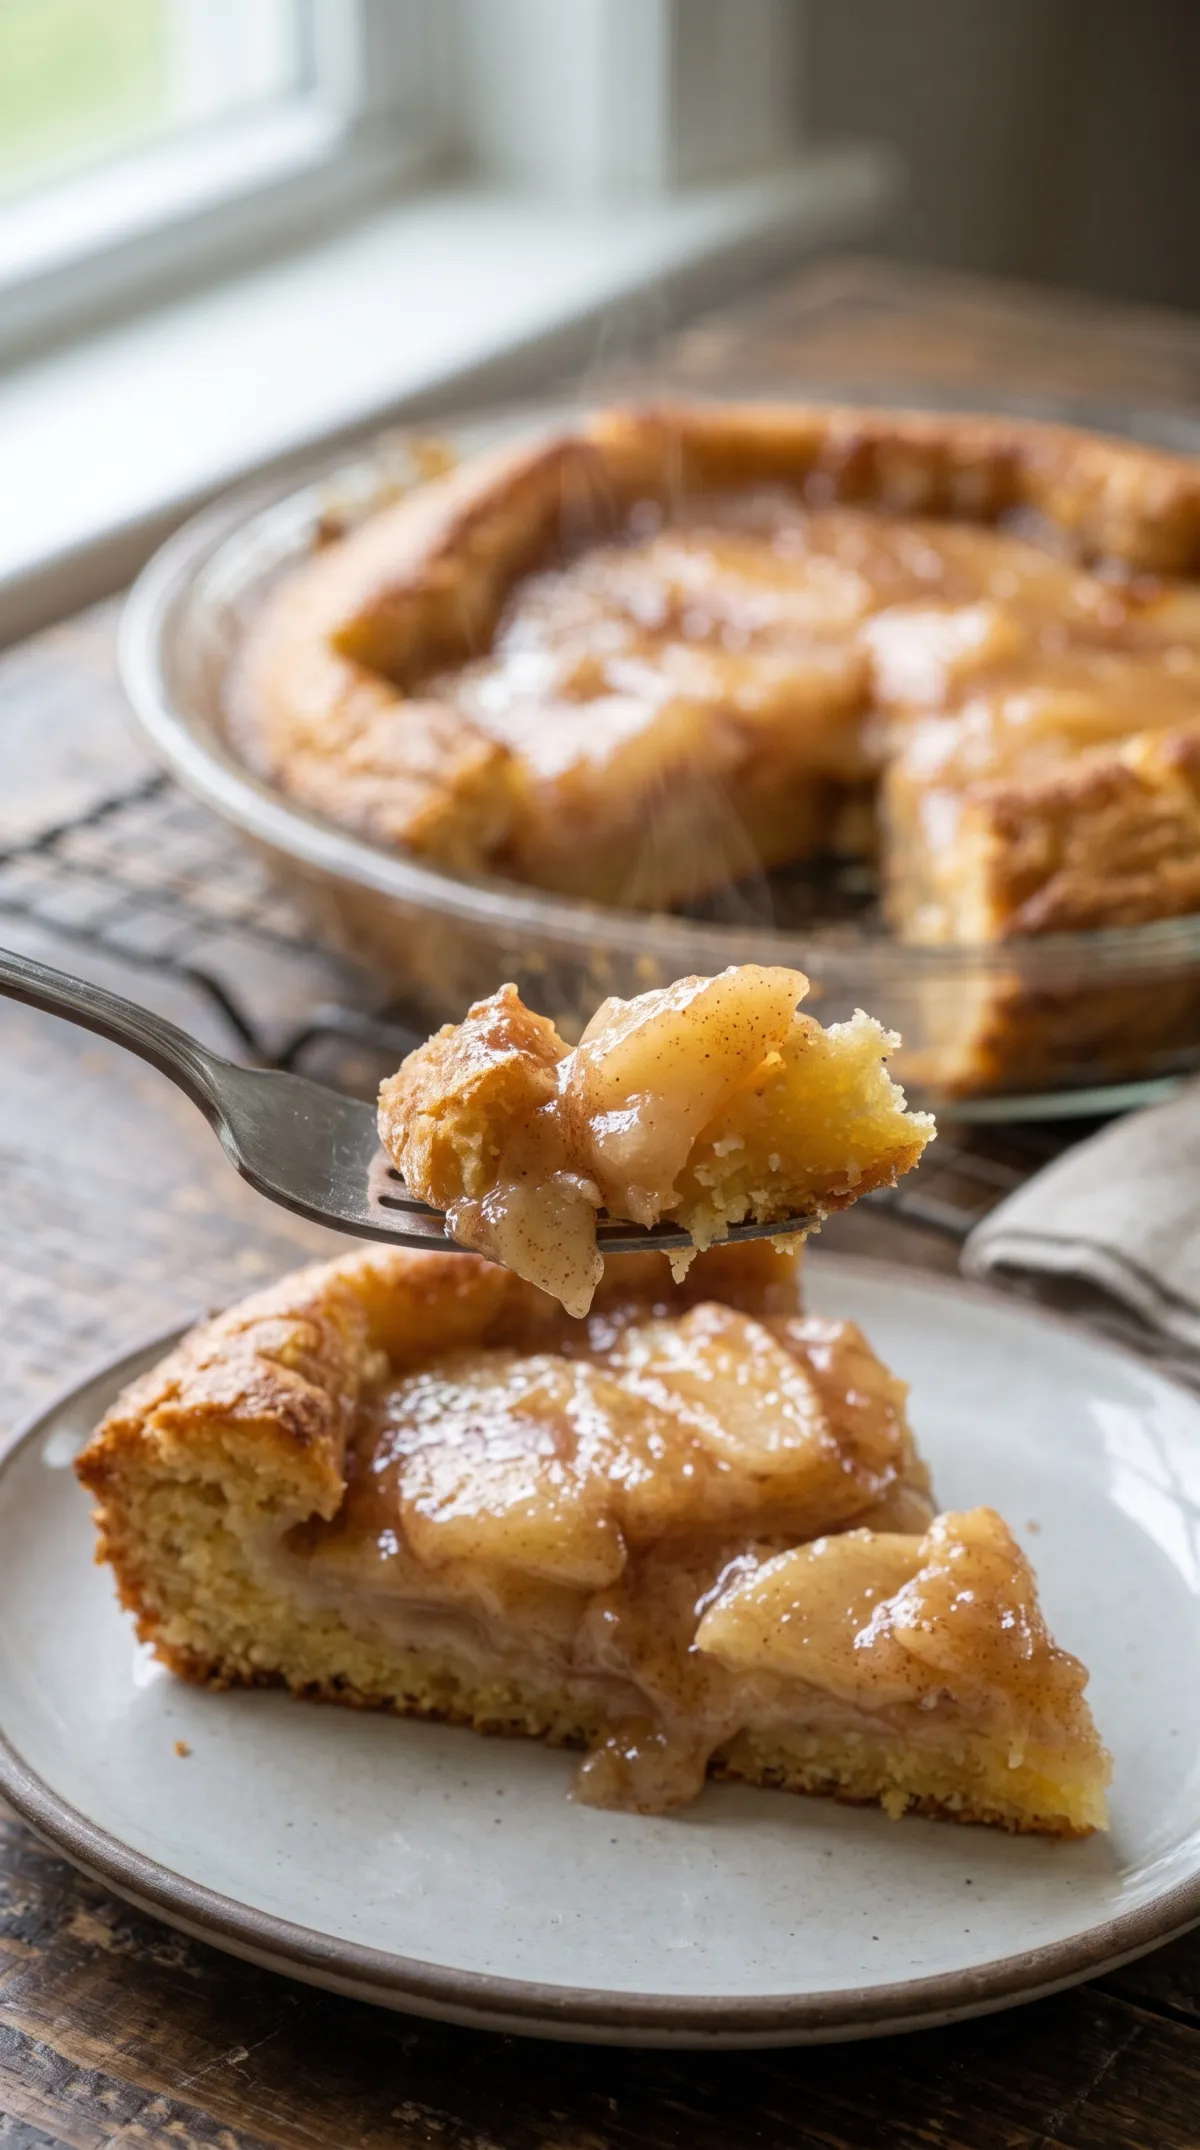
Nothing in this pie gets rolled, folded or chilled, because the structure comes from baking powder and egg rather than from layers of fat and flour. The batter is thin enough to flow to the rim of the pan, and you add the filling last. When you spoon it into the center, it settles into the middle and pushes the batter up and around it.
In a 425°F (220°C) oven, the baking powder releases gas, the egg sets, and the batter climbs the sides of the pan as it firms. That is why you get a ring of crust instead of a flat base. The shortening coats the flour and keeps the crumb tender, and the tablespoon of sugar helps the edge turn gold. Since the dough is never worked, the gluten stays relaxed, and the texture lands closer to a biscuit than to pastry.
The high heat matters. The outer edge sets fast enough to hold its shape before the middle finishes cooking, and the starch already in the canned filling keeps it from flooding the crust. The apple pie article on Wikipedia covers the classic’s long history if you’re curious. And if you like skipping the rolling pin, this crustless coconut pie goes one step further and skips the crust altogether.
Shortening, Filling and Flour Choices
Use solid vegetable shortening, the kind sold in a tub or in sticks, at room temperature so it blends into the batter without greasy streaks. For the filling, a 21-ounce can with visible apple slices gives a better bite than one with finely diced fruit, and it should be thick, not runny. Bottled lemon juice works fine, since only a tablespoon goes in.
The pie contains gluten and eggs, and the eggs set the crust, so there’s no reliable egg-free swap. If you’re cooking for someone with a milk allergy, read the labels on the filling and the shortening, because brands differ. These are the swaps that work and what they change.
| Ingredient | Swap | What changes |
|---|---|---|
| Vegetable shortening | 10 tbsp (140 g) unsalted butter, melted and cooled | Richer flavor, and the crust browns faster, so check it at 30 minutes |
| All-purpose flour | 1 cup (125 g) gluten-free 1-to-1 baking blend | A slightly denser crumb, and the baking powder label needs checking too |
| Canned apple pie filling | About 2 cups cooked apple slices, made by simmering 4 sliced medium apples with 1/4 cup (50 g) sugar and 1 tbsp cornstarch for 8 minutes, then cooling | Tarter, firmer slices and more work, with the same bake time |
Double Crust, Graham Cracker and Premade Options
Many people looking for an apple pie crust want something other than a batter crust, and this recipe covers only one of those. Here are the others and what changes in each.
- Premade double crust. Line the pan with one refrigerated crust, fill it with the same can of filling mixed with the lemon juice and cinnamon, cover with the second crust and cut four slits. Follow the temperature on the crust package, and bake for 45 to 55 minutes, until the top is golden and the filling bubbles through the slits.
- Graham cracker crust. This makes a single crust pie. Mix 1 1/2 cups (150 g) crumbs with 6 tbsp (85 g) melted butter and 2 tbsp sugar, press it into the pan, bake at 350°F (175°C) for 8 minutes, add the filling and bake 25 to 30 minutes more. The shortening batter isn’t used.
- Turnovers and dumplings. The batter can’t be folded, so these need rolled dough. A premade crust cut into 5-inch squares holds about 2 tablespoons of filling and bakes at 400°F (200°C) for 20 to 25 minutes, until golden.
- A homemade rolled crust. If you want to learn how to make apple pie crust from scratch, you need a separate pastry recipe, because that dough works on different rules.
For a fall dessert in a completely different style, the pumpkin dump cake with spice cake mix and pecans also starts from pantry staples.
Making It Ahead and Keeping Leftovers
Mix the batter right before baking. Baking powder starts working once it meets water, and batter that sits loses some of its lift and bakes into a flatter crust. The finished pie is another matter. You can bake it a day ahead, and it reheats well. Leave it at room temperature in the pan for a few hours, covered with a clean towel, then refrigerate it. Cold filling firms up and slices neatly, though the crust is softer than on the day it was baked.
Once it’s fully cool, cover it loosely. Put leftovers in the refrigerator within 2 hours of taking the pie out of the oven, where they keep for 3 to 4 days. If you want to check, the USDA Food Safety and Inspection Service publishes general rules for leftovers.
Freezing isn’t worth it, since the crust turns damp after thawing. To reheat, set slices on a baking sheet in a 350°F (175°C) oven for 10 to 15 minutes, until hot throughout and reaches 165°F (74°C). A microwave warms the filling but leaves the crust soft.
When the Crust Stays Pale or Sinks
- The crust is pale or doughy at the center ring. The oven runs cooler than the dial says, or the pan sat too high. Check the temperature with an oven thermometer, bake on a lower rack, and add 5 minutes.
- There’s no ring and the filling sinks to the bottom. The batter was too thin, usually from a heaping or overfull water measure, or the filling was dropped in too fast. Level the 3/4 cup of water exactly and lower the filling gently.
- The edge browns before the middle sets. A dark pan or a hot oven causes this. Tent the pie with foil at the 30-minute mark and keep baking.
- The crust tastes flat or bitter. Old baking powder ga tastemetallic, and skipping the salt leaves it dull. Replace baking powder that is more than six months old.
- The batter bubbles over the rim. The pan is too shallow, or the batter was poured to the very top. Use a standard 9-inch pan about 1 1/2 inches deep, and keep the baking sheet underneath.
Serving the Pie Warm
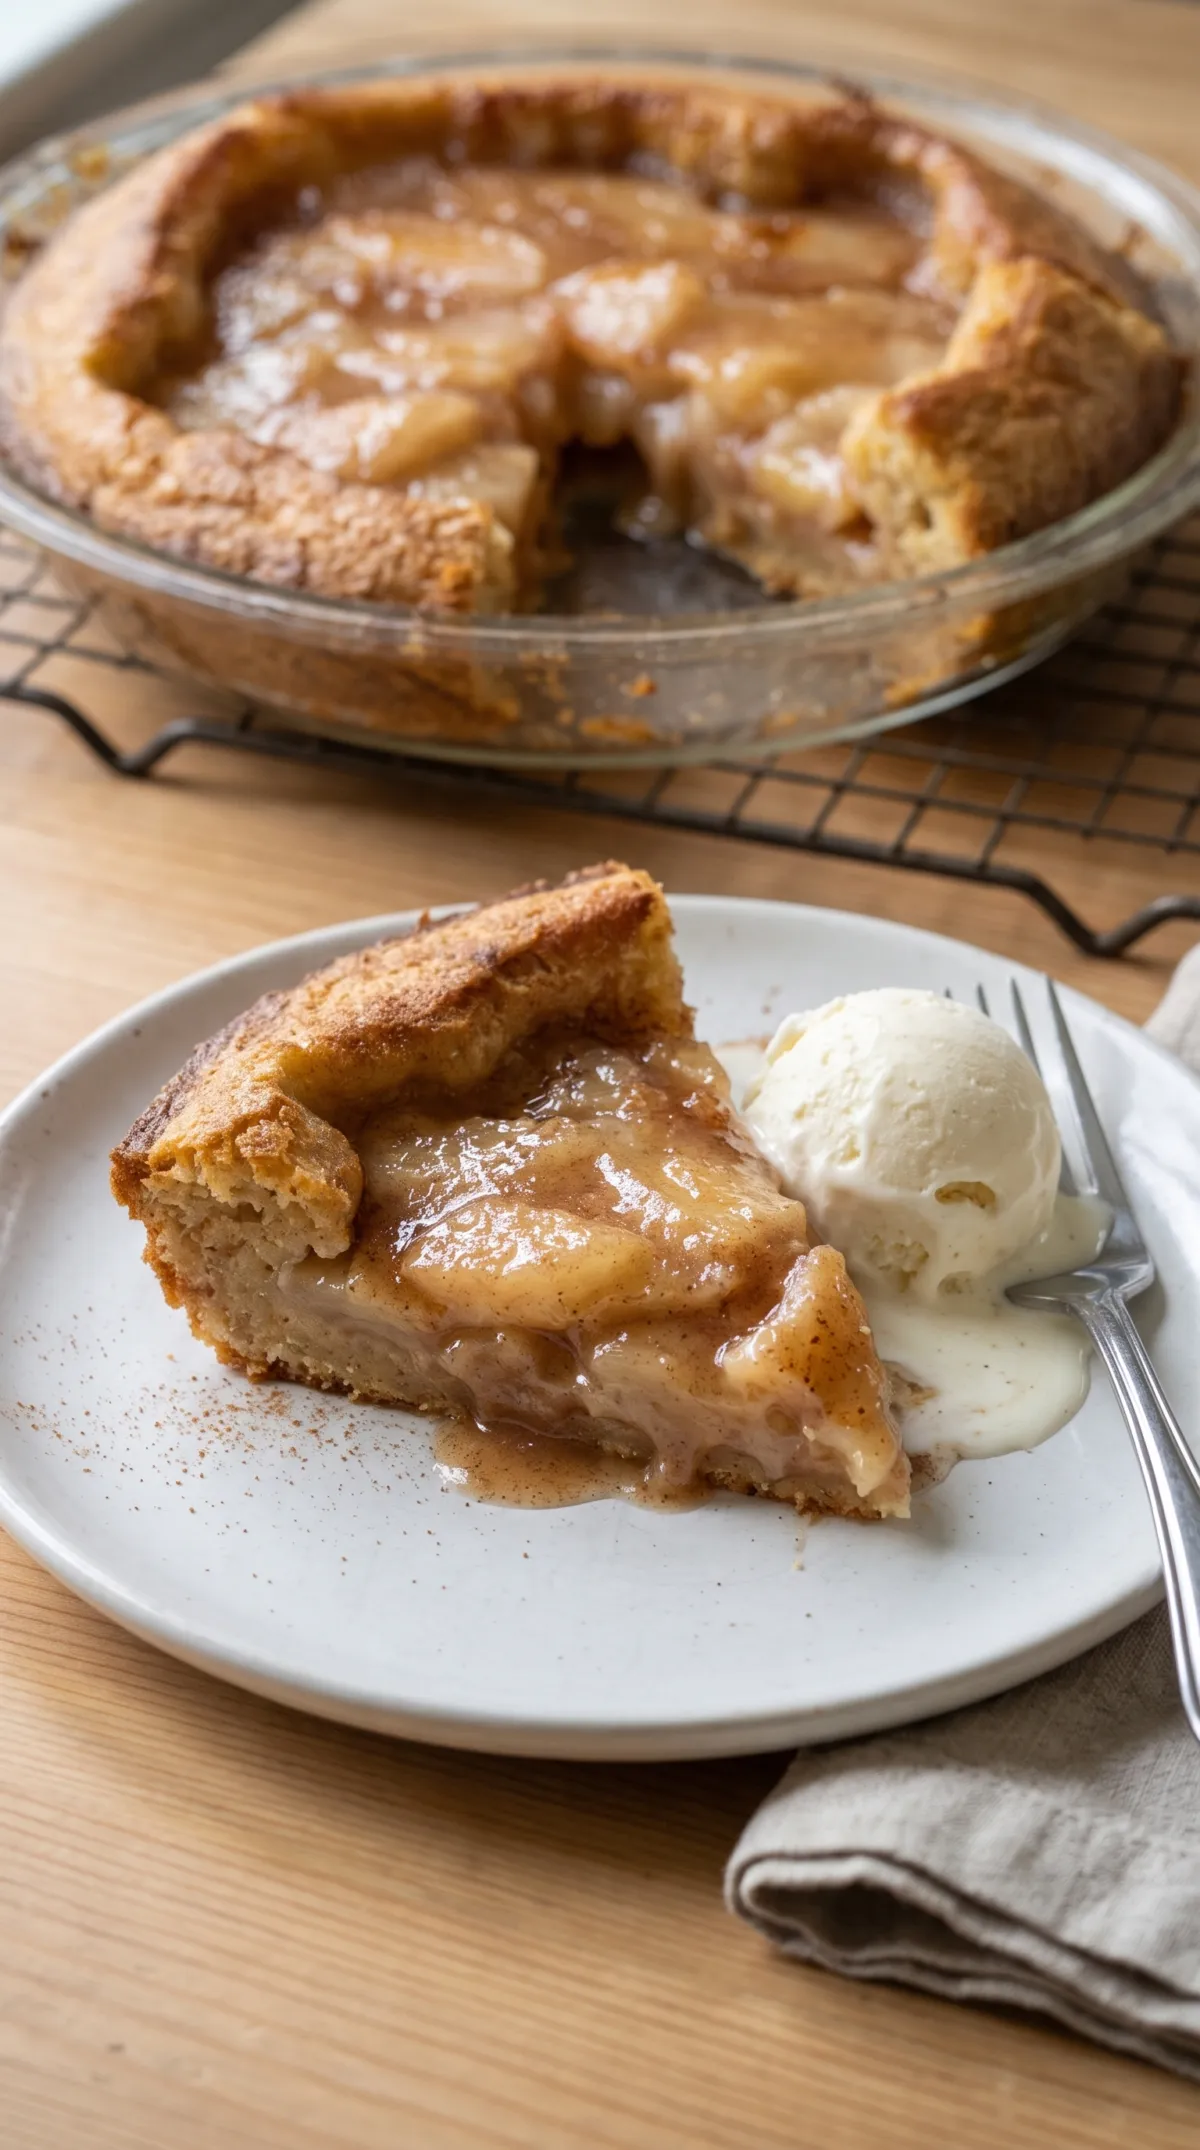
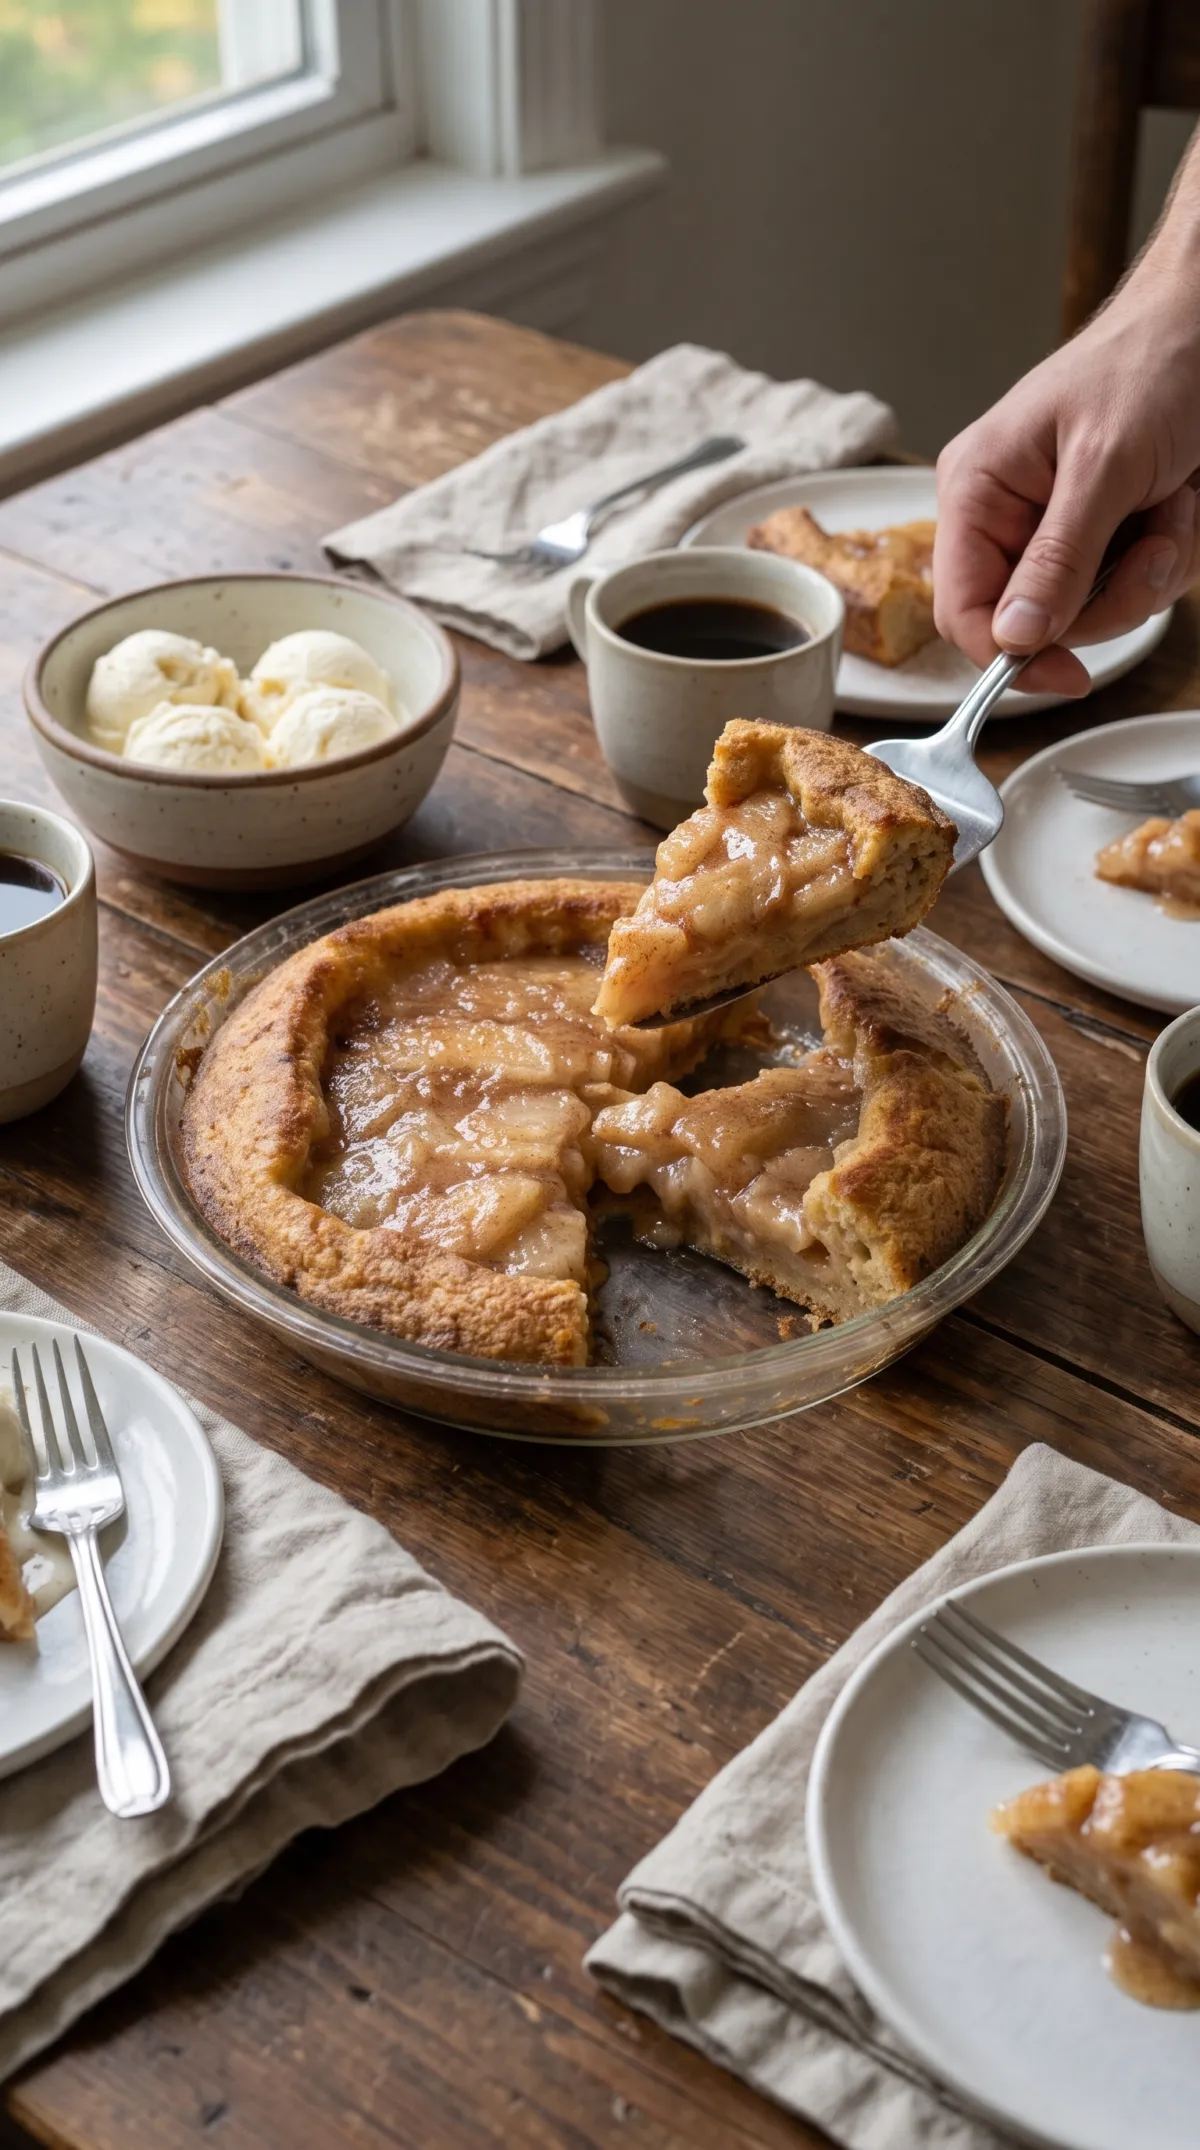
Give the pie a cool on a rack for 30 to 45 minutes before slicing. The filling thickens as it cools, and a sharp knife then cuts clean wedges that keep their shape. Serve it warm or at room temperature. A pie served straight from the oven is the messiest, because the molten filling runs out of the slice and the crust hasn’t firmed up yet.
Vanilla ice cream melts into the filling nicely, lightly sweetened whipped cream keeps things cool and simple, and a cup of coffee suits it. A thin slice of sharp cheddar on the side is an old American habit, and the guide to white and yellow cheddar explains how to choose between them.
You only need a standard 9-inch pie pan (glass, ceramic, or metal) and a hand mixer or stand mixer. A sturdy whisk can work if the shortening is soft, but it takes longer to smooth the batter. Scrape the bottom of the bowl, where the shortening likes to hide, and mix until no pale streaks remain. If you bake on a rimmed sheet, line it with foil to catch any drips and make cleanup easier.
FAQ
Is this a double-crust or single-crust apple pie?
Neither, in the usual sense. One pourable batter bakes into a ring of crust around the filling, so there’s no top and no rolled bottom. If you want a true double crust or a single crust with a graham cracker base, the variations section above explains how to adapt the filling.
Do I need to grease the pan?
The batter contains 2/3 cup of shortening, so it usually releases without help. If you’re using a dark metal pan or want extra insurance, wipe it with a teaspoon of shortening first. Either way, run a thin knife around the edge before you cut the first slice.
Is it safe to taste the batter?
No. The batter contains raw egg and raw flour, and both can carry bacteria that only baking removes. Taste the pie once it is baked, with the crust at 160°F (71°C) in the thickest part, and keep spoons that touched raw batter out of the filling.
Can I double the recipe for a 9×13 pan?
It doesn’t scale reliably, because the batter needs a deep, narrow pan to climb the sides and form a ring. In a wide, shallow pan, it spreads thin and the filling sinks. Bake two separate 9-inch pies instead, using two cans of filling, and rotate the pans halfway through.
What size can of apple pie filling should I buy?
A 21-ounce (595 g) can fits a standard 9-inch pan with a little room to spare. A 20-ounce can works too, though the center will sit lower. Avoid the large 42-ounce cans, which overfill the pan and make the batter spill over the rim while it bakes.
Is this pie dairy-free?
None of the listed ingredients are dairy, so that it can be, but labels vary. Check the shortening and the pie filling for milk-derived ingredients or shared-equipment warnings, because hidden dairy usually shows up there. The butter swap in the ingredients section would add milk.
Can I use a deep-dish pie pan?
Yes, but expect a lower ring, since the same amount of batter spreads over a larger floor. Add 5 to 10 minutes and check for a deep golden crust and a steady bubble in the center. A deep-dish pan also gives the filling more room, which reduces spills.
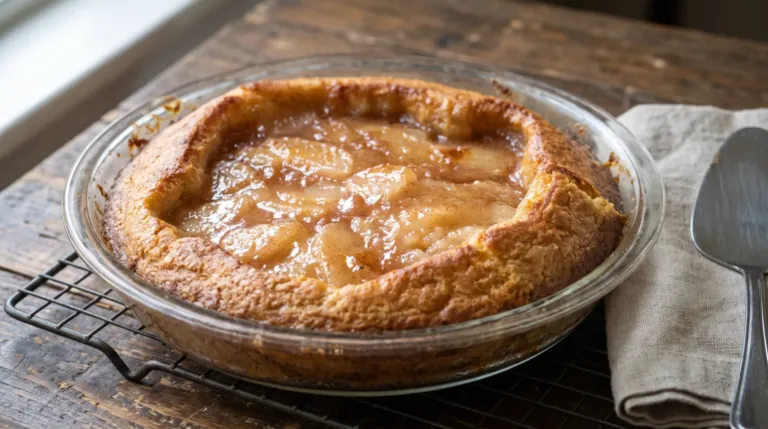
Crazy Crust Apple Pie with a Pour-In Batter Crust
- Prep 5 min
- Cook 50 min
- Total 55 min
Cook mode: your screen stays on and the current step is shown larger.
Ingredients
Steps
- Step 1 of 9
Set a rack in the lower third of the oven, put a rimmed baking sheet on it and heat the oven to 425°F (220°C).
- Step 2 of 9
Combine the flour, baking powder, salt, sugar, egg, shortening and water in a medium bowl.
- Step 3 of 9
Beat with an electric mixer on medium speed for about 1 minute, scraping the bowl once, until the batter is smooth with no streaks of shortening or flour. It will be thin and pourable.
- Step 4 of 9
Pour the batter into a 9-inch pie pan. It will look thin and pale, which is normal.
- Step 5 of 9
Stir the apple pie filling with the lemon juice and cinnamon in a small bowl.
- Step 6 of 9
Spoon the filling gently into the center of the batter, leaving about 1 inch (2.5 cm) of batter showing at the edge. Do not stir or spread it.
- Step 7 of 9
Set the pan on the hot baking sheet and bake for 45 to 50 minutes, until the crust ring is deep golden and set and the filling bubbles slowly at the center. If the edge browns deeply before 30 minutes, tent the pie loosely with foil.
- Step 8 of 9
Check that a thermometer slipped into the thickest part of the crust reads at least 160°F (71°C), and bake 5 minutes longer if it does not.
- Step 9 of 9
Cool the pie on a wire rack for 30 to 45 minutes, until the filling stops bubbling and thickens enough to slice cleanly. Serve warm or at room temperature.
Nutrition
- Calories
- 550 kcal
- Protein
- 5 g
- Fat
- 34 g
- Carbohydrates
- 57 g
- Sugar
- 25 g
- Fiber
- 2 g
- Salt
- 1.3 g
Approximate values per serving.
How did it turn out?
Related searches
- Recipe Tin Project
- apple pie crust recipe
- pie crust for apple pie
- apple pie crust
- apple pie double crust recipe
- apple pie dough crust
- double crust apple pie recipe
- apple pie recipe double crust
- recipe for double crust apple pie
- apple pie recipe with premade crust
- apple pie recipe with premade pie crust
- apple pie with graham cracker crust
- homemade apple pie with crisco crust
- apple pie and crust recipe
- apple pie graham cracker pie crust
- apple pie recipe premade crust
- apple pie recipes with crust
- apple turnovers with pie crust
- how do you make crust for apple pie
- how to make apple pie crust
- pie crust recipe for apple pie
- apple pie turnovers with pie crust
- apple pie with graham pie crust
- apple turnover with pie crust
- apples and pie crust recipes
- homemade apple pie crust
- how to make apple crust pie
- one crust apple pie
- single crust apple pie
- 1 crust apple pie
- apple dumplings with pie crust
- apple pie in graham crust
- apple pie with premade crust
- double crust apple pie
- easy apple pie recipe with store-bought crust
- graham cracker apple pie crust
- premade pie crust for apple pie
- aldi double crust apple pie
- apple pie recipe crust